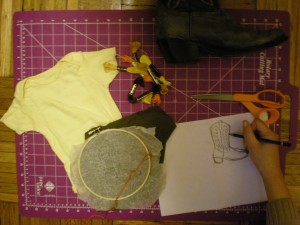
There’s nothing like good, solid project time! One evening recently, my friend Chloe and I sat down for a crafty session in the Generation T workshop. Chloe’s friend recently had a baby boy and she was inspired to make a personalized onesie for the little fella. This project is reminiscent of Tattoo You, project #79 in Generation T: Beyond Fashion, but with a baby onesie instead of an adult T-shirt, plus some embroidery. (Apologies for the poor photos, we were working under rather low-light conditions….except for the last photo taken by Max’s mama!)
Materials:
baby onesie scrap T-shirt sleeve skeins of embroidery floss in desired colors embroidery needleembroidery hoop scissors pencil paper disappearing ink pen
needle and thread
Make it:
1. Gather the materials and choose a theme! (Chloe picked cowboy.) Sketch the design. (We sketched a cowboy boot that she borrowed from my closet.)
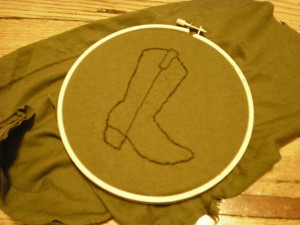
2. Transfer the design to the T-shirt sleeve fabric and gently (so it doesn’t distort the design) stretch the fabric in the embroidery hoop. (Note: Many people use stabilizer at this stage to prevent stretching, but we didn’t have any on hand, so just worked the fabric very gently.) Stitch the outline of the design.
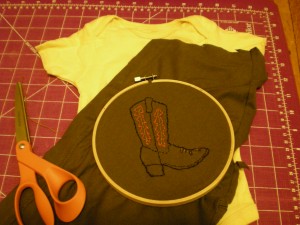
3. Stitch the interior of the design. Then remove the fabric from the hoop and cut around the design, leaving a 1/4″ allowance, to make a patch.
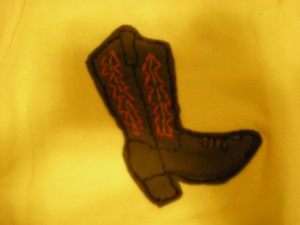
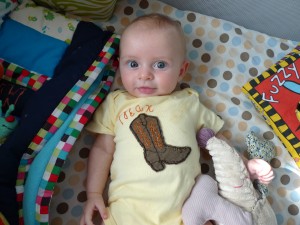
4. Pin and sew the patch through only one layer of the front or back of the onesie. (Note: We stitched along the boot outline with matching regular thread so it wasn’t visible.) Optional: Stitch the recipient’s name or initial to personalize the garment.
5. Then tie off all the ends, remove any remaining pins, and wrap it up for the adorable recipient! Here’s baby Max, the littlest cowboy. Yee-haw!
[ Posted on July 15th, 2010 ]



gAHHH so adorbs!
Cute kid. Plus, the dad clearly took that photo.