T-shirt Projects

I Love to Create: A Poetic Pocket Square!

Looking ahead to April, it’s National Poetry month, and to celebrate, the Academy of American Poets is sponsoring National Poem in Your Pocket Day on April 14, 2011. Basically, you carry a poem around in your pocket, and take it out and share it throughout your day with friends, colleagues, and family. The poem can be an old classic, a modern ode, long, short, silly, or serious — Anne Sexton or Dr. Seuss, Will Shakespeare or Shel Silverstein,  Emily Dickinson or e.e. cummings… And if you can’t find a poem you’d like to share, write your own! But my point is, why limit the printed word to paper (or digital smart phone)?

Perhaps I’m taking this pocket thing too literally, but I do like to play with words and type — experimenting with the way the letters themselves can create fascinating visual patterns (even before we get anywhere near discussions of assonance, alliteration, and onomatopoeia!). A pocket square (or a hanky — just pop it in your purse!) is a more permanent way to commit to that poem. And, bonus: If you forget to take the poem out of your pocket before laundry day, you won’t end up with a pocket full of disintegrated, dried paper pulp.

Materials:

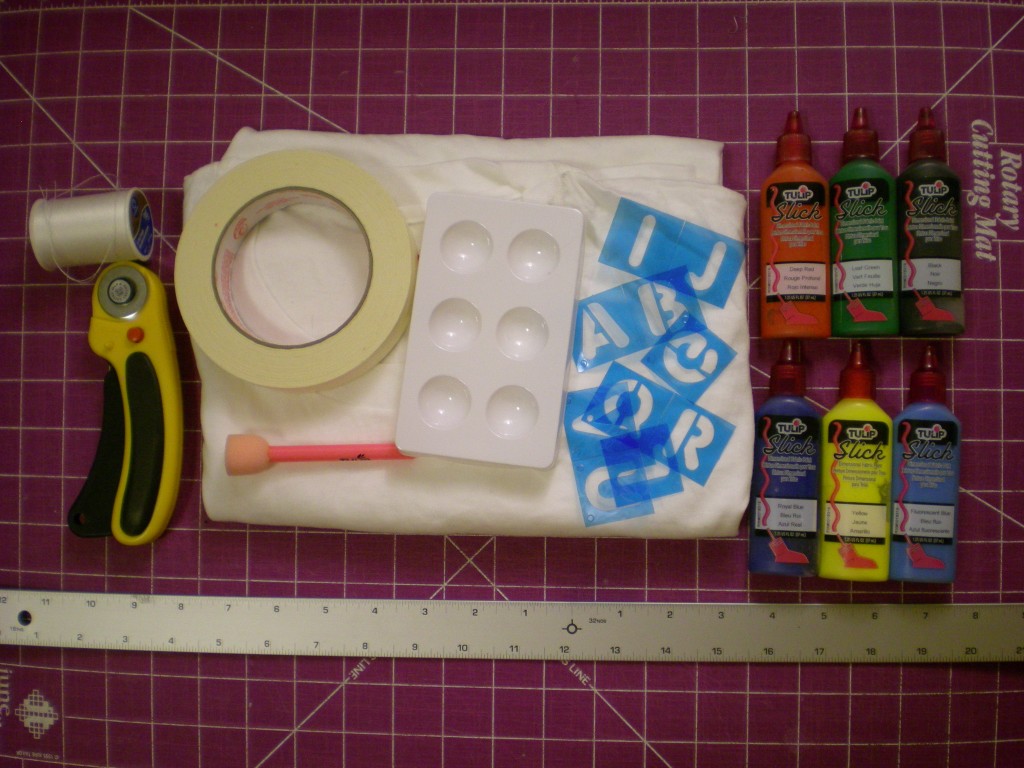
-white or light-colored T-shirt

-rotary cutter, ruler, and cutting mat (or ruler, marker, and scissors)

-masking tape

-letter stencils

fabric paint (variety of colors)

paint tray (optional)

sponge brushes

-needle and thread (in a color to match the T-shirt)

Make It:

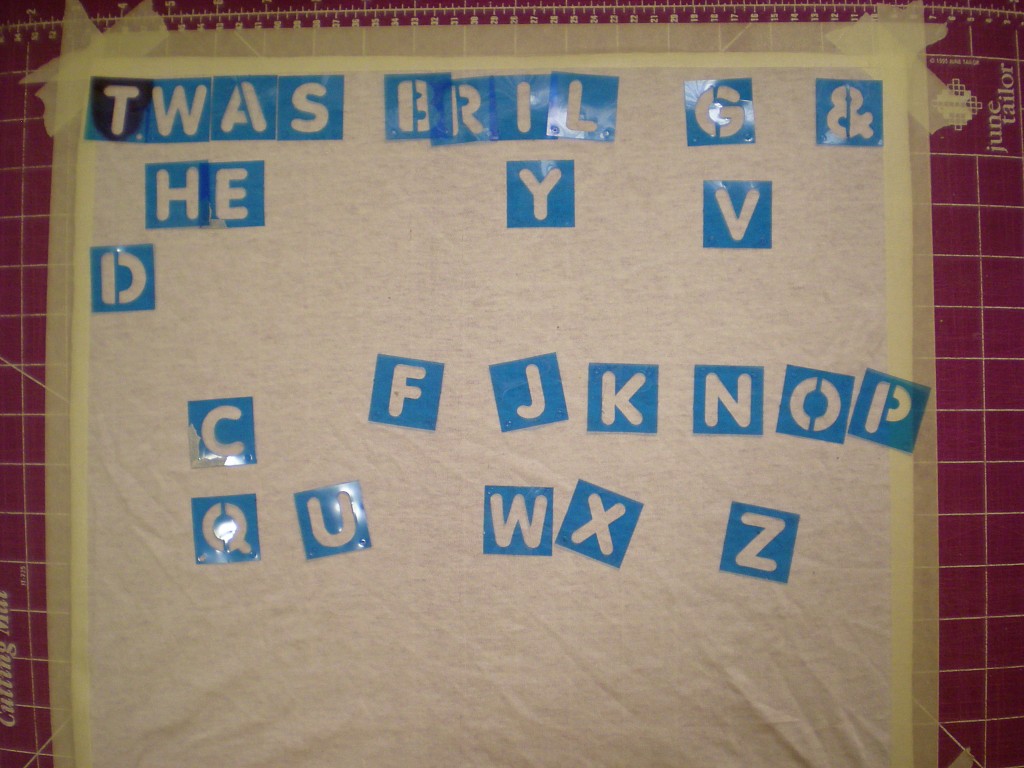
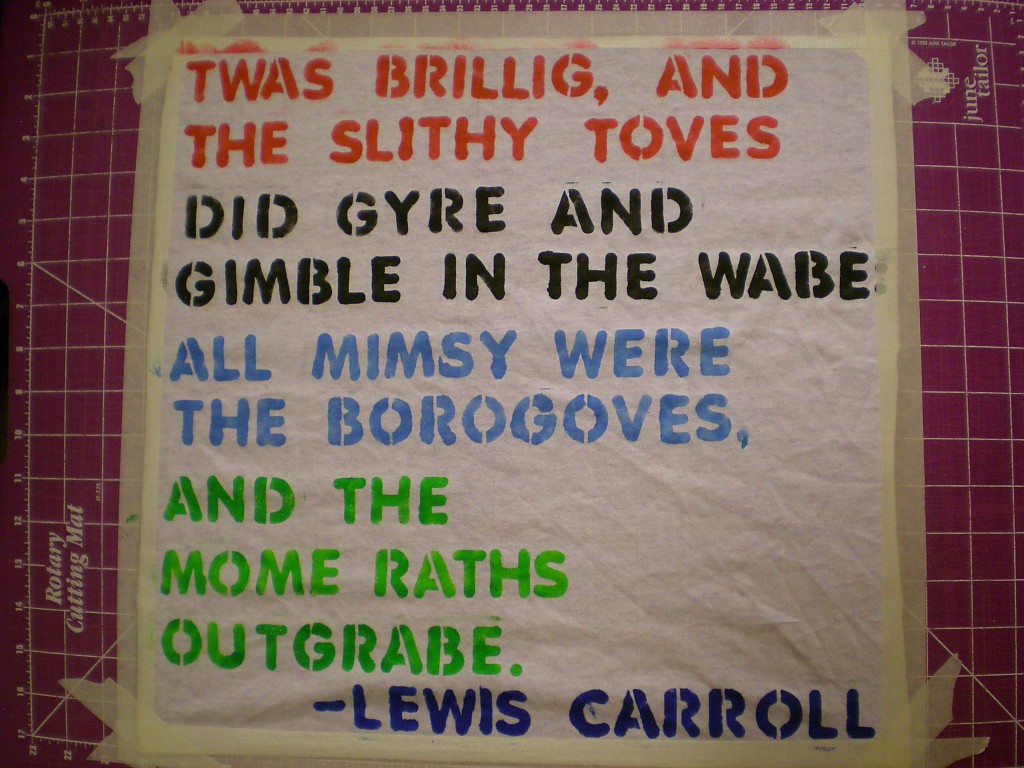
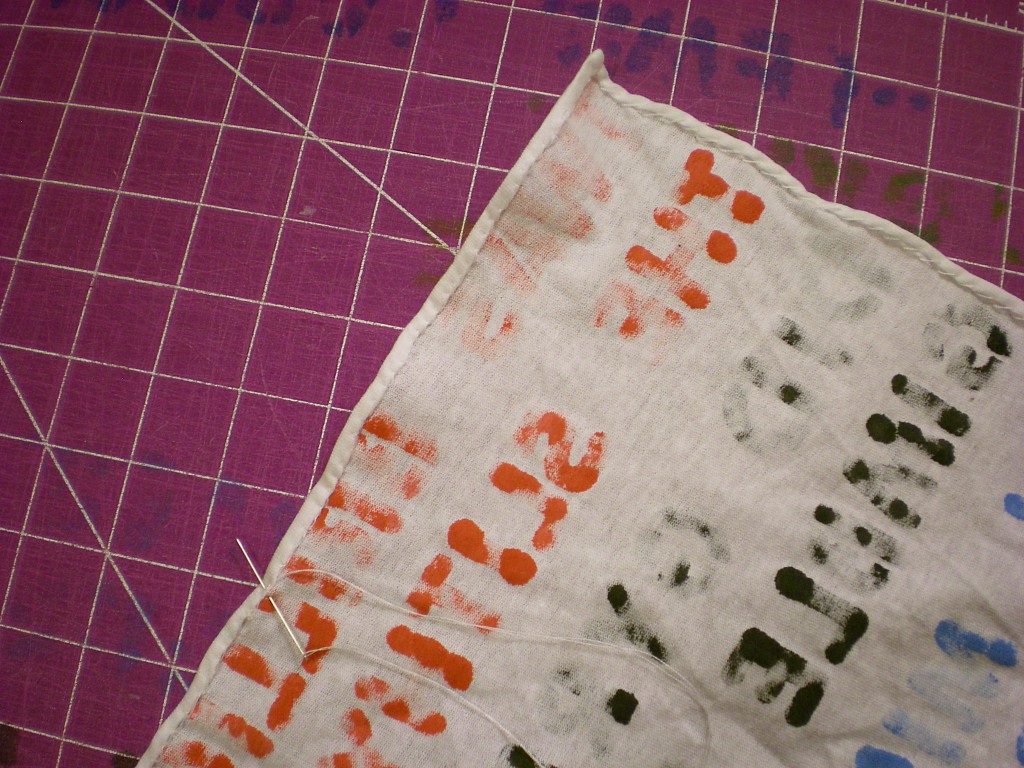
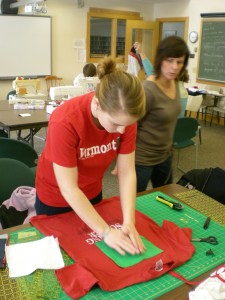
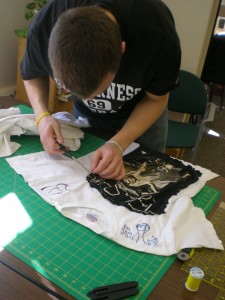
1. Cut a 17″ x 17″ square (or smaller, depending on your preference) from one layer of the T-shirt. Tape the edges of the square to your painting surface with masking tape. (This will allow for a margin as well as keep the fabric straight while you’re painting it.) Choose a poem or stanza and arrange the letter stencils on the T-shirt square. And don’t forget to save room to credit your poet! Note: The paint will bleed through (as evidenced in the following photos!) — use a paint surface that you don’t mind making permanently colorful!

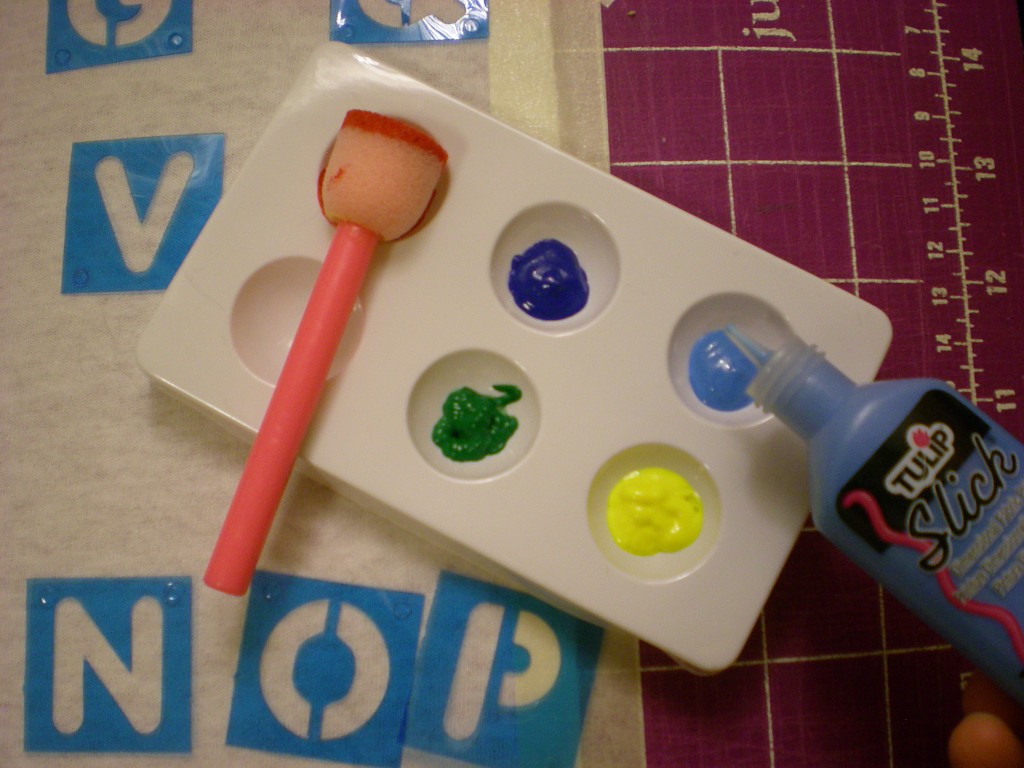
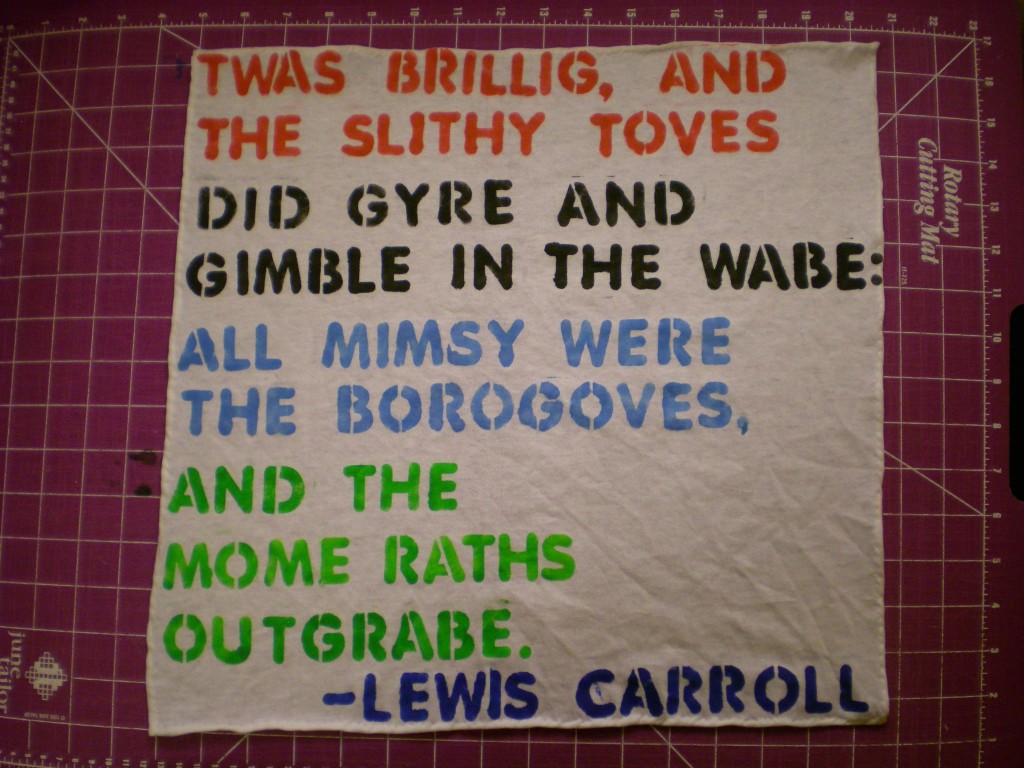
2. Select your paint colors. I chose to use a different color for each line of the poem to highlight the original line breaks. (P.S. Can you guess the poem, Wheel of Fortune-style, based on the letters placed above?)

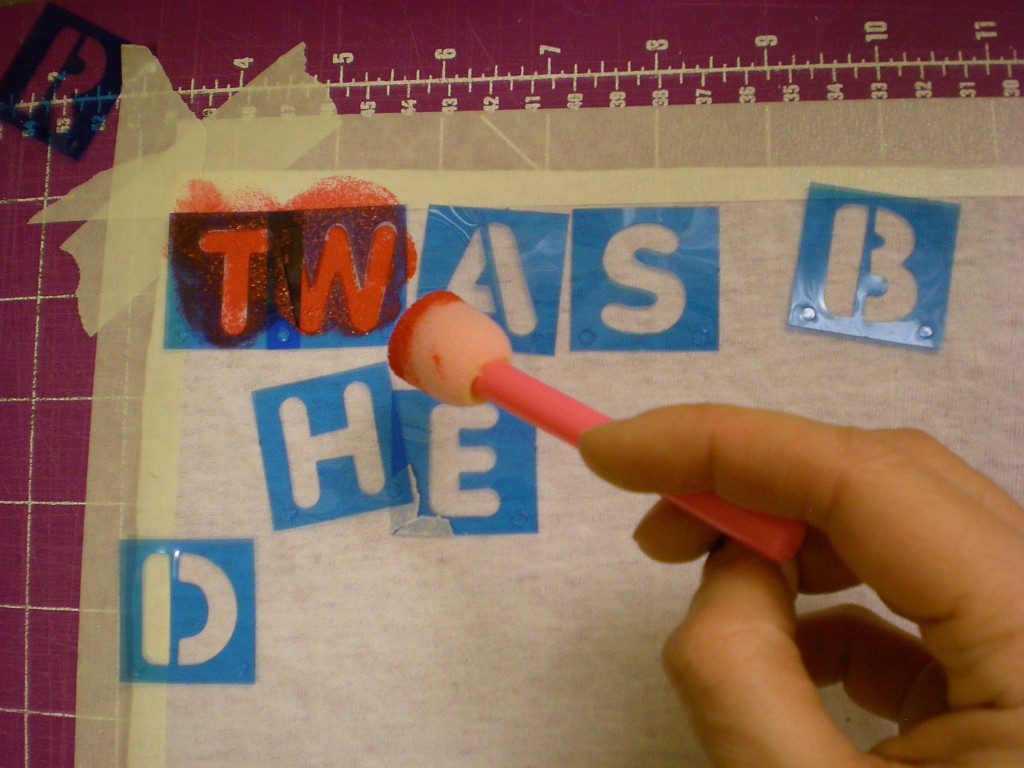
3. Use the sponge brush to dab the paint over the stencil one letter at a time. Note: Some of the letters will need to be moved as you go, to ensure even spacing and to account for repeated letters.

4. Continue painting, changing colors as needed, until the square is filled and/or your stanza or poem is complete. (P.S. Yes, it’s Lewis Carroll’s “Jabberwocky.”)

5. Remove all the letters and peel off the masking tape to release the T-shirt square. Let the paint dry completely. (Don’t forget to wash your fingers if you, like me, inadvertently gave yourself a rather colorful but clumpy-looking manicure!)

6. Thread the needle, knot the end and carefully turn the edges under twice. Use a slip stitch to sew the edges in place around the perimeter of the T-shirt square.

7. Tie off the ends, snip your threads, and look online to….
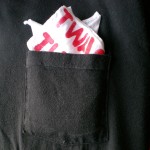
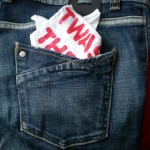
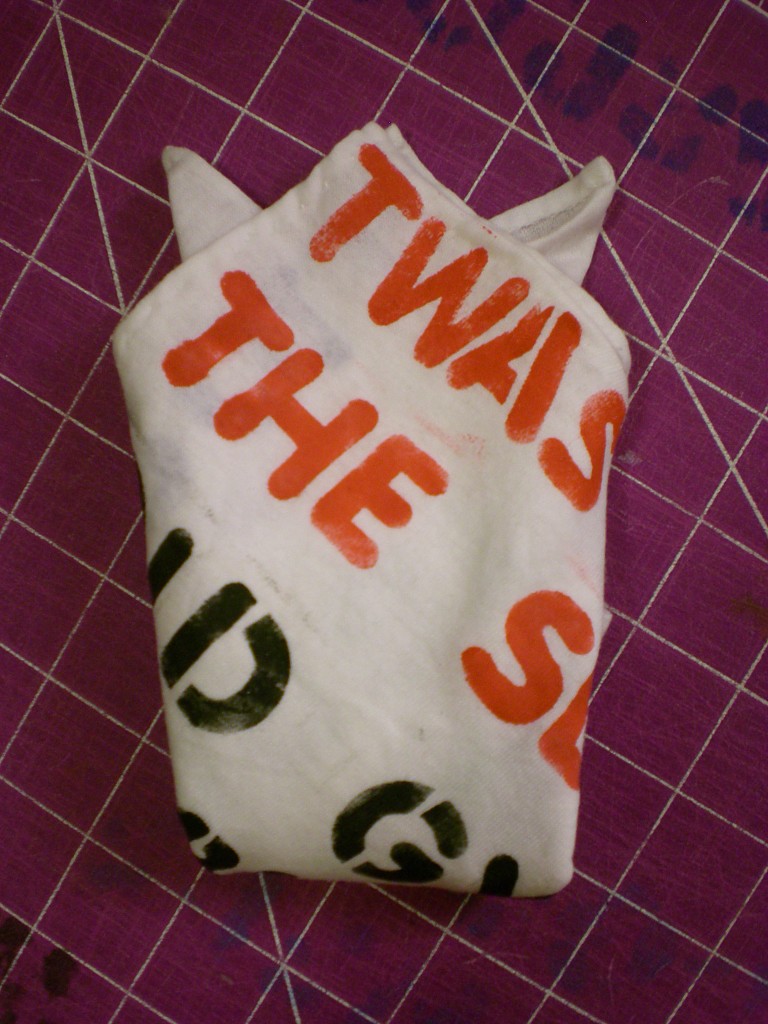
8. …learn to fold (and unfold and fold and unfold–and read–and fold again) your poetic pocket square! So, is that a poem in your pocket, or are you just happy to see me?

Variations:

-Use fabric markers in lieu of paint and stencils to fit more text (and/or more stanzas) on the square.

-If poetry’s not your thing, paint or print a quotation that inspires you!


[ 3 Comments | Posted on March 22nd, 2011 ]

T-shirt Projects

How to: T-shirt Hooded Scarf

Hat plus scarf? Yes, please! Pack just one item and save space for other necessary springtime accessories. In honor of the first full day of spring (the official start to the new season) and our bidding goodnight to winter, I present “Hoodnight Moon,” project #27 from Generation T: Beyond Fashion. This hooded scarf will bring out the kid in you. Pretend that you’re a mysterious spy in a foreign land… Wrap yourself up and hide from that not-yet-summery-breeze… Wear it to walk your dog, keep a low-profile at school, or take a late-night trip to the deli to buy a pint of ice cream and the next morning’s paper.
Make it:

Excerpted from Generation T: Beyond Fashion (Workman, 2009).

[ 5 Comments | Posted on March 21st, 2011 ]

Adventures

Sittin’ on the Dock of the Bayswater Book Co.

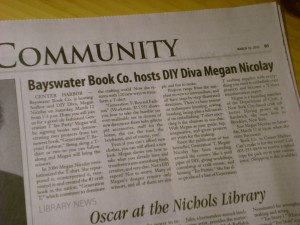
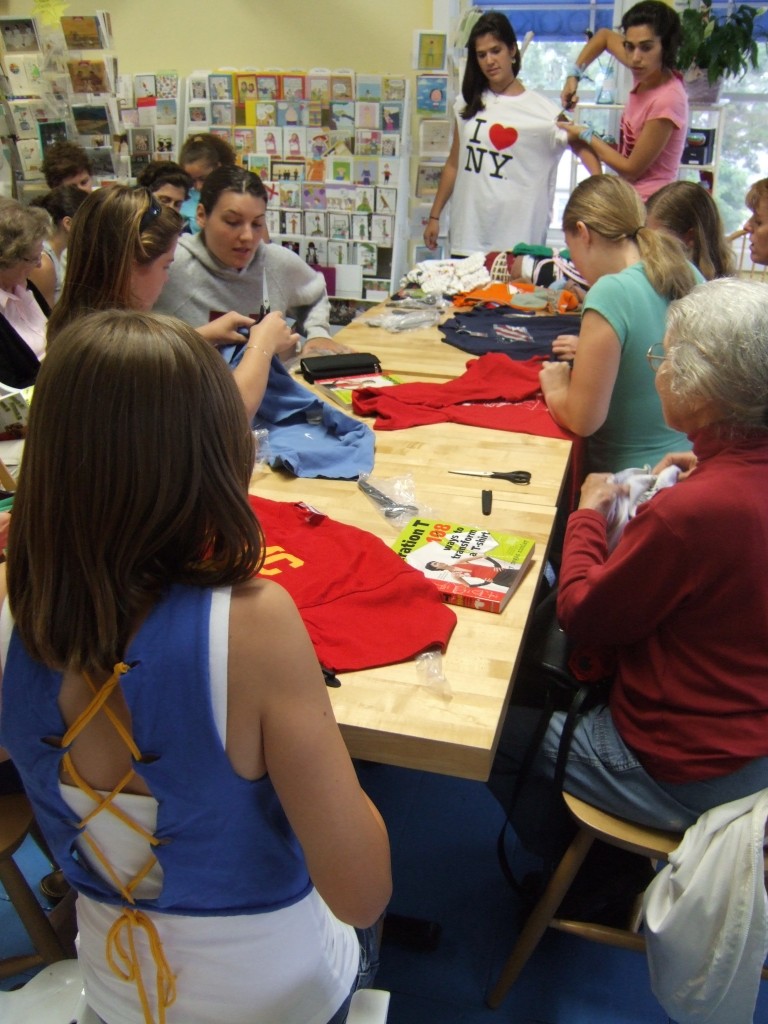
It’s hard to look ahead to T-shirt weather when there’s still more than a foot of snow on the ground, but it didn’t seem to bother the folks in New Hampshire who stopped by Bayswater Book Co. on Saturday for the Generation T Tee Party!

Some nice shout-outs by the local papers made for a cozy crowd, and a handful of scissors made the T-shirt sleeves fly!

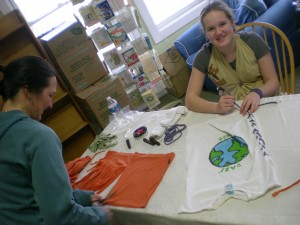
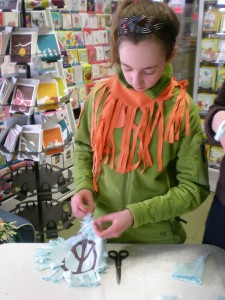
Bridie was my fabulous model for the halter top demo. Then she and her mom, Katie, who brought T-shirts from home to transform, made the Mane-iac scarf (project #91 in Generation T: Beyond Fashion) and the Outer Lace tank top (project #16 in Generation T).

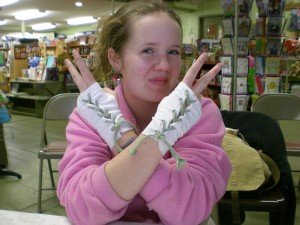
Bridie peaced out, turning her discarded T-shirt sleeves into a pair of laced up Gimme Some Glovin’ glovelets (project #103 in Generation T: Beyond Fashion). Then Katie refashioned a Back in Action tee (project #101 from Generation T: Beyond Fashion) to wear to teach yoga classes next week.

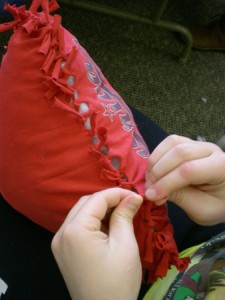
Ella fashioned a Mane-iac scarf, too, and then made a no-sew knotted pillow (Pillow Talk, project #30 from Generation T: Beyond Fashion) out of a T-shirt she had outgrown (definitely keeping with the peace theme, too!).

And several Tee Party-goers went home with their own signed copy of Generation T and Generation T: Beyond Fashion!

Then it was back to Holderness School for the second week (and the second eco-fashion show) of Artward Bound.

[ 3 Comments | Posted on March 18th, 2011 ]

T-shirt Projects

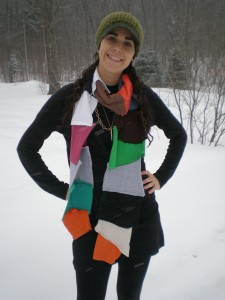
How To: Amazing Technicolor Sleeve Scarf!

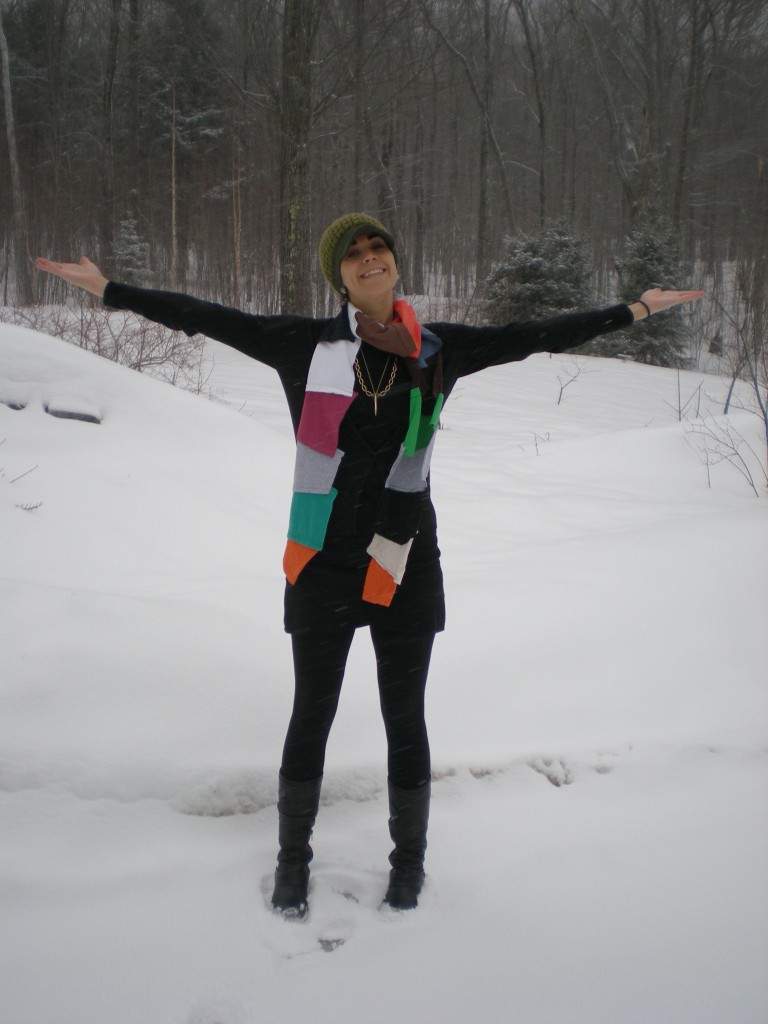
It’s hard to “think spring” when the maple syrup buckets are out, the frost heaves are quaking, and oh, it’s snowing. Not exactly T-shirt weather. And yet, T-shirts have their place.

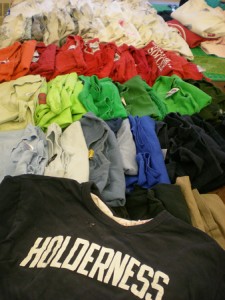
This scarf design grew out of a challenge for my first week students at Artward Bound: We were running low on T-shirts (having already refashioned 206!) and so we hit the scrap bin to make accessories.

I like the rough edges and charmingly awkward shapes and how they patchwork together (and yes, those white blurs are real, legitimate snow flakes swirling about).

Materials:

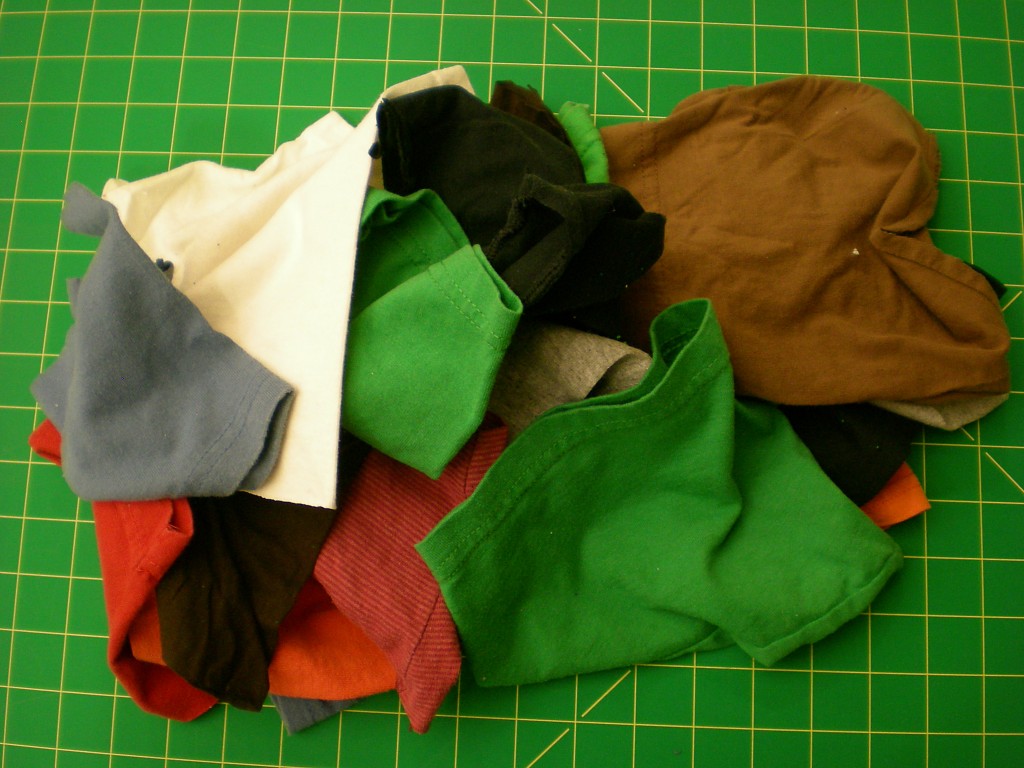
-16-20 T-shirt sleeves

-scissors

-straight pins

-needle and thread (or access to a sewing machine)

Make It:

1. Gather T-shirt sleeves in various colors and trim off extra fabric or stitching on the inside edge of the sleeve.

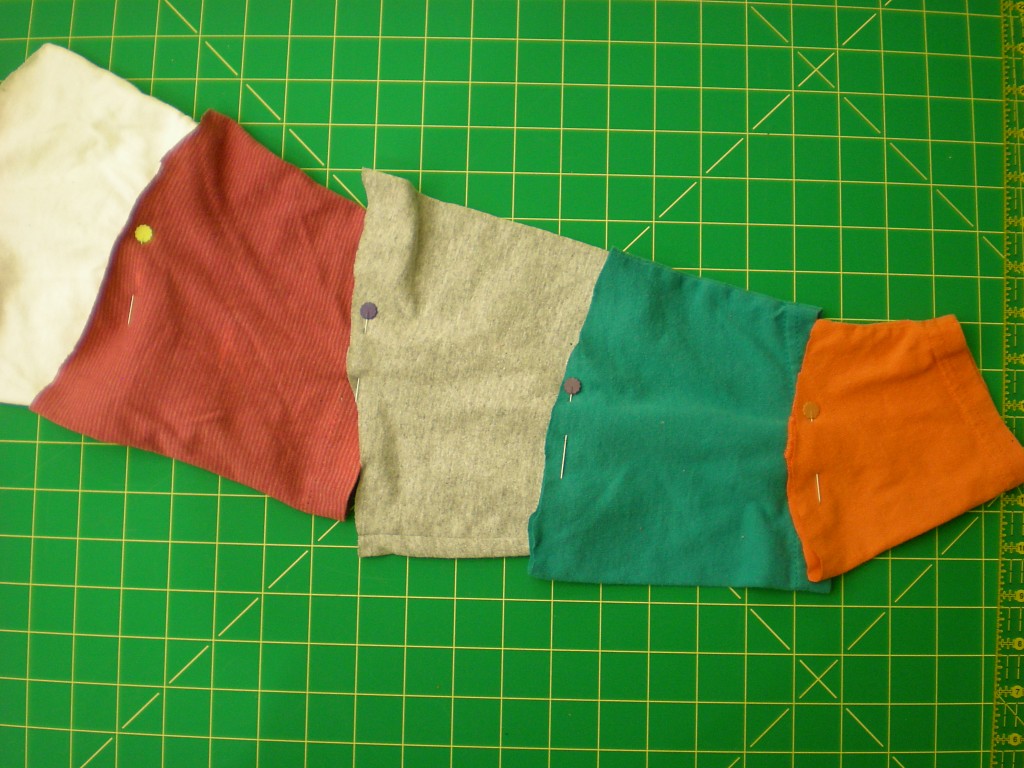
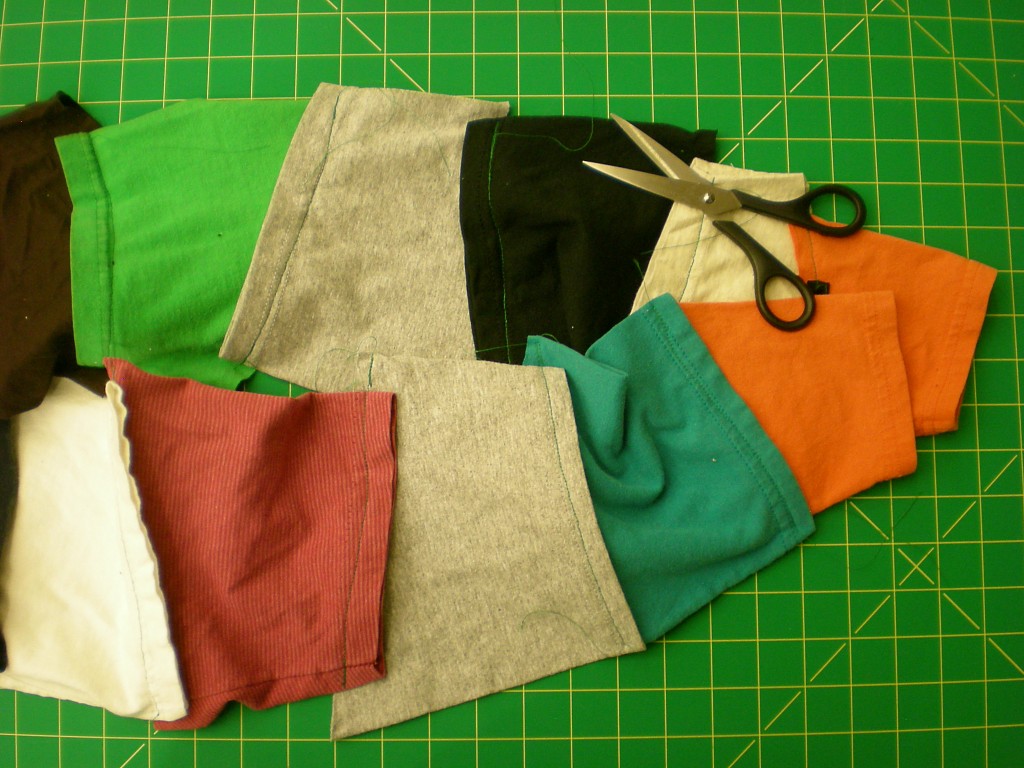
2. Line up the sleeves, overlapping the ends about 1″, and pin them in place.

3. Sew a straight stitch along each pinned overlap. Remove pins and trim the threads.

5. Wear your new scarf to add a splash of color (or eight) to a winter wonderland!

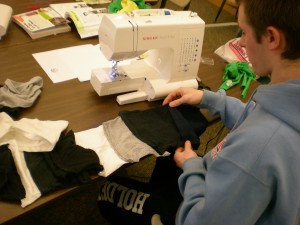
On a related note: Stay tuned! One of my students this week has fashioned a pair of pants almost entirely made from sleeves. Appropriately, I have nicknamed them “The Amazing Technicolor Dream Pants”–he’s pondering a blog to track their travel…i.e. The Brotherhood of the Traveling Amazing Technicolor Dream Pants).

[ 5 Comments | Posted on March 15th, 2011 ]

Adventures

Photo of the Day!

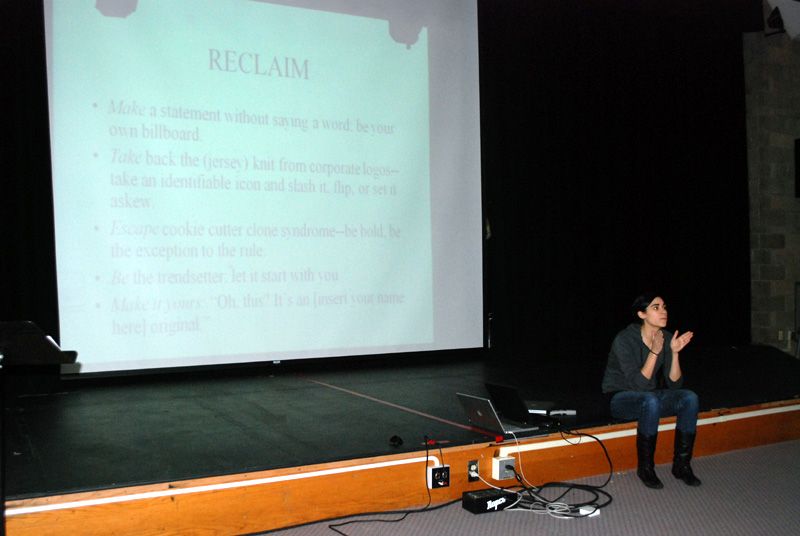
As you know, we’ve been busy up here in northern New Hampshire. In addition to the killer fashion show my students participated in on Friday night (I’m putting together a slide show to share with you soon!), I made a presentation to the all-class assembly on Saturday morning to kick off Week 2 of the Artward Bound workshops at Holderness School (yes, that means there’s a whole new group of students preparing for another fashion show before week’s end!).

I spoke about the beginnings of Generation T, the commitment to sustainable DIY fashion, and the concept of “ReMake It New” (the theme of this year’s Artward Bound program)–all framed by a proposed revised perspective on the 3 Rs (Reduce, Reuse, Recycle –> Remake, Refashion, Reclaim).

Well, each day, a photo is selected by the Head of School to represent the goings-on at Holderness School… and I made it onto the front page on Saturday (March 12, 2011)–poor posture and all!

[ Comments Off on Photo of the Day! | Posted on March 14th, 2011 ]

Adventures

Artward Bound is Runway Bound!

The countdown is complete. The Holderness School Artward Bound “ReMake It New” eco-fashion show is tonight! Here’s another behind-the-scenes look at my young designers in action.

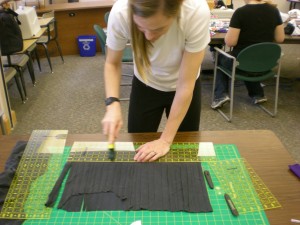
The boys shocked and awed us all with their refashioned tight-tight shorts (they used project #57 “Antsy Pants” toddler pants from the kids chapter in Generation T: Beyond Fashion as their guide, so are we really surprised?) Here, Andy cuts out the pattern. Then Gavin oversees him adding a storage pocket.

Danielle learns the no-sew lacing technique to modify her T-shirt before she takes it the spray paint table to frost the edges in blue.

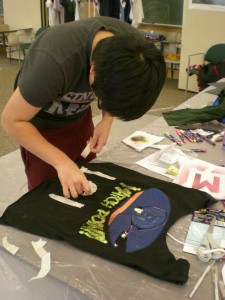
Using masking tape as a freehand stencil, Ben fabric spray paints his mark of rebellion. Christian handstitches a fabric applique onto the front of a T-shirt (his third this week!).

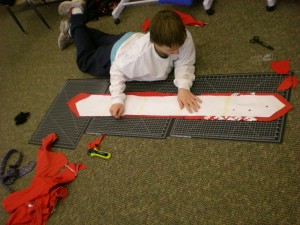
Jeff pieced together parts of three different T-shirts to make a tie to wear for dress code!

Riggs pinned a T-shirt applique on the back of a not-so-exciting sweatshirt he brought from his room before he hit the sewing machine. Dan outlined his basketball number 35 with masking tape and spray painted it, then added some appliqued patches–he even took it for a test run in the gym the same afternoon!

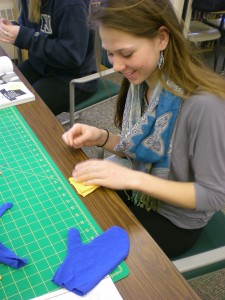
On Day 3 we started to run low on our T-shirt stash, which introduced the scraps accessories challenge! Iashai and Macy responded solidly with laced-up glovelets (from Generation T: Beyond Fashion) and….a mitten!

Faculty leader Lindley made a no-sew fringe-filled scarf (“Mane-iac,” project #91 from Generation T: Beyond Fashion).

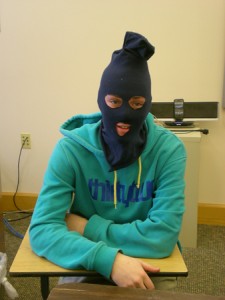
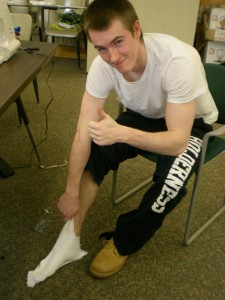
Francis M. made a ski mask, while Andrew attempted a T-shirt scrap sock…

…before abandoning it for a black-gray-white sleeve scarf (tutorial to come!).

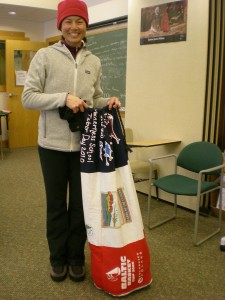
And, in the non-wearable department, faculty leader Merilee stitched a giant stuff sack (using project #38 “Clean Machine” laundry sack), Hannah worked on a knotted throw (#63 “Roll it, Patch it, Mark it with a Tee!” no-sew quilt) from Generation T: Beyond Fashion.

GP stitched up a #42 “Plastic Surgery”grocery tote (as well as a drawstring bag with scraps!) that he personalized by hand stenciling his name with masking tape and white fabric paint. Kendra made a no-sew knotted pillow #30 “Pillow Talk.”

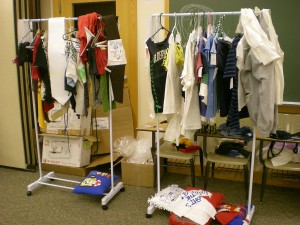
The garment racks are full, so now it’s off to rehearsal!

If you’re in the area, the student performance will start at 7:30 in Hagerman Auditorium (in addition to the “ReMake It New” eco-fashion show, there’ll be live drumming, dancing, and slam poetry!). For the rest, you’ll have to wait for the pictures.

[ 1 Comment | Posted on March 11th, 2011 ]

Adventures

Artward Bound: Report from the Front Lines

Artward Bound 2011 is officially underway up in the White Mountains of New Hampshire (and yes, they are quite white with snow despite the steady rain all day on Sunday).

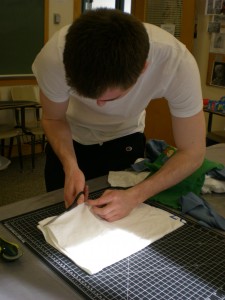
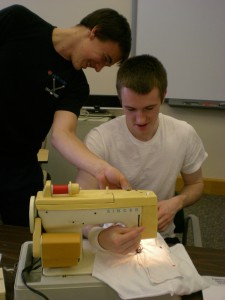
Here’s the report from T-shirt refashioning workshop Day 1 (we just finished Day 3, but it’s been such a crazybusyfun time that this is the first chance I’ve gotten to post!). The challenge: 10 days.  -2 degrees outside, with windchill. 32 students. 4 sewing machines.  Hundreds of T-shirts. Can we create two upcycled eco-fashion lines before [cue dramatic music] time. runs. out? You be the judge!

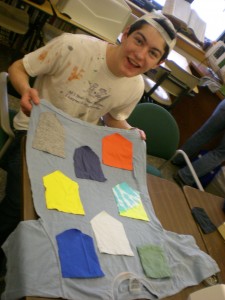
Below, Aiden worked on a shirt covered with pockets (think project #35 “Final Countdown” softie advent calendar from Generation T: Beyond Fashion, only wearable).

Faculty leader Kathryn made a variation of “Back in Action” (project #101, also from Generation T: Beyond Fashion), applying the technique around the neckband of the shirt (also a variation of the Generation T sewing pattern).

Frances stitched a pocket (refashioned from a yellow T-shirt sleeve) onto the front of a striped T-shirt. Then he used masking tape and fabric spray paint to paint stripes over the pocket to match up with the stripes on the shirt.

A young seamstress learned the advantages of a seam ripper!

Aiden discovered a duplicate of his own T-shirt in the tee donation pile…to cut or not to cut?

Addie and Libby set out to make two twirly dresses (the “Fun in the Sun” sundress, #20 in Generation T: Beyond Fashion) for warm vacation in two weeks.

A couple hours later, Addie was done! Well on her way to the catwalk…

In the evening, we took a break to hang the artist show in the gallery! Among the other artists-in-residence is a glass artist (check out those gorgeous platters and bowls), a mixed media paper artist (leading an altered book workshop), a blacksmith (not pictured are some amazing serving utensils, letter openers, and a door latch), a social media artist, a spoken word poet, a drummer, and a dancer/choreographer.

A massive shoutout to iLoveToCreate for the donation of the fabric paints, brushes, and stencils; to Prym Consumer USA for the donation of rotary cutters and cutting mats; to Workman Publishing Co. for the sewing machine loan; and to everyone who dipped into the recesses of their closets to offer up their tired tees for the workshop. Stay tuned, more news and pics to come!

And, if you’re still reading: Please note that the time of the bookstore event at Bayswater Bookstore in Center Harbor, NH has changed to 1 pm-3 pm. Hope to see you there!

[ 2 Comments | Posted on March 8th, 2011 ]

More Fun

From Our Readers: Kay!

Perhaps this post should have been from Gidget, Kay’s enthusiastic little Yorkie muse who likes to “help” out in the craft room (sitting on piles of T-shirts while Kay cuts and sews around her), but to be fair, Kay is the actual reader in this scenario.

Recently, Kay invited Gidget to participate in a more active way–as a model for Kay’s newest creation (think pint-sized version of project #33, The Tying Game tank top,  from Generation T). Kay grabbed a T-shirt sleeve (yay, scraps!), slid it over Gidget’s head, and marked where the legs would go. She slid the sleeve off (lest she inadvertently give Gidget a haircut) to cut holes at the marks. She then cut open the sleeve on the opposite side (what would be the back), cut horizontal slits  along into each edge to make fringe, and tied the corresponding fringe into double knots.

Once finished, Kay let Gidget try on her new Generation T design. The report: Gidget loves it, and thinks it goes especially well with her pink Harley collar. In fact, she loves it so much, that when Kay took it off for just one minute to comb her, Gidget kept jumping up for the tiny tee, barking and snipping until she was wearing it again! Happily T-shirted once more, this fashion plate was ready to vogue-vogue-vogue-vogue all day long.

Love the little punk rock pooch! What a rock star. And I’m spent! ::doggie chin to floor::

[ 1 Comment | Posted on March 3rd, 2011 ]

T-shirt Projects

I Love to Create: A Shoe Travel Bag!

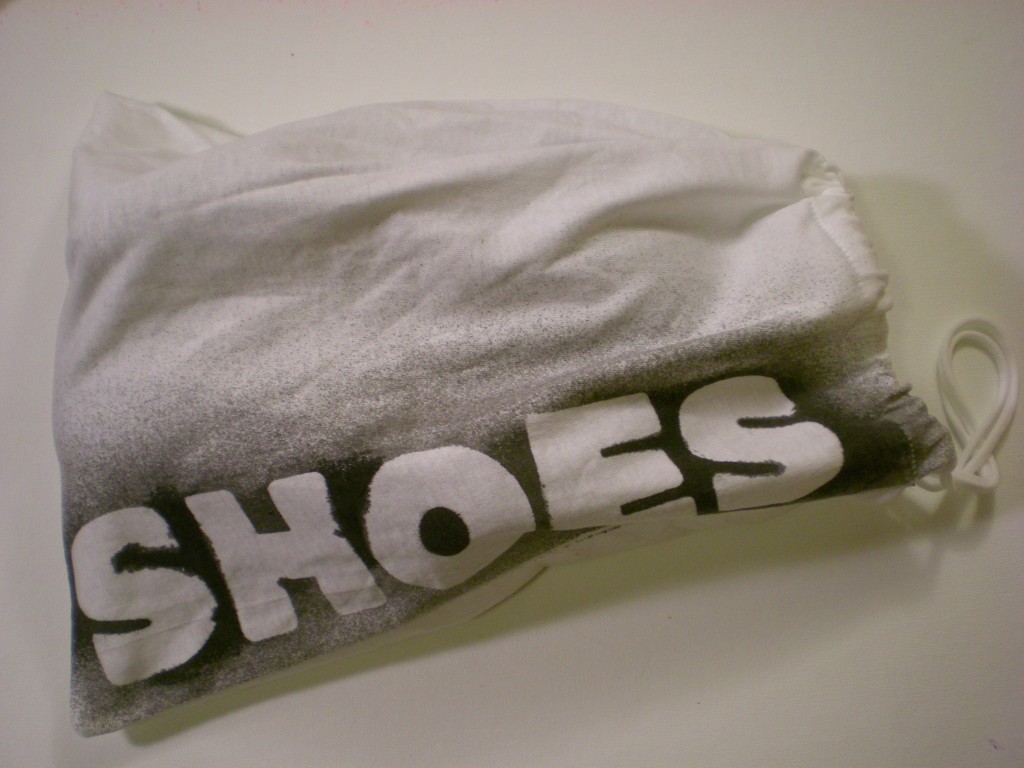
Living in New York, my shoes get especially dirty (it’s a special kind of filth). On the occasion that I’m traveling away from New York (which I am very soon!) and packing for that trip, I like to protect the clothes in my suitcase from all of the grime that collects on my shoes. (The streets may be paved in gold, but that’s definitely not what’s sticking to the soles of my shoes.) Here’s a simple project that makes use of an old T-shirt, requires very little sewing (you use the T-shirt hem as the drawstring casing!), and keeps the rest of your wardrobe fresh and clean. And, because the bag is made from an old T-shirt, it’s easy enough to toss in the laundry when you get home and unpack.

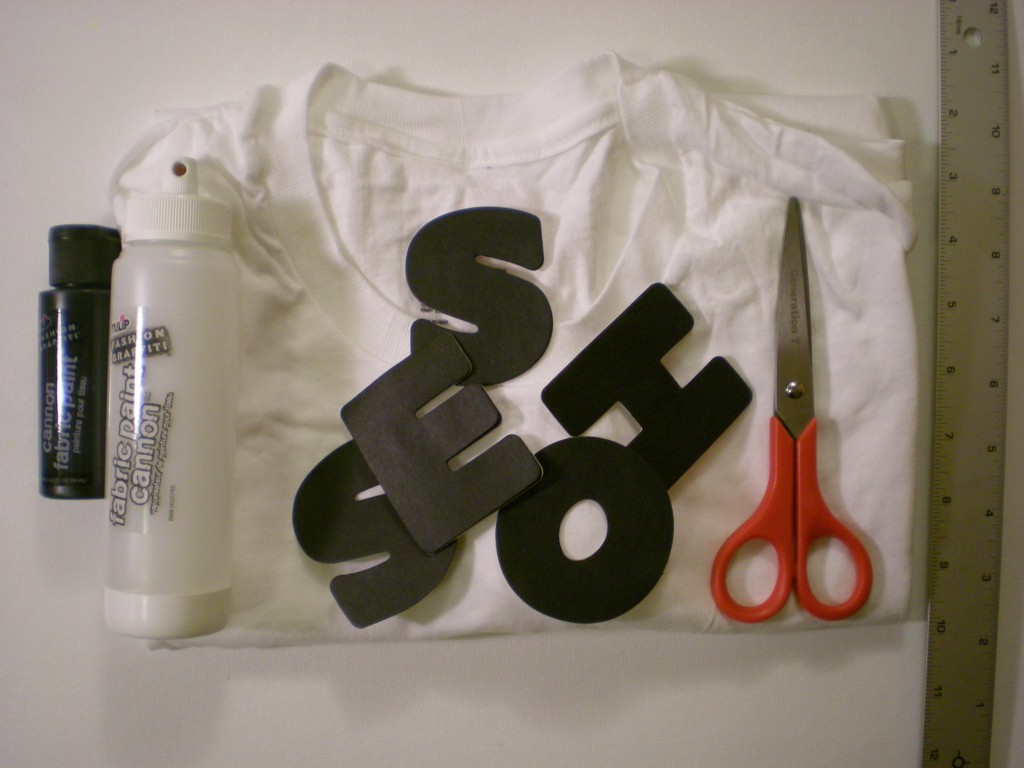
Materials:

-T-shirt (M or larger)

-Ruler

-Scissors

-Sewing machine (with a ballpoint needle and thread), or Needle and thread

-Alphabet stickers (or make your own; I used letter-shaped sticky notes)

Fabric paint and paint cannon (black)

-Safety pin

Make it:

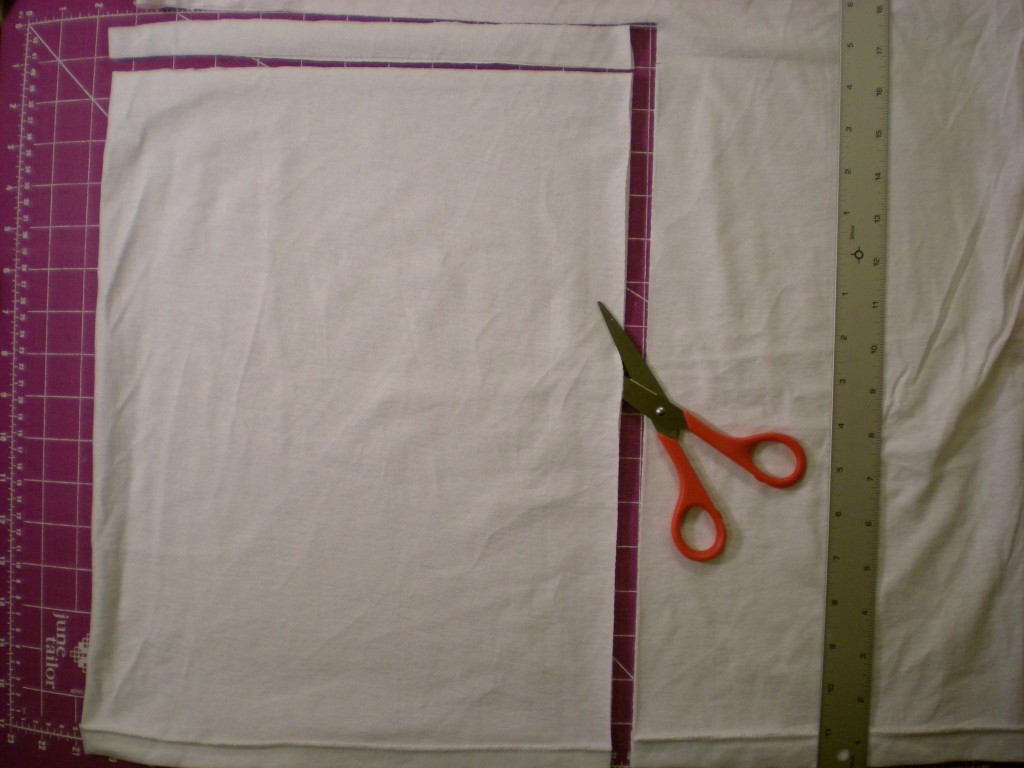
1. Turn the T-shirt inside out and lay it flat. Measure and cut a 12″ x 16″ rectangle extending in from one side and up from the bottom hem. Cut a 1″ strip from the top of the rectangle, through both layers. Set aside the strip.

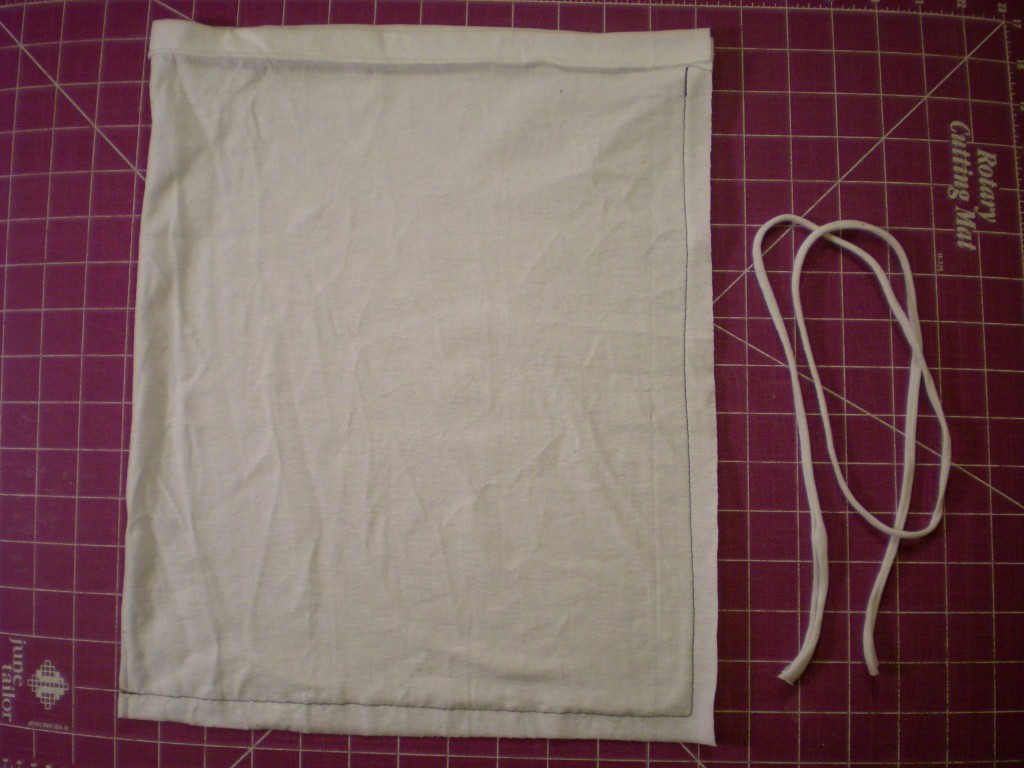
2. Sew a straight stitch along the two cut edges of the rectangle, leaving a 1/2″ seam allowance, and stopping at the hem (this becomes the drawstring casing. (I used contrasting thread for visibility, but matching your thread to the fabric color is recommended.)

3. Turn the bag right side out and lay it flat, oriented with the hem (the opening of the bag) at the top. Stretch out the fabric strip to make a drawstring cord and set it aside again. Arrange the letters across the side of the bag. (Note: Use stickers to achieve a “clean” edge along the letters…I like the rough edges that a little paint seepage creates, so I let the edges of my letters curl up a bit.)

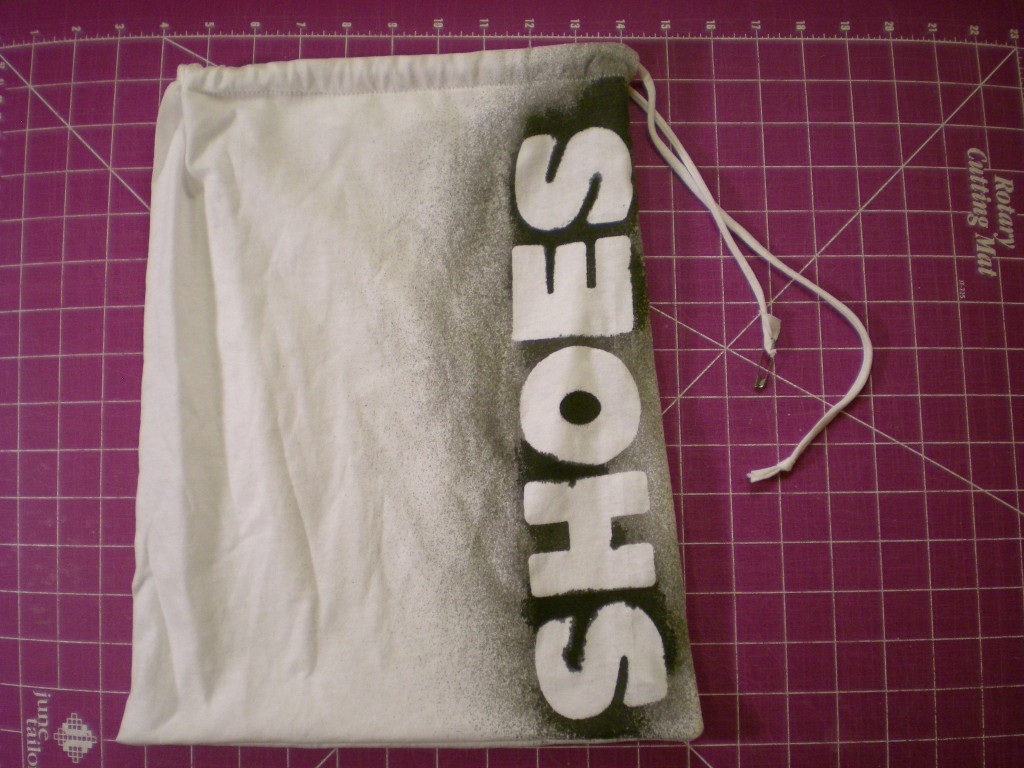
5. With the fabric paint, spray lightly over the letters and let dry completely. (Paint will seep around the sides of the letters that are not sealed flat, creating a rough-edged look to the lettering.)

6. Carefully peel off the letters to reveal the reverse silhouettes. Attach a safety pin to one end of the cord and draw it through the entire drawstring casing. Remove the safety pin and tie the ends together in a knot.

7. Now spin the globe, land your finger, and buy a ticket! If your shoes are made for walking, this T-shirt shoe bag is made for packing. Bon voyage!

Variations:

-Differentiate your various shoe stashes by making multiple bags–do away with the generic “shoes” label and instead indicate heels, flats, sneakers, and so on.

-Scrap the shoes altogether and use the bag to pack pajamas for a slumber party!

P.S. Happy National Craft Month! How will you celebrate?

[ 3 Comments | Posted on March 1st, 2011 ]

Events

Center Harbor, NH @ Bayswater Book Co.

Please stop by Bayswater Book Co. on the lake in Center Harbor, New Hampshire on Saturday, March 12 for a good ole fashioned Generation T Tee Party! I’ll be signing books, demonstrating two projects from Generation T: Beyond Fashion (don’t forget to pack a T-shirt or two so you can follow along!) and hey–maybe I’ll even bake cookies for you, too.

As some of you may have already heard, I’ll be in town for the artist in residency program at Holderness School — and I’m so excited to be able to squeeze in a visit to one of my favorite indie bookstores. (Here’s a photo from my trip there back in 2007, for a Tee Party with Generation T: 108 Ways to Transform a T-shirt.) Growing up in the Granite State, Bayswater was one of my local bookstores, and it holds a very special place in my heart. Not only do I visit the store often (whenever I’m back visiting family!), but my favorite summer job in high school was that of “story lady” at Bayswater. Once a week I selected a general theme and selected books from the shelves of the bookstore to share with the kids and have a discussion (future book club members, for sure!).

Hope to see you there!

Bayswater Book Co.
23 Main Street
Center Harbor, NH 03226

[ 1 Comment ]