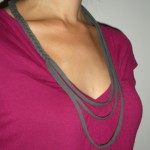
 I’ve been on the road so much that I haven’t had time to post many new projects, but because a number of people commented on the necklace I was wearing the night of the kick-off Brooklyn event back in June, I thought I’d burn some midnight oil and write a tutorial for you all. Made from a few T-shirt scraps, this one gets the “Green Tee” label for being especially eco-conscious. It was inspired by a sterling silver chain that the stylist’s assistant wore the first time I met her before the photo shoot for Generation T: Beyond Fashion. It’s lightweight, easy to make, and quite stylish (my sister liked the first necklace I made so much that she stole it off my neck that night!). Here’s how you can make your own.
Ingredients:
3 T-shirt strips (about 1″ wide) cut from the bottom hem of a T-shirt
scissors
safety pin
needle
thread
1. Collect or cut three 1″-wide strips from the bottom of a T-shirt. Stretch out the strips to make long cords. Optional: Collect scraps from different T-shirts for a multi-colored look.
2. Tie the ends in an overhand knot about 1 1/2″ to 2″ from the top.

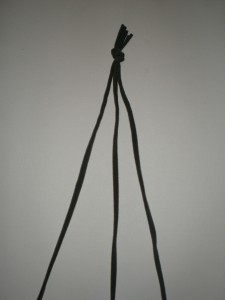
3. Starting at the knot, braid the three strands together until you have an approximately 12″-long braid. Pinch the end of the braid together (or use a safety pin).
4. Then sew a few stitches through the end of the braid, making sure to go through each of the strands at least once. Knot and trim the thread.
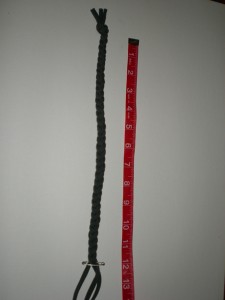
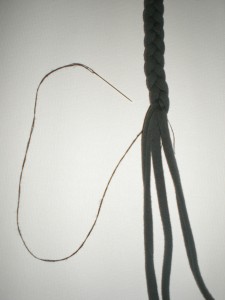
5. Drape the ends of your necklace strands and then trim them so that each strand is about 2″ shorter than the next. (These measurements will vary depending on the length of your torso, but start with the measurements 27 1/2″, 25″, and 23″ and you can always trim more.)
6. Line up the ends and gather them together. Loosen the knot at the end of the braid and insert the ends, then tighten to secure them .
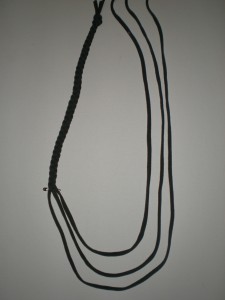
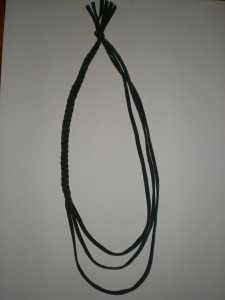
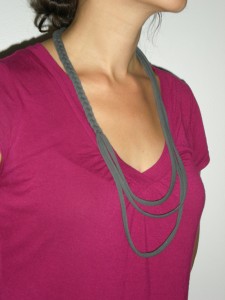
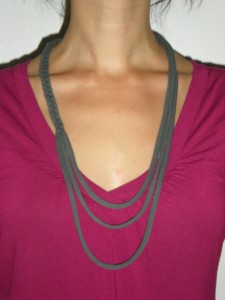
7. Try on the necklace, arranging the knot so it sits at the back of your neck. Ta-da!
[ Posted on August 21st, 2009 ]


i love this! this is darling! thanks!
I love this necklace too!!! 🙂 I also think it’d look cool to add some chunky beads to the unbraided parts (maybe one, three, or five per section, with the biggest bead in the middle).
really nice 🙂
This is so cool! I’ve been looking for a necklace with this kind of style for a while. I’ve been wearing it nonstop for a week!
Awesome! Glad you like it — send us a pick! (Or post it over on the Generation T facebook fan page!)
that is so so so cute! it seems so easy too! I love your book!
this is really so cool and reaaly cute may be i cn sew it along the neck of my top
totally! you can trim the neckline of a shirt with the braided cord!
Dude, I am totally trying this! Thanks Megan!
I just tried it out with macrame. It looks great.
just completed this and i can’t wait to show it off and tell everyone “i made it” thanks!
Congrats, Felicity! Yes, now go show it off 🙂
Cool! I’m gonna try this.
Although, could you braid BOTH sides instead of just the 1st?
Absolutely! I have a whole bin of braided cords in my workshop that could be used as belts, headbands, necklaces, bracelets….or trim around the neck of a tee or tank top!
This is so cute! I really wanted to make some of my own stuff for back to school, and this is really giving me ideas. The necklace is so clever. I <3 this!!!!!!!!!!