Posts Tagged ‘DIY gifts’

How to: Grill Mitts from Old T-shirts!

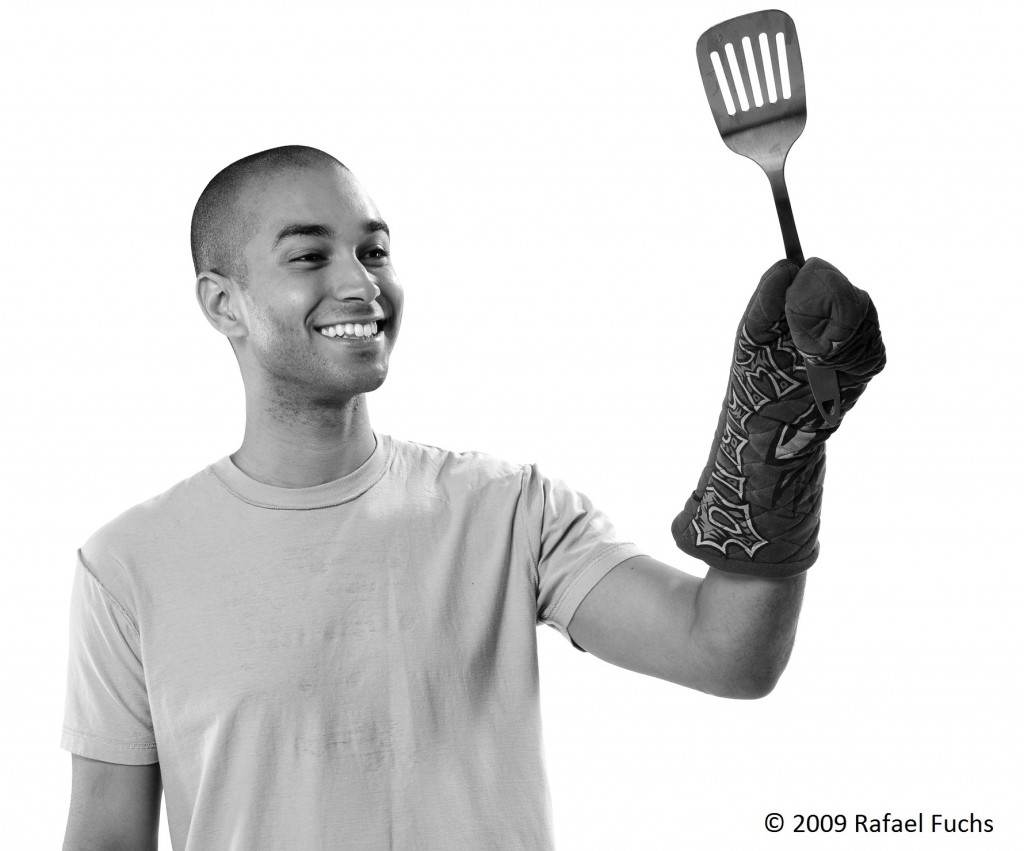
Before you fire up the grill this summer (Happy 4th of July! Happy belated Canada Day!), fire up that sewing machine to make a grill mitt or two from some old T-shirts that aren’t fit to see another season in the sun in their current form. I dipped into book 2 (Generation T: Beyond Fashion) to bring you this one!

Grill-Mitts-cred

Materials:

2 T-shirts (100% cotton)
pencil
paper
ruler
straight pins
½ yard batting
scissors
needle
thread

Make it:

1. First, make a paper pattern by tracing around your hand (with your thumb at a 45-degree angle). Leave a 1″ allowance, as shown. At the base of the palm, widen the tracing to 2″ and extend it 7″ down. Cut around the tracing. fig 1

2. Lay one T-shirt flat and fold it in half, bringing the bottom hem up to the neckband in the back. Lay the pattern on an angle on the front of the T-shirt and pin it through all four layers. Cut around the pattern. Repeat on the second T-shirt, reversing the pattern so that the thumb points in a different direction.

fig 2


3. Fold a portion of the batting in half and pin the pattern onto it through both layers. Cut around the pattern and remove it.

fig 3


4. Sandwich a layer of batting between the layers of the T-shirt (there should be two layers of T-shirt, one layer of batting, two layers of T-shirt) to create one half of the mitt. Pin in place. Take that mitt half and sew a series of running stitches in crisscross diagonal lines, through all layers, to create a quilted look, as shown. Repeat on the other piece of the mitt.

fig 4


5. Lay the two pieces (sides) of the mitt right sides together (meaning the pieces with the logos are facing). Making sure to go through all layers, sew a tight whipstitch or a running stitch around the perimeter of the mitt, leaving the bottom edge open.

fig 5

6. Carefully turn the mitt right side out (the thumb will be a little tricky—use a pencil to persuade it if necessary).
7. Measure the circumference of the bottom opening and add 1″ to get x”. Cut a 2″ by x” strip of fabric from one of the T-shirt remnants. Line up one long edge around the opening and pin, right sides together. Sew a running stitch about ½” from the edge, being sure to “catch” all layers. Remove the pins.
fig 6

8. Fold the edge down ½” and then wrap it tightly around the raw edge to the inside. Pin and carefully sew a whipstitch securing the edging in place. Remove the pins. Optional: Repeat steps 2–8 to make a second mitt.
fig 7

9. Ready to get all up in that grill? The (veggie) burgers are ready to be flipped and nothing’s too hot to handle!

up-in-my-grill


[ 1 Comment | Posted on July 2nd, 2015 ]

I Love to Create: A DIY Necktie for Dad!

I know, I know — a tie can be the ultimate in clichéd gifts for dad. But hear me out: The problem isn’t with ties themselves, it’s boring ties.  Below is a technique for making a one-of-a-kind tie for that one-of-a-kind guy. Note: Lest there be any confusion, the photo below is not my dear ol’ dad, but my charming husband (“Mr. T”), who’s always a good sport when it comes to modeling my projects!

I have a history of making ties for my dad — not because he’s necessarily a tie-wearing kind of guy, but the school where he teaches has a dress code that states that all the guys have to wear a tie. It seems a little silly, given that he’s an art teacher and a tie dangling into a tray of photo developer or getting splattered with clay in the ceramics room is far from ideal, but he’s always embraced the tie with a great bit of humor and creativity. Though we couldn’t dredge up the handmade tie I gifted him when I was 7 (suffice it to say, I must have cut out the tie myself, too, because it was about 6″ wide and at least 6″ too short), I decorated it with felt pieces arranged into the shape of a smiley face. In high school, I was obsessed with going to the bead store, so I stitched some metal charms onto a black silk tie (above left). More recently, I embroidered the golden spiral inside a golden rectangle on the end of a tie (above right). But for my dad’s next tie, I’m using fabric paint. Here’s a project that a kid of any age can get into, and any dad will appreciate.

Materials:

-Plain necktie

-Image or pattern to turn into a stencil

-Freezer paper

-Pen or pencil

-Craft knife and cutting mat

-Artist’s tape

Tulip Fashion Graffiti Paint Taggers fabric paint

Round paintbrush (for stenciling)

Paint tray

Make it:

1. If you have the option, first tie the tie properly and mark the areas of fabric that will be most visible (it would be a shame to spend time on some delicate design only to have it hidden in the middle of the knot or under the collar). Otherwise, it’s wise to keep the design down on the widest part of the tie. (I marked my tie, but then decided to keep the design near the ends.)

2. Choose your design and print it out. My dad has always been fascinated by the golden mean, a naturally existing ratio of approximately 1 to 1. 618 (see the embroidered tie above) that is used to describe the relationship of many living things found on earth (it’s in the  pattern of the seeds in a sunflower, the architecture  of the spiral chambers in a shell, the growth of leaves on a plant stem, the ratio of hand to elbow and head to torso, and so on…). My dad even designed the house I grew up in using this ratio as the model. Then layer a piece of freezer paper over the printout and trace it. If you use letters or numbers (like I did), make sure you add the appropriate vertical lines to the type treatment so that when it comes to cutting and painting, you don’t end up with an “O” or a zero that’s missing its center. Use the craft knife to carefully cut out the stencil. Note: At this point, yes, I fully recognize that “#1 Dad” would have been far easier, but hey, it’s all about personalization, and he happens to be my “#1 to 1.618033988749894848204586343656 Dad.”

4. Arrange the stencil over the tie and tape it in place to prevent shifting. (I taped the front and back to make sure it was secure.) Note: Artist’s tape should peel off well, but test a piece on the back of the tie to make sure it won’t damage the fabric.

5. Adding very little paint at a time, dab the brush over the stencil. I picked a metallic silver paint, because I like the sheen and my dad can handle a little flair. To keep the paint from spreading underneath the edges of the stencil, hold the brush vertically so the bristles are perpendicular to the paint surface, and use a blotting motion.

6. When you finish painting (don’t forget the short end of the tie — I decided to incorporate the first part of the golden ratio there, but you could also hide any semi-secret message there), let it dry.

7. When the paint has dried completely, carefully remove the tape and peel the stencil off the tie.

7. Now it’s time to gift it. (Or convince your husband that he has to try it on this morning before he goes to work so you can photograph it before you pack it up and ship it off in time for Father’s Day on June 19!)

Variations:

-For different pattern ideas, try any of the paint or sticker techniques in my 4 Ways to Spray post.

-Forget the stencils altogether and freehand a design with fabric paint.

-Forget the paints altogether and glue on felt appliqués!

-Bonus points if you make the tie out of T-shirts!


[ 14 Comments | Posted on May 24th, 2011 ]

DIY Skirts and Pillowcases and Cakes, Oh My!

In the spirit of the DIY Christmas, I thought I’d share a sampling of the ways in which I incorporated the handmade into my holiday season.  You all read about the headbands and hair ties I made for my niece — I also whipped up two skirts for her (she happens to loooove the color pink–can you tell?). I made this one using a tutorial from TheMerryChurchMouse, who calls this design “The Charming Little Skirt.”

Skirt number two is adapted from the “Easy Elastic Waistband for a Little Girls Skirt” by TheMotherHuddle — the waistband is made from a scrap T-shirt hem!

I also embroidered pillowcases for my sister-in-law. Mr. T found the perfect quotation that combines dreams (appropriate for pillowcases) and architecture (her profession): “An architect is the drawer of dreams.” –Grace McGarvie I added the golden spiral and rectangle since it is the only architectural influence I know! (My dad designed the house that I grew up in and based the entire design around the golden section.)

And to finish with something tasty, this is the Lemon Olive Oil Cake I made for Christmas eve dinner at my in-laws. (Adapted from this recipe.)

If only I had photos of the chocolate truffles Mr. T and I made for dessert the following night…alas, they, like the cookies a week earlier, did not last long enough for a photo shoot. But we scored a stand mixer from his mom for Christmas, so more baking is definitely in our future!

What about you? Will any of your holiday gifts kick-start the DIY project aspirations you have for 2011?

[ 4 Comments | Posted on January 9th, 2011 ]

I Love to Create: No-tug Headbands!

Last month, in preparation for the holiday party circuit, I shared the tutorial for the Softie Spiral Headband. This month, I’m making headgear for the younger generation. These headbands, inspired by a project from one of my favorite books, Crafty Mama, are for my four-year-old niece (though I’m not a Crafty Mama, the Crafty Auntie title is one I take very seriously).

The back story is that my niece is attempting to out her bangs (I tried it, too, at her age — until I had that perfectly disastrous alignment of mom-on-the-phone, scissors-in-hand, and an oh-so-brilliant scheme to rid myself of my bangs far more quickly: I cut them off completely). My niece is more patient than I, but the available solutions to bangs-in-the-face either poke (plastic or metal-based headbands), prod, or pull (barrettes), or are too tight or too loose. In other words, the classic Goldilocks situation. But these stretchy soft headbands are just right. (A Christmas morning photo offers up the results — scroll down to the bottom, since the paper towel roll just doesn’t do the headbands justice!)

Materials:

-package knee-high stockings (1 stocking makes 1 headband)

-scissors

-needle and thread (color to match the stockings)

Aleene’s Fabric Fusion Permanent Dry Cleanable Fabric Adhesive

-colorful felt pieces

-buttons (optional, for embellishment)

-clothespins (optional, for clipping in place while gluing/drying)

Make it:

1. Remove the stockings from the packaging and stretch them out. Cut about 1″ off the top of one stocking and set it aside. Thread the needle, knot the end, and make a running stitch about 1/4″ from the cut end of the stocking.

2. Sew a running stitch along the toe end of the stocking and gently pull the thread to gather the two ends of the stocking together, forming a loop. Make a few more stitches to secure the ends, and knot.

3. Set the loop (the headband) aside, and cut decorative shapes from the felt pieces. Cut several felt strips about 1/2″ by 3″.

4. Wrap one felt strip around the gather on the headband (to hid the stitching and provide a base for the embellishment). Apply glue liberally to the ends of the strip and fold them over each other. Let dry, and reapply glue as needed. (Felt is a very porous fabric, so the glue gets absorbed easily.) While the glue dries on the headband, mix and match felt shapes to make embellishments. Optional: Add buttons, glitter, ribbon, even fabric scrapbook embellishments to personalize the headband.

5. Glue the felt embellishment over the felt seam and let dry. (Again, apply that glue liberally!)

6. You’re done! The stocking headband now becomes the perfect stocking stuffer! Or skip straight to the wearing part — with no complaints of pulled hair, and no shaggy bangs covering up her sweet little face! Tea party, anyone?

Bonus: Remember the 1″ bit of fabric you cut off the top of the stocking in step 1? Follow steps 4 and 5 to make No-tug Hair Ties! Perfect for taming pigtails, ponies, and braids. (Fairy wings come separately!)

Double bonus: If you buy your stockings at the pharmacy or the dollar store, they often come in little round plastic containers that can easily be converted into a simple cat toy — drop a button inside, snap it tightly closed, and roll it across the floor.


[ 5 Comments | Posted on December 28th, 2010 ]

A Gift for You.

Whew! It’s been busy over here in the Generation T workshop. We’ve been cutting and pinning and sewing and gluing up a storm in preparation for Christmas morning (projects which we hope to share with you post-Christmas — alas, there are too many gift recipients following the blog that it’d give away the surprise!). We’ve also made a little something for you! But, the thing is, it’s a surprise until Christmas day (you know, like Christmas!). So, your gift will be revealed (unwrapped, if you will) on Christmas and we’ll mail it the following week.

To enter the gift-away, leave a comment (on the blog or on Facebook) sharing a DIY element you incorporated into your celebration of the holiday season. Did you bake cookies? (I did — lots!) Did you make a salt dough menorah? Stitch up some stockings? Make a wine cozy to deliver that bottle of New Year’s Eve champagne in? Did you make tomato sauce from scratch? Inspire us! Limit 5 total entries per person. Entries will be accepted until midnight on Christmas Eve, EST. We’ll announce the gift and and choose the recipient at random on December 25, 2010!

Happy holidays, Megan & Generation T

[ 48 Comments | Posted on December 21st, 2010 ]

10 Reasons Books Make Great Gifts

Okay, maybe I’m partial to a couple of books in particular (see far right, nudgenudge), but I think books are just swell to give any time of year. The places they live–libraries, local bookshops, your own shelves–are some of the most magical places to visit, too. I’ve bought books for a number of people on my gift list and likewise, I hope there are some nice page-turners I can unwrap and ring in the New Year with. In a hyper-gadget-y world (oh, yes, I have a few myself), here are 10 reasons I think books make great gifts:

1. A book doesn’t need replacement batteries.

2. A book doesn’t need to be recharged.

3. Books are non-allergenic. (As long as they’re not from your grandpa’s dusty attic!)

4. A book allows you to hold a whole world in your hands.

5. A book is portable entertainment.

6. A book is a great conversation starter.

7. A book lets you travel without leaving your chair. (…or futon or love seat or couch or bed or other comfy-cozy spot!)

8. A book can teach you something you didn’t know before–a new skill, a new story, a new word.

9. Books won’t rot your teeth. (Though some of the totally sweet results might…)

10. A book is a gift you can open again and again…and again….!

And here’s what some other readers and writers have to say…from Dan Brown to Danielle Steel to Sandra Boynton to Valerie Bertinelli to Al Roker to Nick Hornby to Alec Baldwin and beyond–check out some of your favorite authors sharing why they think books make great gifts. What about you? Do you love books? Why?

[ 4 Comments | Posted on December 10th, 2010 ]