Posts Tagged ‘fabric spray paint’

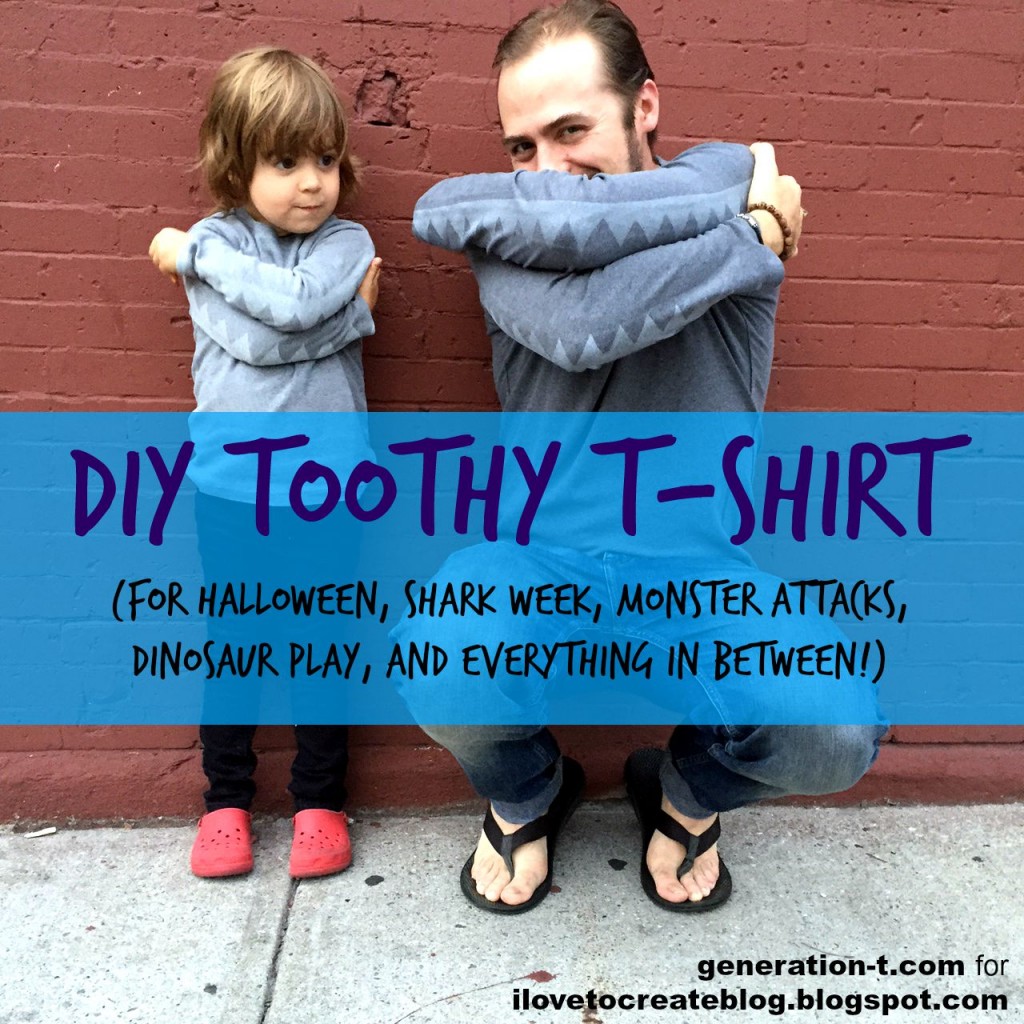
DIY Toothy T-shirts

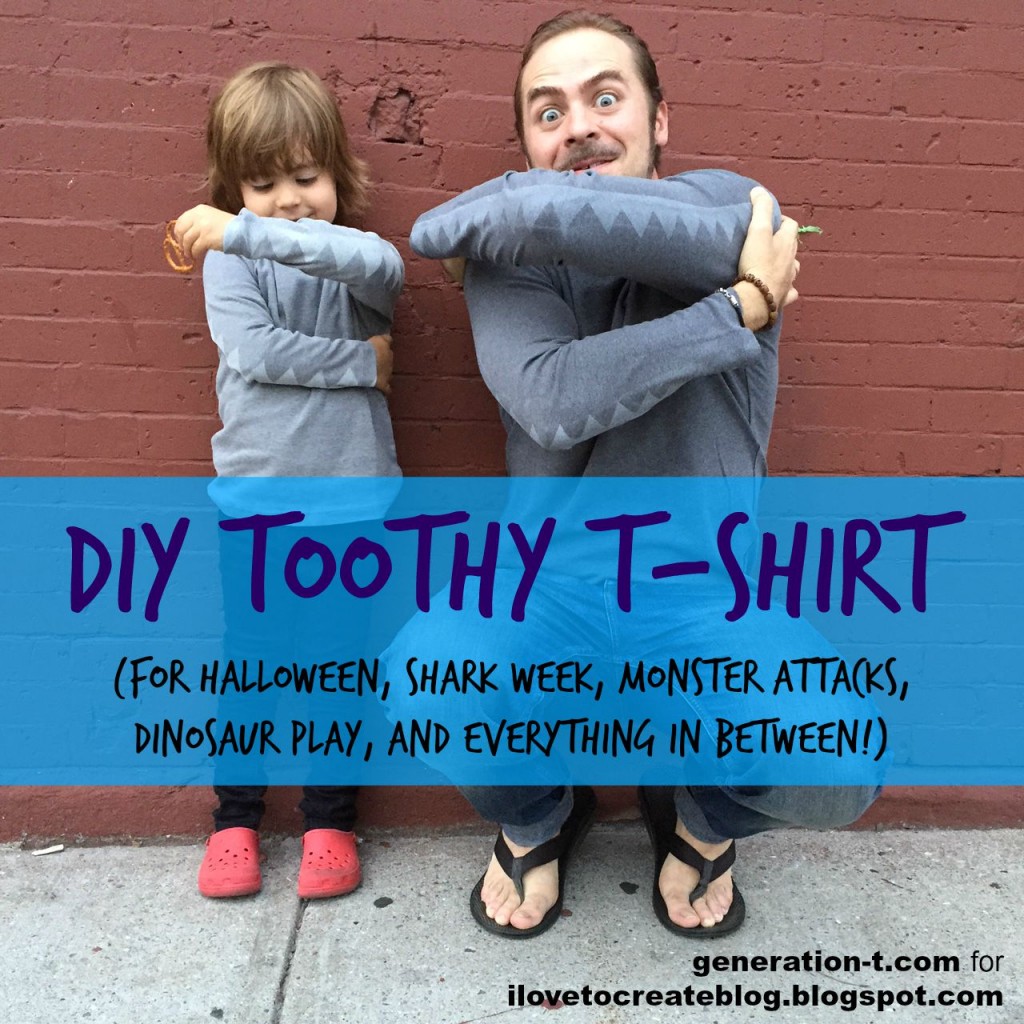
Whether you’re celebrating Shark Week, looking for a rainy day activity, or in search of a costume that even kids who aren’t into wearing masks can get behind, this toothy long-sleeved T-shirt is the ticket. Far from being holiday-exclusive–bust out your shirt any time you’re playing a spirited round of “Top o’ the Food Chain.” Toothy T-shirt generation-t.com

I stuck with gray, white, and silver to summon my boys’ inner sharks, but you could easily adapt your color palette to include dragons, dinosaurs, or even a Gruffalo (and, it should be noted, it can be made in multiple sizes)!
megan-nicolay-blog-footer

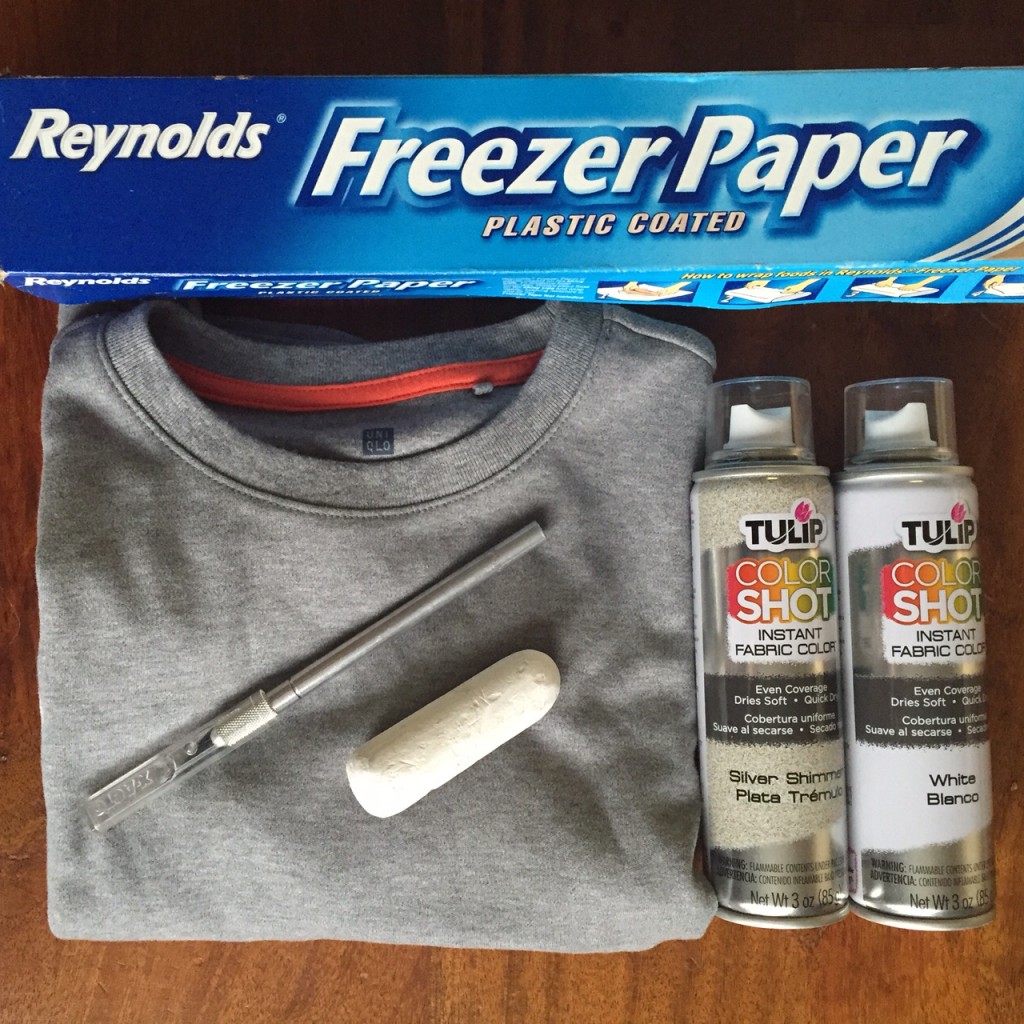
Materials:
-Long-sleeved T-shirt (in a plain color; I chose gray)
-Chalk or disappearing ink fabric pen
-Freezer paper
-Pen or pencil
-Craft knife and self-healing cutting mat
-Iron
Tulip Color Shot Instant Fabric Color (fabric spray paint; I chose white and silver)

Toothy T-shirt materials

Make it:
1.
Have the intended recipient try on the shirt. Placing opposite hand on opposite shoulder, have him/her line up his/her elbows. Use chalk or a disappearing ink pen to mark an upper and lower set of teeth along each arm. Remove the T-shirt and set it aside.

2. Measure the length of one shirt sleeve.

3. Draw and cut a zigzag line the length of the sleeves on freezer paper to create a teeth template. Draw and cut a second template for the opposite sleeve.

Toothy T-shirt 1-3 generation-t.com

4. Lay the T-shirt flat, line up the freezer paper template with the chalk markings from step 1, and use a warm iron to press the template onto each sleeve. (Use additional freezer paper to mask other parts of the shirt that you don’t want painted.)

5. Outside, or in a well-ventilated area, spray Tulip Color Shot Instant Fabric Color. Let dry for 5 minutes, then spray again. Let dry completely.

6. Have the intended recipient(s) try on the shirt, fold up his/her arms, and CHOMP away.Toothy T-shirt 4-6 generation-t.com

Toothy T-shirt3 generation-t.com

[ Comments Off on DIY Toothy T-shirts | Posted on September 23rd, 2015 ]

DIY: Distressed American Flag Muscle Tee

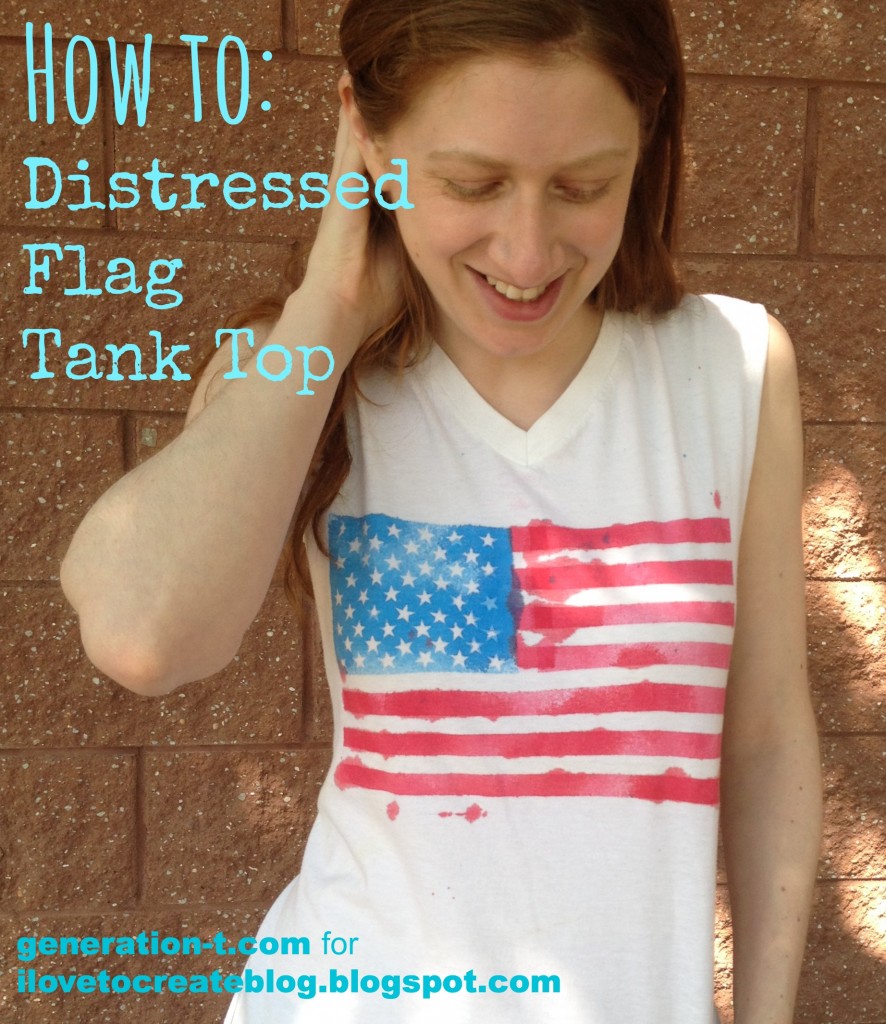
Between cheering on Team USA in the World Cup and all the 4th of July barbecues just around the corner, this project is at least a fashion twofer (at least — you can save it for next Memorial Day picnic, Flag Day…or whenever you’re feeling stylishly patriotic!).

USA tank top1 generation-t.com.jpg

With just a plain white T-shirt, some classic gold star stickers (50 of them, to be precise), clear tape, and fabric spray paint, you can, for just a few bucks, make a T-shirt that might otherwise retail for (gulp)…$84(!!!). Here’s how.megan-nicolay-blog-footer-1

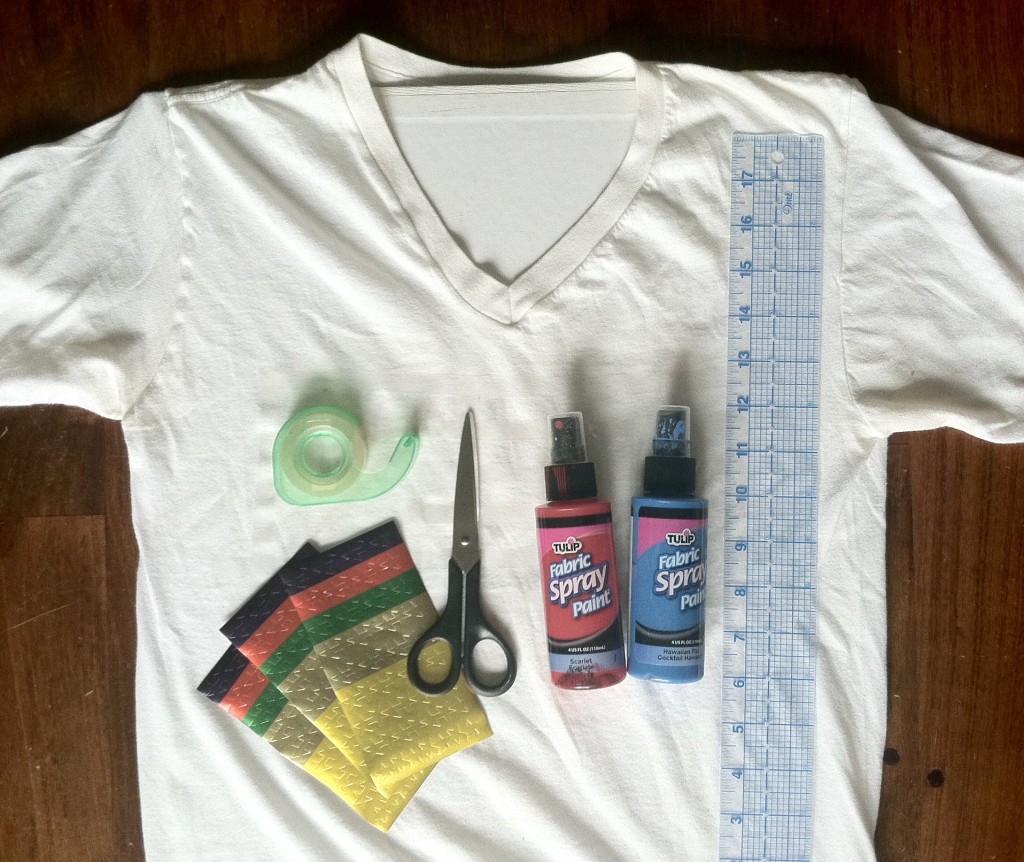
Materials:
-Plain white T-shirt (I chose an old V-neck, but crew-neck works just as well)
Tulip Fabric Spray paint in red and blue
-Gold or multi-colored star stickers (find them stocked with the teachers’ supplies)
-Clear tape (for best results, look for 1/2″-wide tape)
-Scissors
-Ruler
-Scrap cardboard and/or paper to mask and insert between the layers of the shirt

Flag Step1 generation-t.com

Make it:
1.
Head over to the iLoveToCreate blog for my complete step-by-step tutorial!

USA tank top2 generation-t.com


[ 3 Comments | Posted on June 24th, 2014 ]

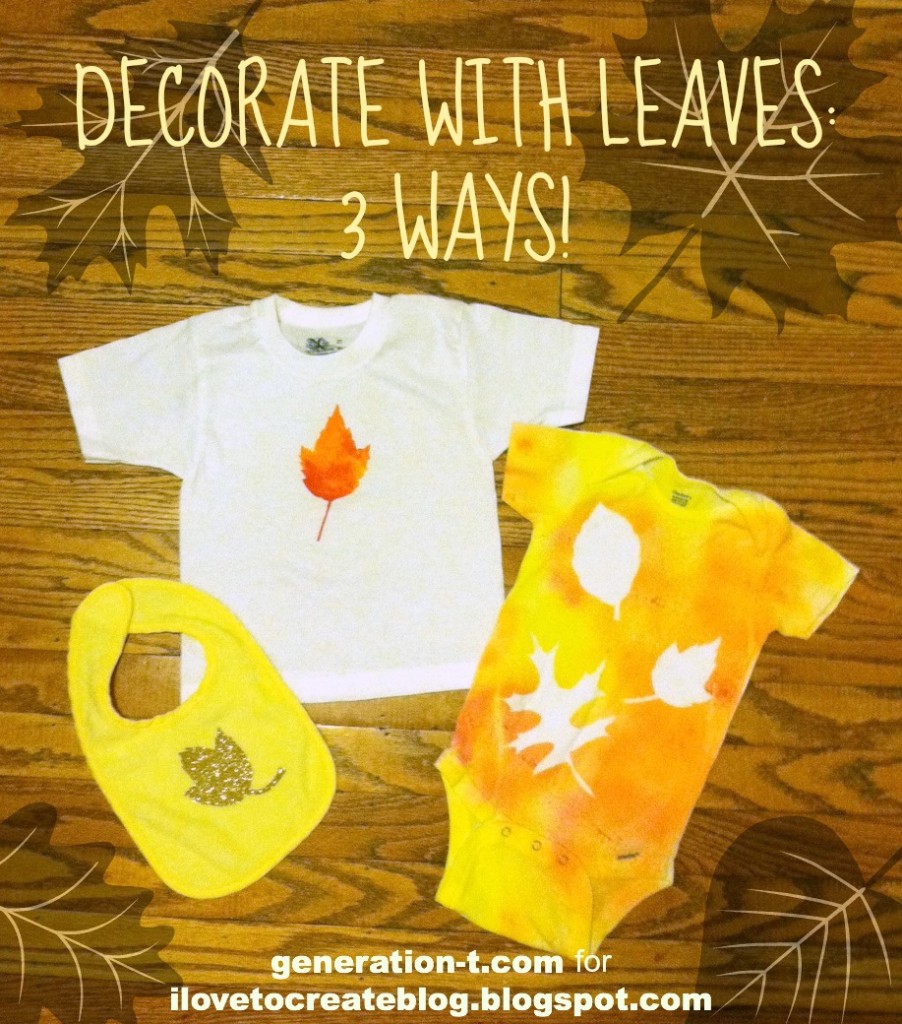
Fall Fashion: Decorating with Leaves, 3 Ways!

Before the snowflakes make their grand and permanent seasonal entrance, I’m stuck on fall. The leaves are so beautiful this time of year in Brooklyn. I was up in New England for peak color, but even the last few weeks in Brooklyn have yielded a lovely array of color and variety.Leaf main generation-t.com

Of course, no matter how you try to keep them, the color fades, and they become dry and brittle. Here are three projects with a common autumnal theme that, like the snowflakes I made and painted last year, help make nature last a little longer.

megan-nicolay-blog-footer-1

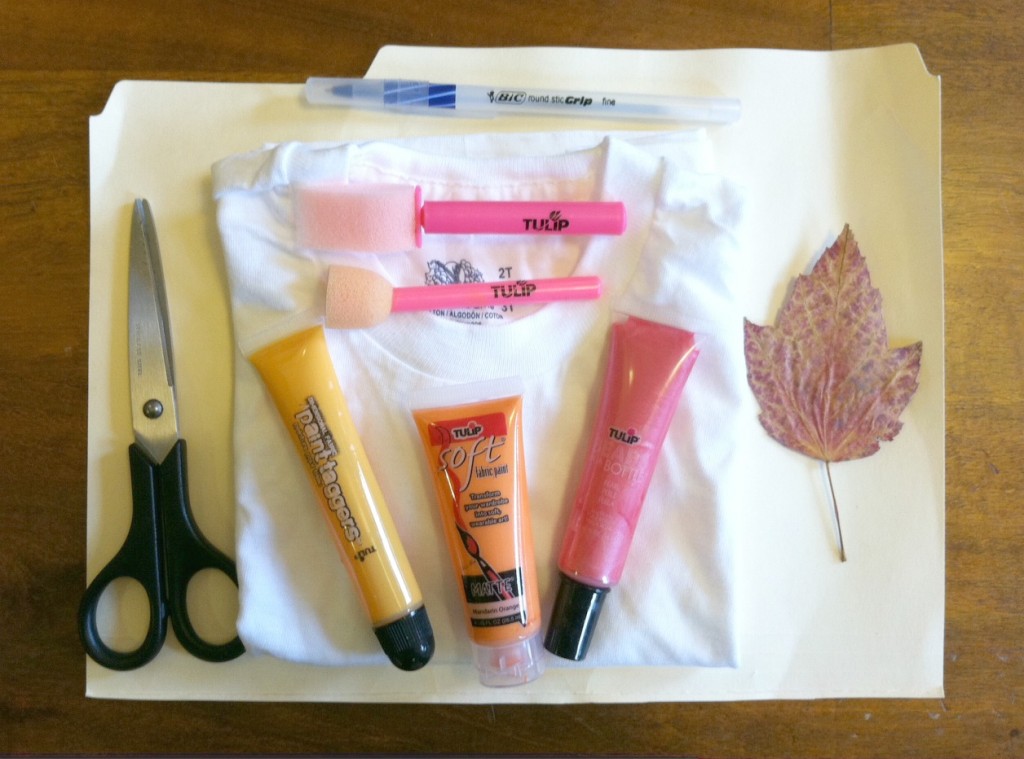
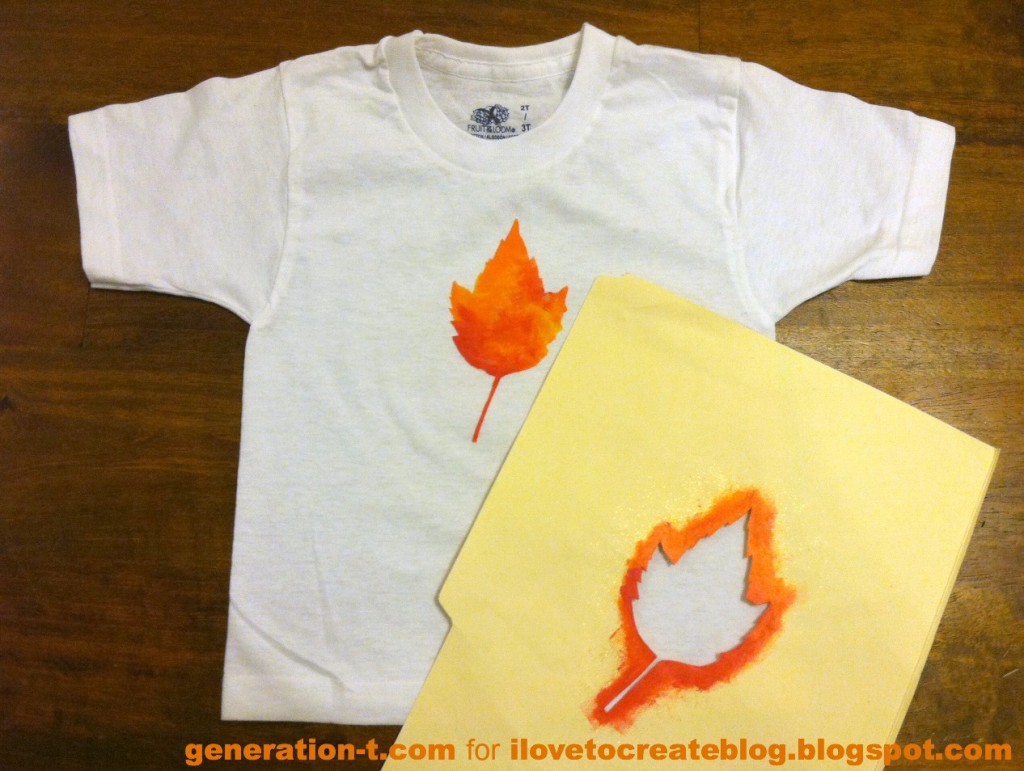
INSPIRATION 1: DIY Leaf Stencil: This one starts with your basic stencil…

Leaf stencil materials
Materials:
-variety of Tulip soft paints and/or Tulip 3D Fashion Paints (in shades of red, orange, and yellow)
Tulip sponge brushes and/or Tulip sponge pouncers
-variety of pressed leaves for inspiration
-sheet of card stock (or scrap manila folder)-pen or pencil
-scissors or craft knife and cutting mat
-plain T-shirt (lighter colors work best, but white is not required!)
-paint palette (or a plastic container from the recycling bin)
-scrap paper (optional) for inserting between the layers of a T-shirt

Make it:
For complete step-by-step instructions, visit the iLoveToCreate blog.

Leaf stencil paint finish

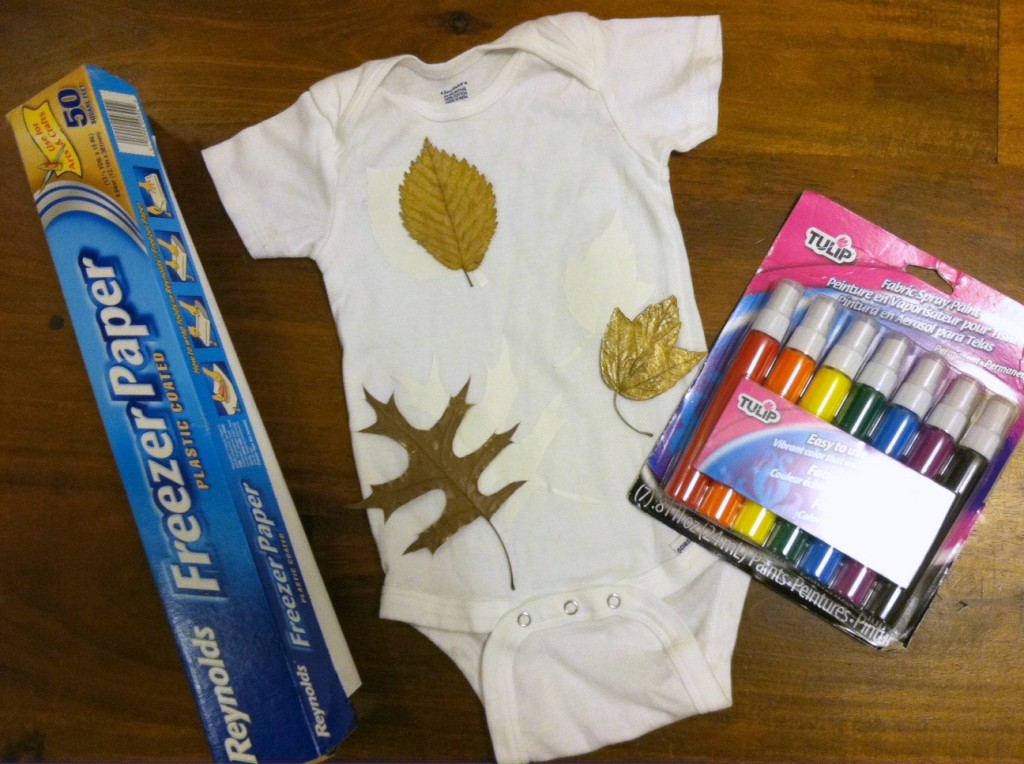
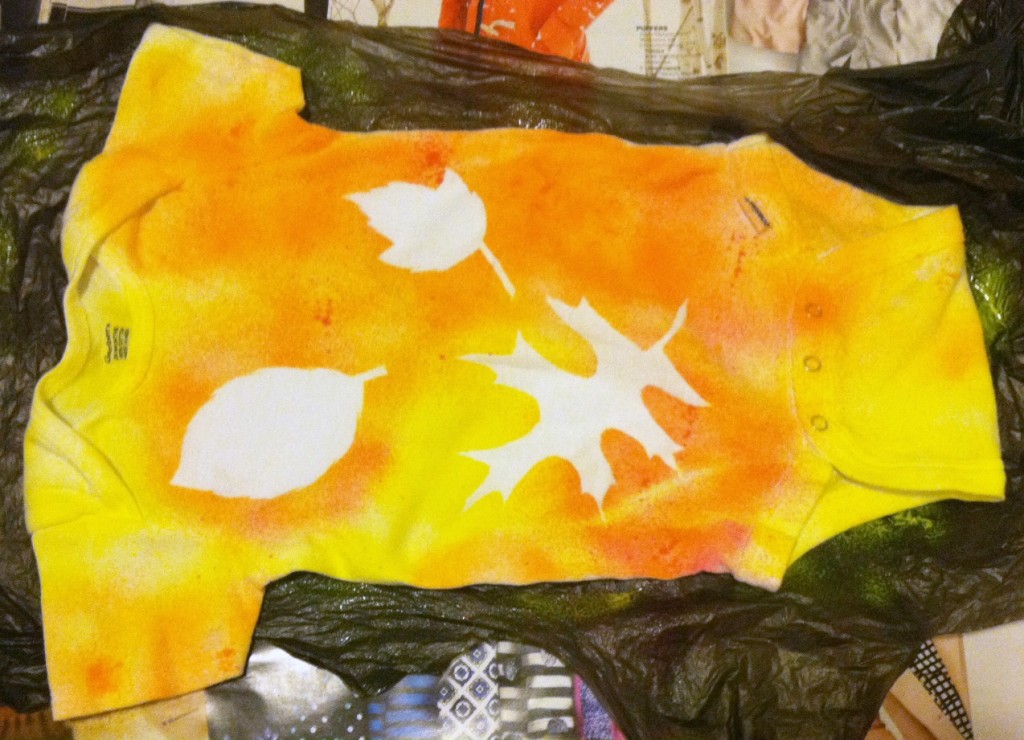
INSPIRATION 2: Reverse Leaf Stencil: This is the same concept as the stencil out of card stock, but you’re instead using freezer paper as your mask, and painting the space around the leaf.

Leaf reverse materials

Materials:
-variety of Tulip Fabric Sprays (in shades of red, orange, and yellow)
-variety of pressed leaves for inspiration
-sheet of freezer paper
-pen or pencil
-scissors or craft knife and cutting mat
-iron and ironing board
-plain T-shirt or onesie (lighter colors work best, but, again, white is not required!)
-scrap paper (optional) for inserting between the layers of a T-shirt and to protect your work surface from paint

Make it:
For complete step-by-step instructions, visit the iLoveToCreate blog.

Leaf reverse peel

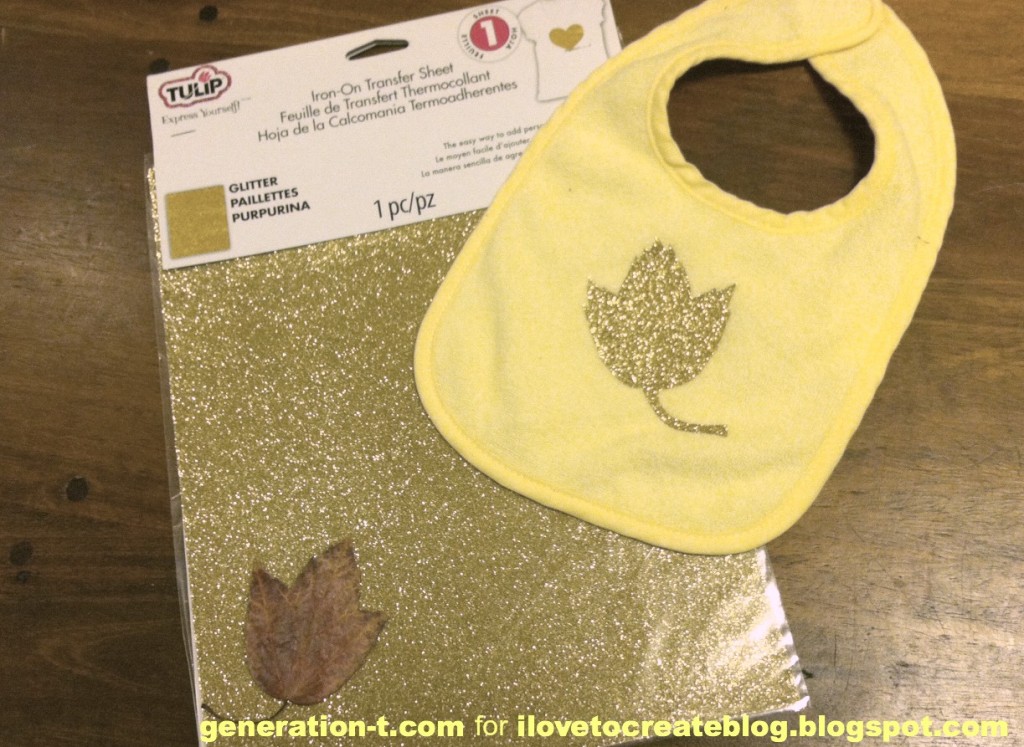
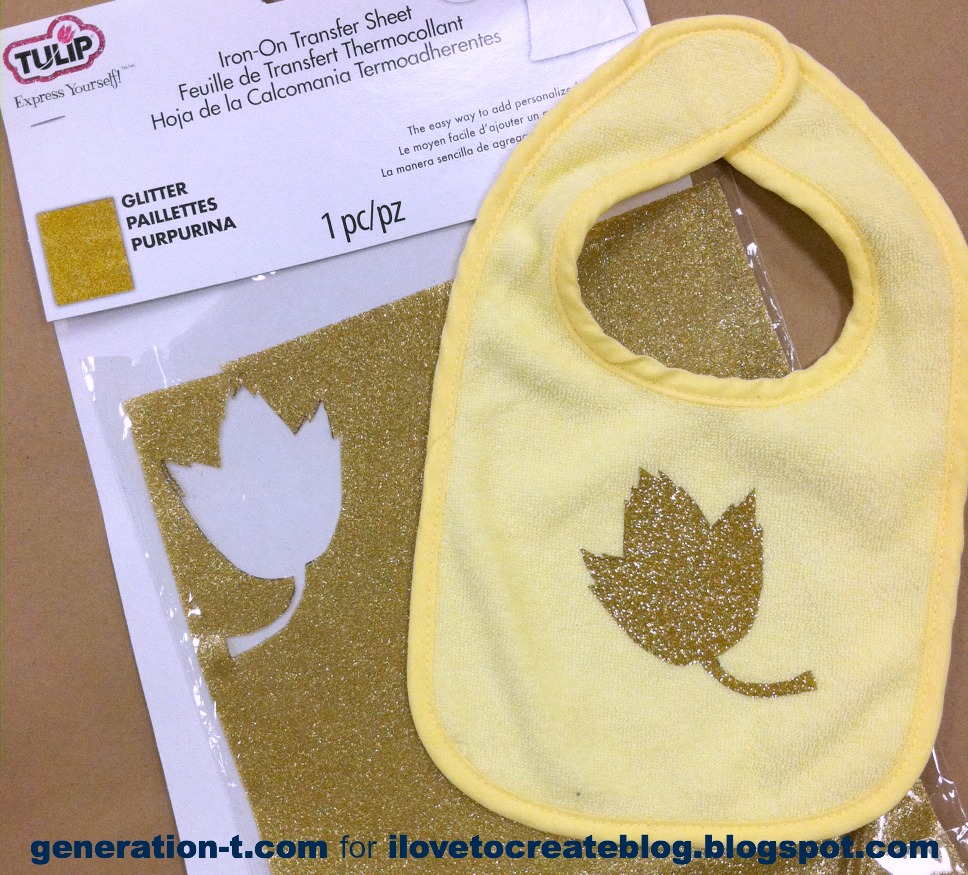
INSPIRATION 3: Glitter Leaf Appliqué: Like the reverse leaf stencil, you’re using the actual leaf shape (rather than the negative space) to create your decoration. The best part about this one? No waiting around during drying time–since there is no drying time!

Glitter leaf materials

Materials:
Tulip Fashion Shimmer Iron-on Sheet (in gold)
-variety of pressed leaves for inspiration
-ballpoint pen
-scissors or craft knife and cutting mat
-iron and ironing board

-plain bib, T-shirt, or onesie

Make it:
For complete step-by-step instructions, visit the iLoveToCreate blog.

Glitter Leaf finish

Stay tuned next week for one more way to use autumn leaves as inspiration for decorating fabric. (PS: I made myself a really rad upcycled skirt!)

[ 1 Comment | Posted on November 26th, 2013 ]

I Love to Create: “You Complete Me” T-shirts!

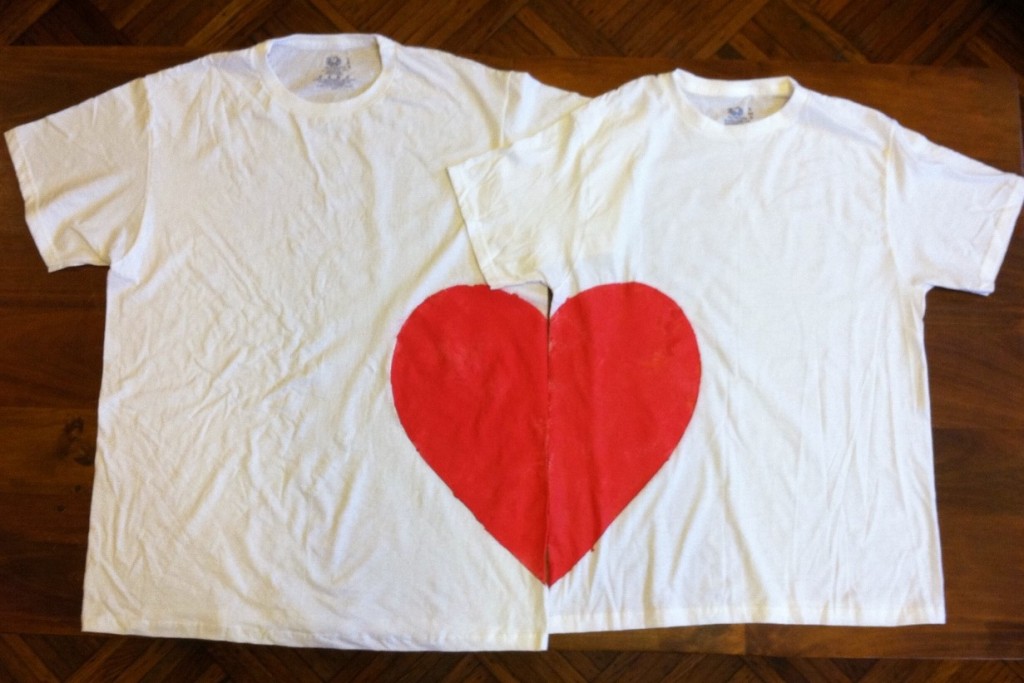
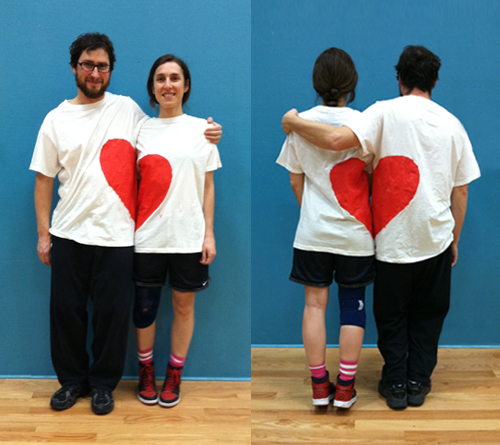
The sweetest thing to make for your best pal on Valentine’s day? The sweetest thing for your sweetie? I call it the “You Complete Me” Tee. Part friendship charm necklace, part Pinterest inspiration (these gloves!), each T-shirt in this pair appears, at first look, to be decorated with an abstract design when it’s without its match. When the two shirts are reunited, however, they form a heart. Awww…

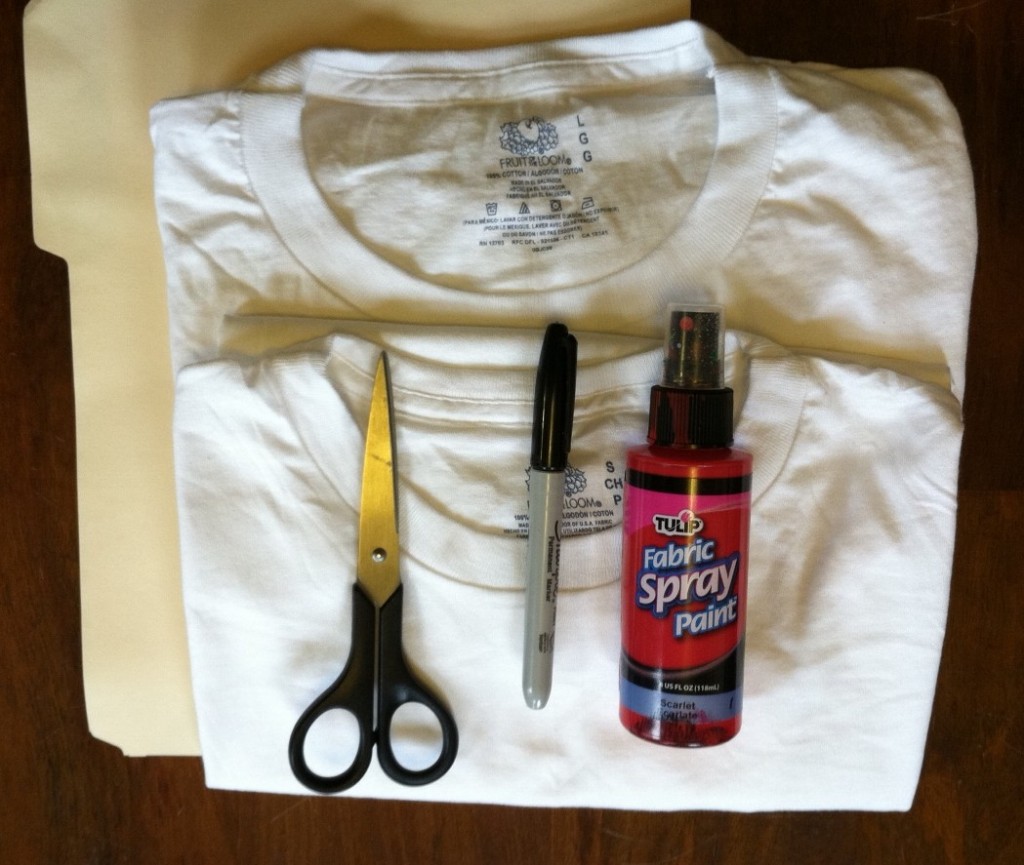
Materials:
-2 plain T-shirts (preferably light in color)
-scissors
-empty file folder (or other large piece of card stock)
-marker
Tulip Fabric Spray Paint (in red!)
-plenty of newsprint to protect your work surface

Make It:

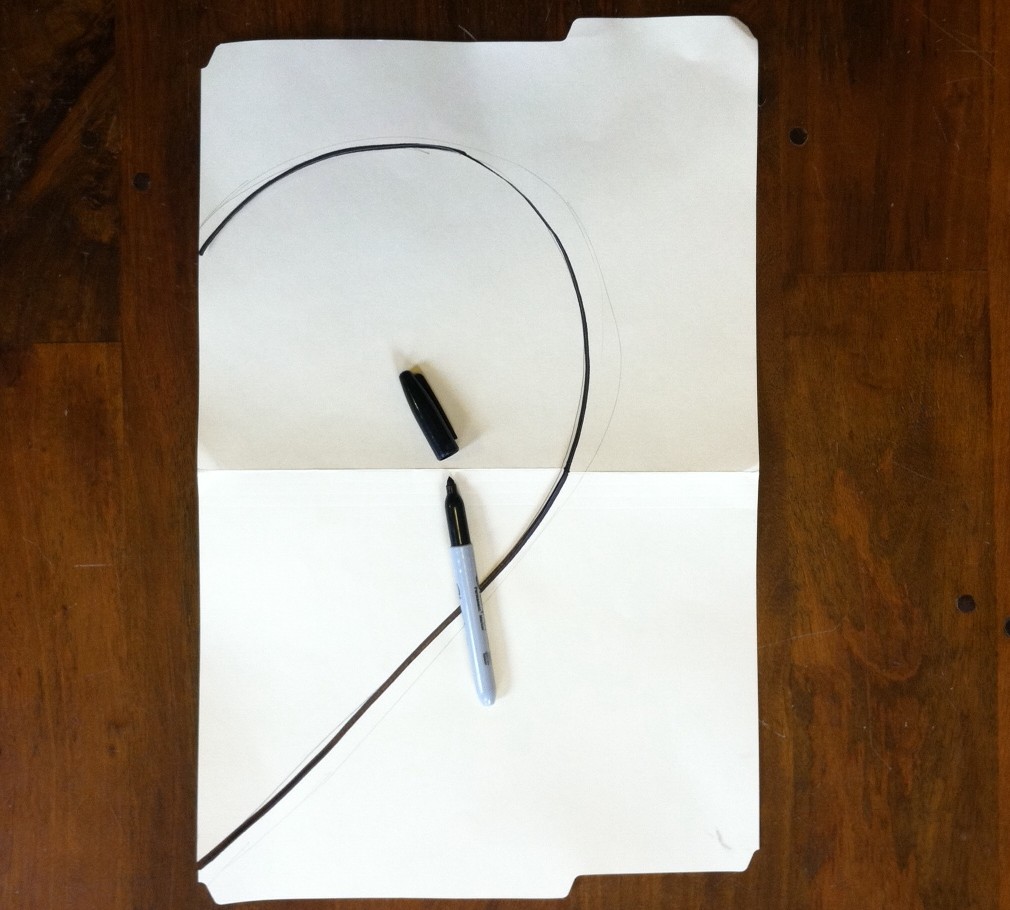
1. Lay the folder flat and use the marker to draw half of a heart along one of the long edges. (Note: I had to make an adjustment later on to accomodate the dimensionality of the human body–so don’t be afraid to make a particularly bulbous heart in order for it to “read” when the shirts are side by side.)

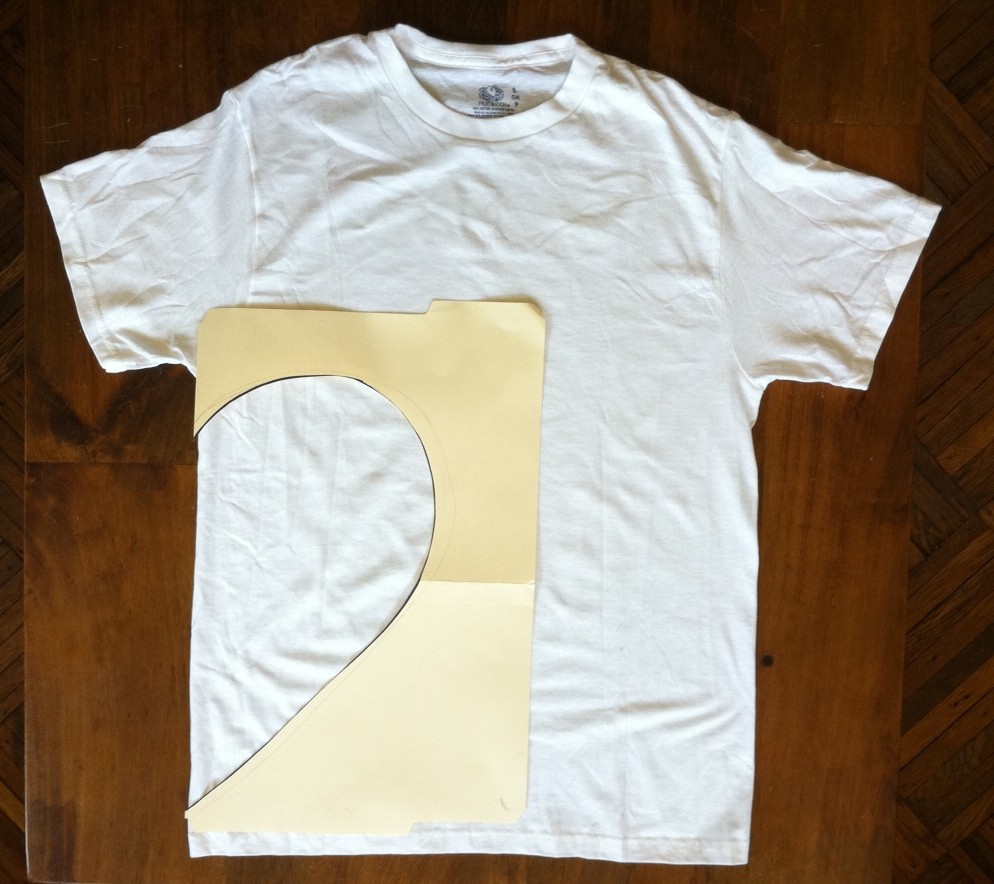
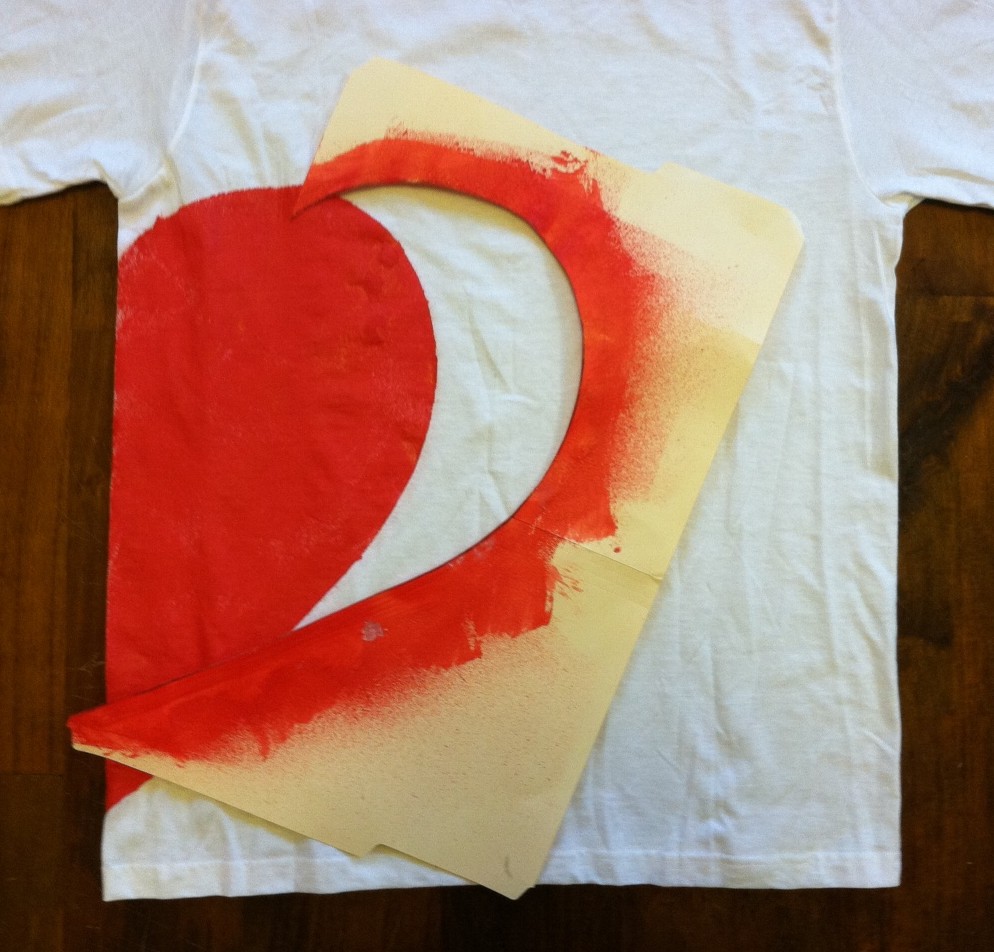
2. Cut out the half-heart template and line it up along the side of the torso of one of the shirts (under the sleeve). Mask the rest of the T-shirt (and use newsprint to protect your work surface), and spray paint the half-heart.

3. Carefully remove the stencil from the T-shirt, let it dry, and then flip the template to paint the other side of the heart on the other T-shirt. Then, when both the T-shirts and the stencil have dried, repeat the process to complete each heart on the back of the shirt. (And don’t worry if the paint seeps under the stencil a bit — like relationships, it might get a bit messy at times!)

4. Let it dry completely, wear it, and go find your best bud. (And don’t forget to make sure you stand on the correct side–and bend your knees or stand on your tiptoes, if necessary!)

Thanks to my friends Michael and Helen (who thematically appropriately identify as members of Camp Friendship Basketball League!) for modeling.


[ 2 Comments | Posted on January 22nd, 2013 ]

I Love to Create: Snowflake Stencil T-shirts!

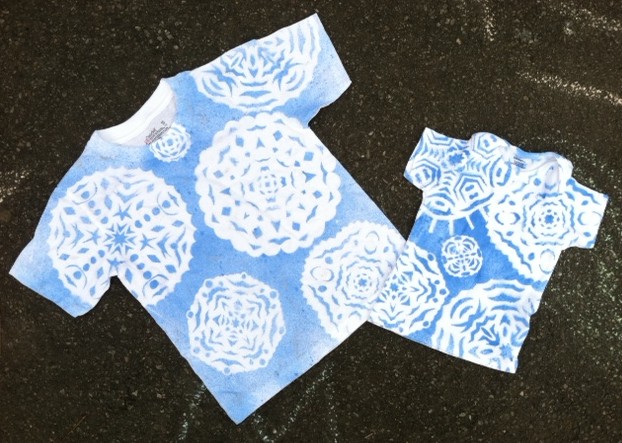
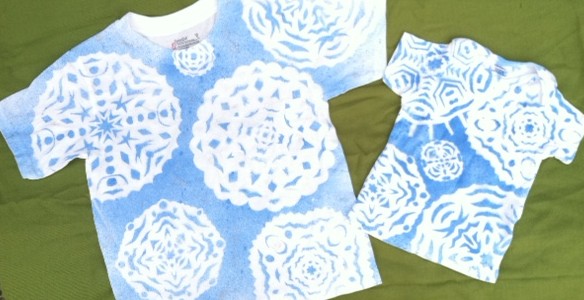
We had a wicked nor’easter blow through the East Coast last week, and though the snow pile-up lasted less than twenty-four hours, it sure put me in the mood for winter. So with a family gathering around the corner, I decided to make some wintery-themed T-shirts for the two young cousins in attendance–a little something to wear inside when it’s too cold outside! And a nice alternative to the ubiquitous holiday sweater, don’t you think?

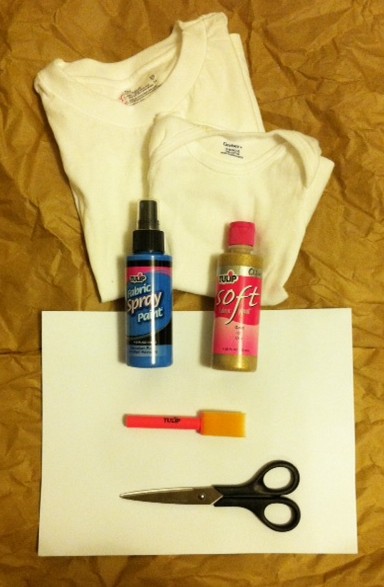
Materials:
-white T-shirt(s) in appropriate size(s)
Tulip fabric spray paint (light blue)
-white printer paper
-paper scissors
-iron and press cloth
Tulip Soft Fabric Paint (Gold Glitter, optional)
Tulip Sponge Brush (optional)

Make it:
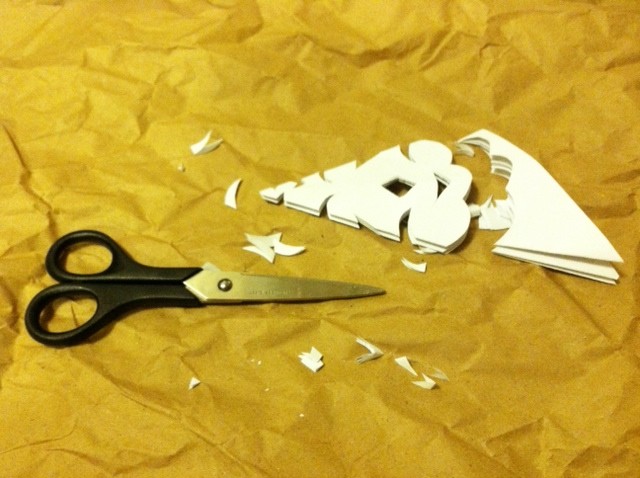
1. Fold one of the sheets of paper on a diagonal to “square” it. Use scissors to cut off the excess strip of paper.

2. Bring the lower left corner up to fold the triangle in half again.

3. And again!

4. Use your scissors to start cutting notches along the folded edges: zigzags, circles, crescents, curls, diamonds, and so on! Don’t forget to cut the open edges in an arc, so that the snowflake will be somewhat round in appearance when you unfold.

5. Unfold!

6. Repeat to make many snowflakes (no two will be alike)!

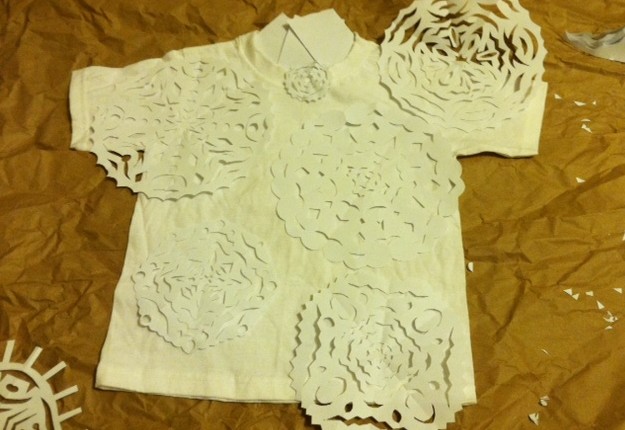
7. Lay the T-shirt flat on your work surface. Arrange the snowflakes onto the front, and press them with a warm iron to keep them relatively flat. (Note: The weight of the spray paint will actually help them stay flat, too.)

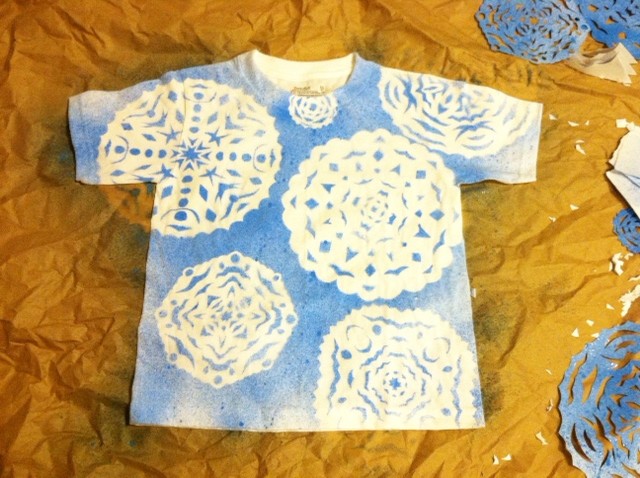
8. Lightly spray blue paint over the entire T-shirt (I masked the inside back neckband with paper scraps).

9. Carefully peel off the snowflakes and set them aside. Let the T-shirt dry.

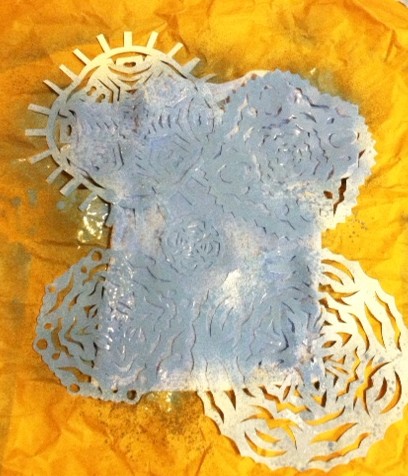
10. Reuse the snowflakes to make T-shirt number two!

Optional: Use the foam brush and glitter paint to add sparkly highlights to the snowflakes.

Let dry, then try on the shirt (or gift it to its recipient!), and curl up by the fire, knowing your snowflakes will never melt.


[ 2 Comments | Posted on November 20th, 2012 ]

I-Love-the-’80s Fringe Fabulous T-shirts

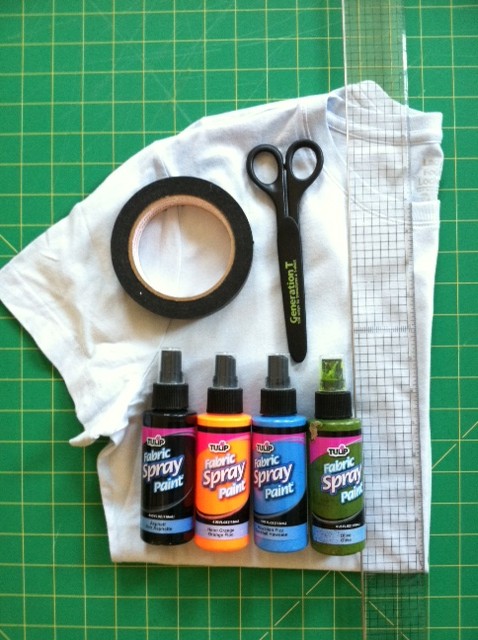
It’s springtime, which means one thing to me: T-shirt weather! It’s an exciting time here in the Land of Generation T, because as many of you know, it only gets better: After spring comes summer, which means we all get a little more scantily clad — T-shirts turn into tank tops and tube tops and ooh-la-la! So grab your scissors (to cut away some of that extra fabric, of course), crank up the color (bring on those fabric spray paints), and hop in your fabulous fashion time machine, because fringe is enjoying a bit of a renaissance this season. Last weekend, I dialed back the decades and dug into my craft stash to make some classic ’80s-inspired geometric tees.

Materials:

-light-colored T-shirt (I used a light blue one)
-ruler

-masking tape
fabric scissors
fabric spray paint (variety of colors)
-scrap newsprint paper

Make it:

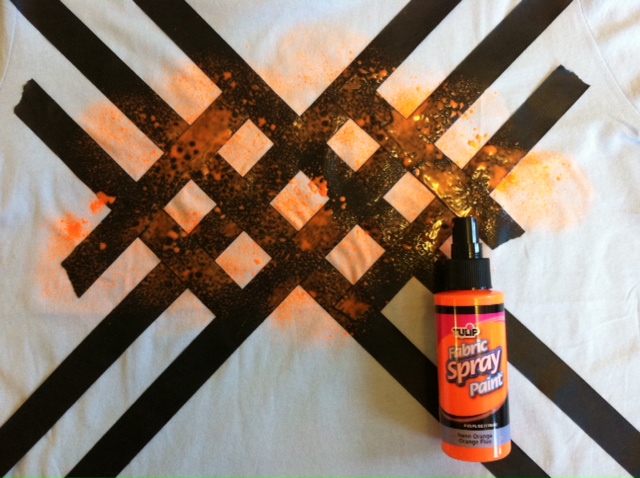
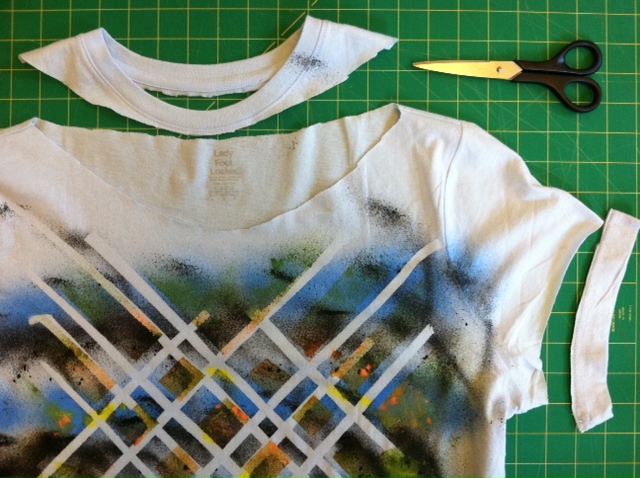
1. Lay the T-shirt flat. Use masking tape to mark a horizontal line about 8″ up from the bottom of the shirt. Find the vertical center of the shirt and apply tape to the chest-region of the T-shirt to create a crisscrossing geometric pattern.

2. Insert the newsprint paper between the layers of the T-shirt to prevent the paint from bleeding through. Then apply fabric spray paint over the taped area. Apply another color or two, then let dry.

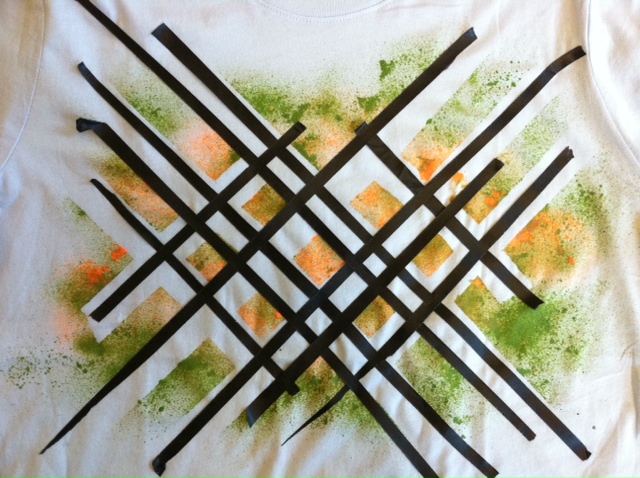
3. Peel back the tape, and then lay down more tape (I cut the tape strips in half, thirds, and quarters to make thinner lines) across your pattern to create a modified plaid pattern. Then spray paint more color!

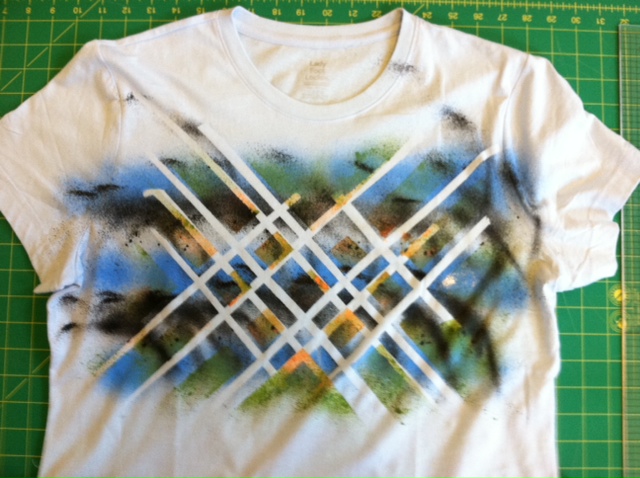
4. Let dry completely before peeling off the tape to reveal your design.

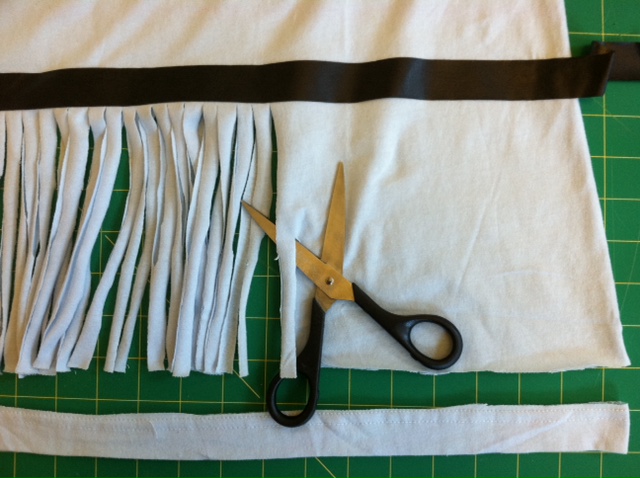
5. Cut off the bottom hem of the T-shirt, just above the stitching. Then, using the tape marker you pressed down in step 1 as your guide, cut 1/3″- to 1/2″-wide fringe from the bottom edge of the shirt.

6. Cut off the sleeve hems, just above the stitching, and cut out the neckband, just below the neckband edge in the front and the back, and about 2″ wider on the sides.

7. Gently tug on the fringe to stretch it out (the fabric edges will curl in). Try it on!

8. Grab up additional T-shirts and experiment with your paint patterns and fringe — cut it on a diagonal, in a chevron-inspired V-shape, make it long or short!

Then pack a picnic, sling your boombox over your shoulder, and turn up any of the decade’s Billboard hits!


[ 5 Comments | Posted on May 22nd, 2012 ]

I Love to Create: Spray 4 Ways!

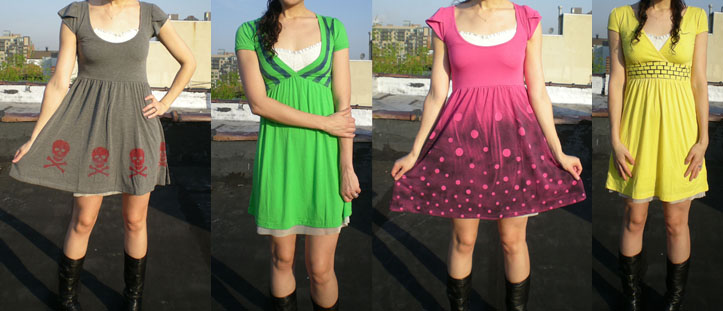
As some of you know, I’ve been just a little bit obsessed with my spray paints lately. And it’s because they’re the perfect quickie spiff-up and surface embellish for T-shirts, pillows, dresses–or any other fabric item you want to spray! Since it’s spring, though, I grabbed up some plain cotton dresses to spray. Here are four different ways to pair those fabric spray paints with templates made from materials around the house including masking tape, stationery stickers, and freezer paper. Pull your spray paints from your holsters!
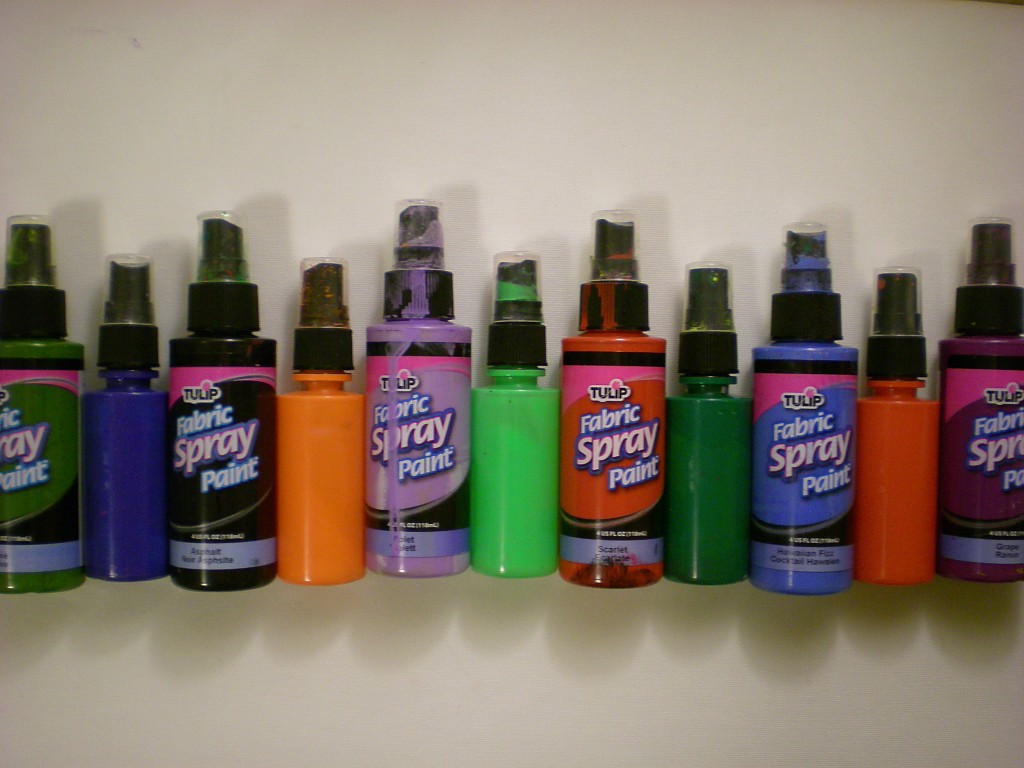
Once your paints are assembled, select your surfaces (in all different colors–though light colors will take the paint best).
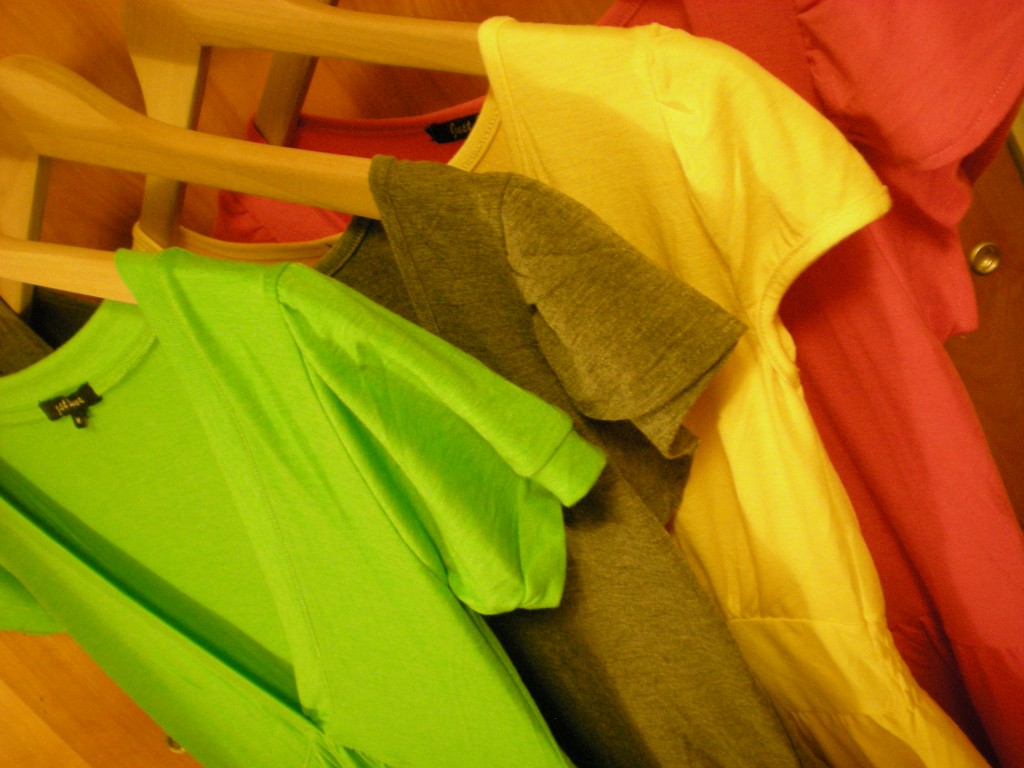
Then introduce any number of “secret weapons from around the house” (items that can be used as templates or stencils to mask parts of the fabric, e.g. freezer paper, permanent marker, a craft knife; map dot stickers; rectangle sticker labels; masking tape) in each of the individual projects below!

1. Yellow Brick Road

Secret weapon from around the house: Rectangle sticker labels

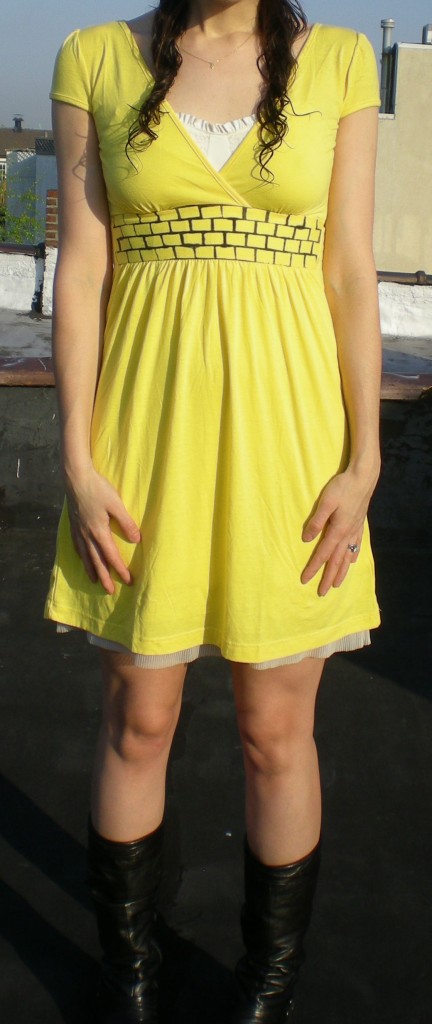
Originally, my plan was to stick on these labels in a checkerboard pattern to give the dress the feel of a racing flag. But the stickers so easily lent themselves to being bricks, that I immediately thought of the yellow brick road in the Land of Oz.
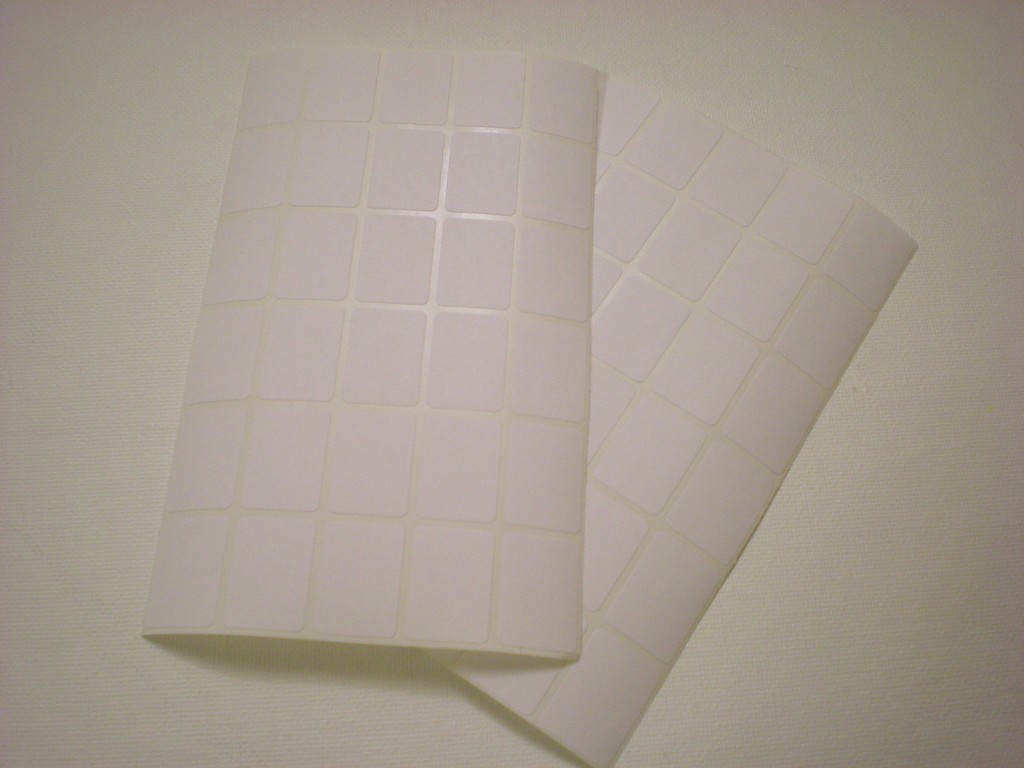
I chose to follow the yellow brick road along the waistband, but you could lay your bricks around the hem of the dress, up and over the shoulder, or a circle them all over the dress. I laid one row of bricks and then stuck down a second row, offsetting the first brick in the second row so that the rest of the stickers in that row would be slightly staggered to create the brick pattern.
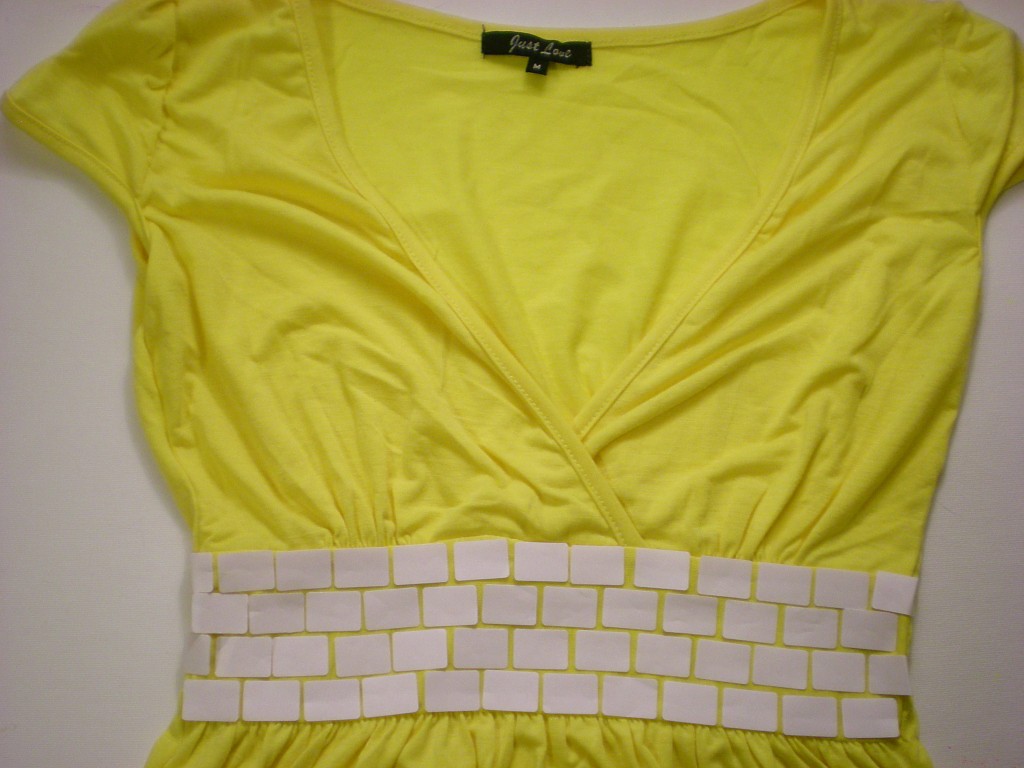
Mask the rest of the garment before spraying (I used T-shirt scraps and paper from my recycling bin) so that you can contain the paint to only the area you want to color. I used black spray paint to make the yellow bricks really pop!
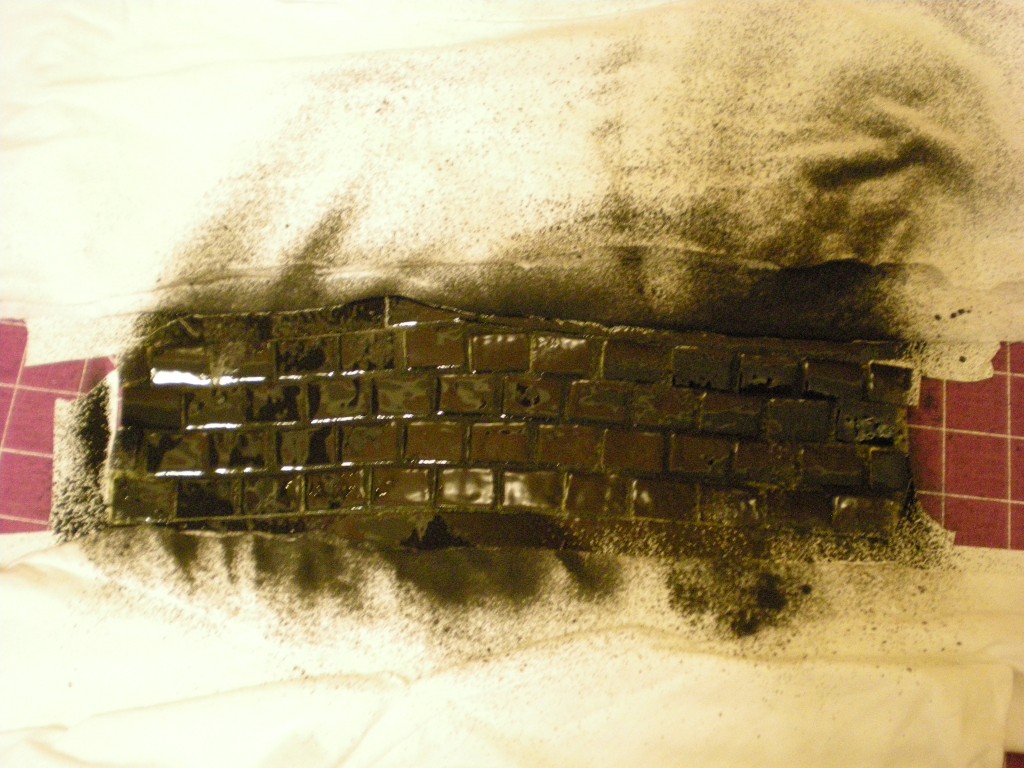
Let the paint dry completely before you peel off the brick stickers and try it on!
2. Skull & Bones

Secret weapons from around the house: Freezer paper, high-contrast image printout, marker, craft knife, and cutting mat

I chose the classic skull and crossbones as my image to download and print for creating the stencil, but any image is fair game!
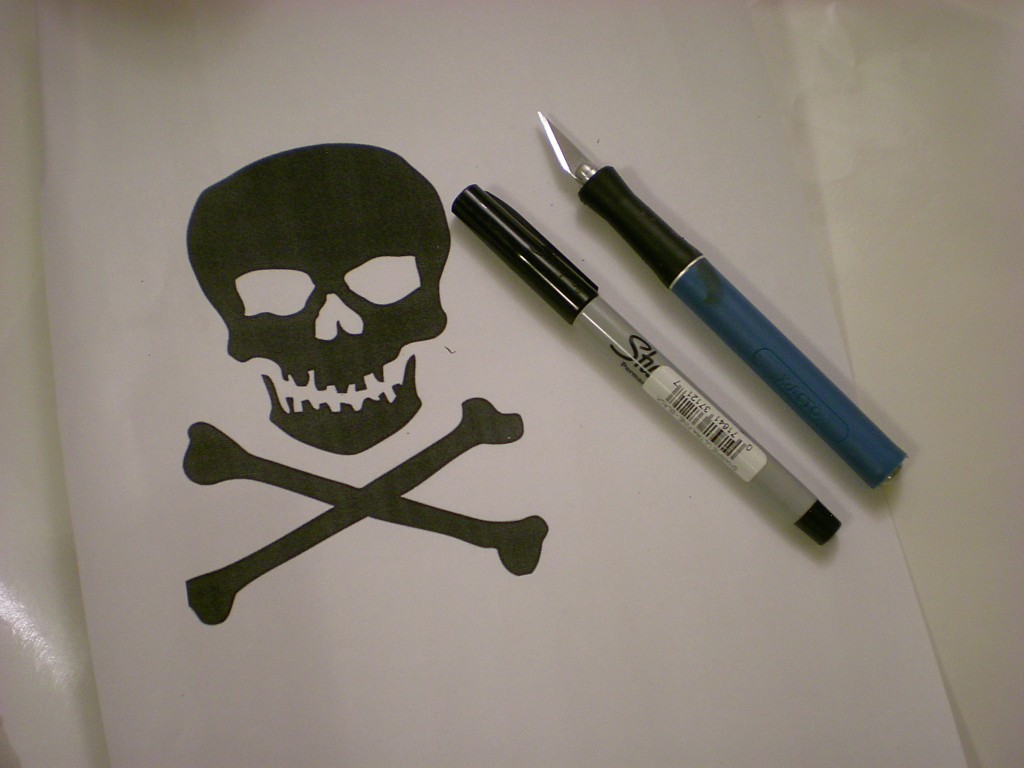
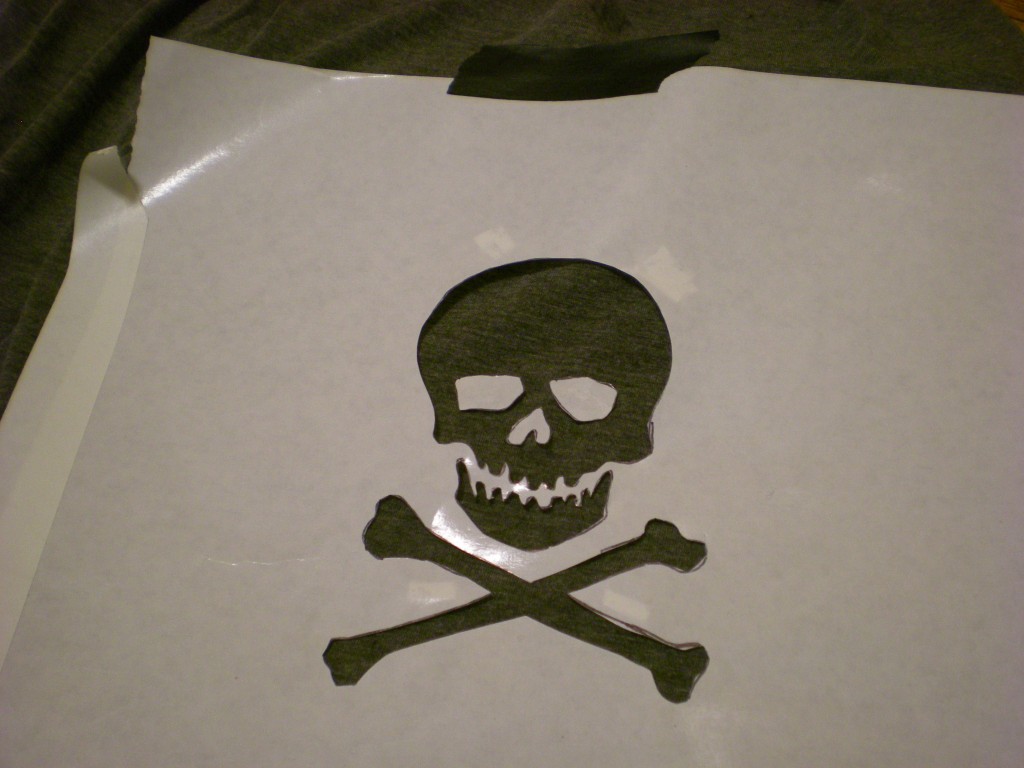
Trace the design onto a sheet of freezer paper.

Then use the craft knife to carefully cut out the shapes.
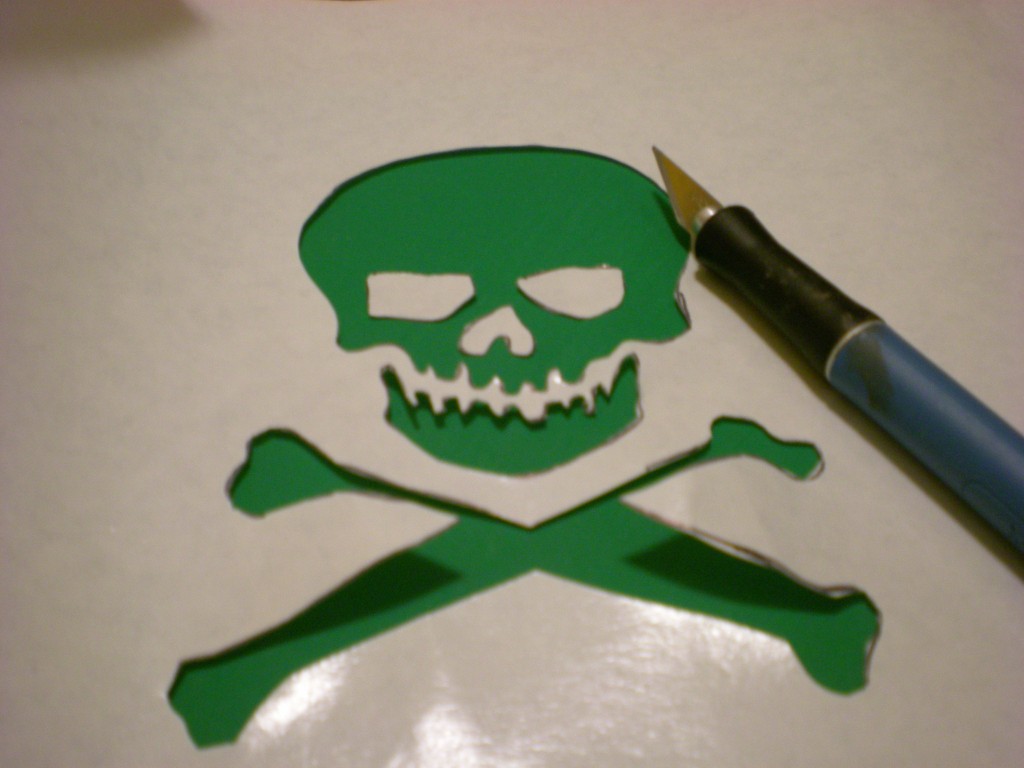
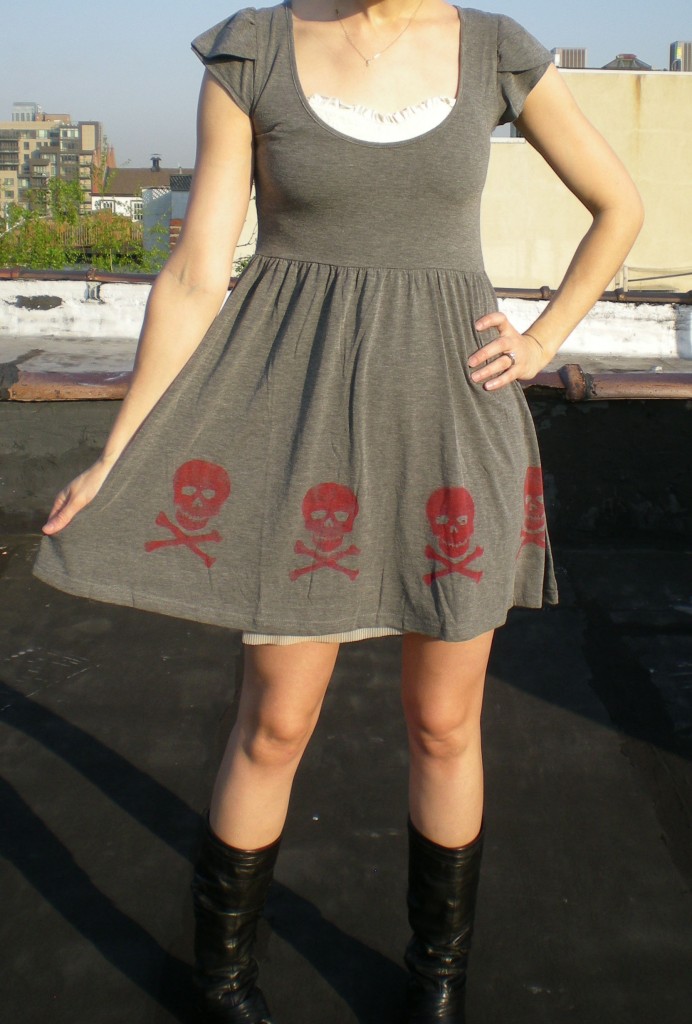
Tape the stencil onto the fabric surface (I placed it along the hem). Don’t forget to place any loose pieces (in this case, the eye sockets and nose cavity!). I sprayed red spray paint on the charcoal gray surface and reused the stencil to create a pattern around the bottom of the skirt.
Let each image dry slightly before moving the stencil to another part of the fabric.
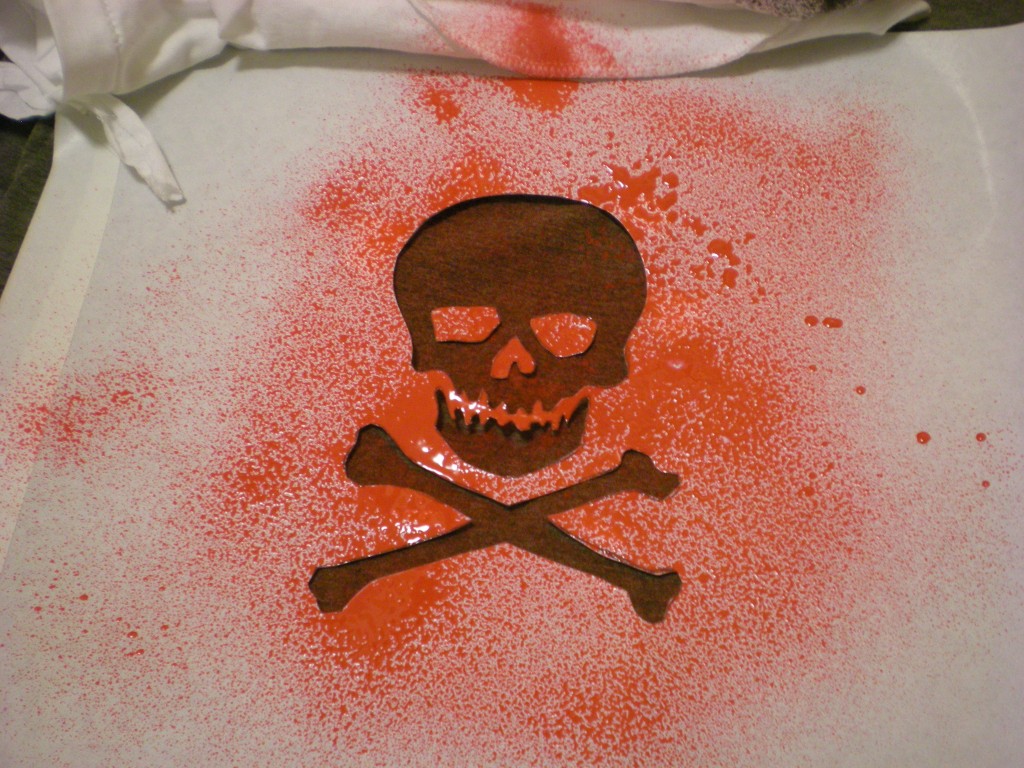
Then let the image dry completely before spraying it onto the back of the garment. Let all the paint dry completely before you try it on!
3. Bubble, Bubble, Toil, and Trouble

Secret weapon from around the house: Map or garage sale dot stickers in different sizes.

These stickers have so much potential. Beyond mixing up the sizes, you can arrange them into patterns, overlap them, use the surrounding sticker bits to create reverse dots, and so on. I used three sizes (3/4″, 1 1/4″, and 1 3/4″).
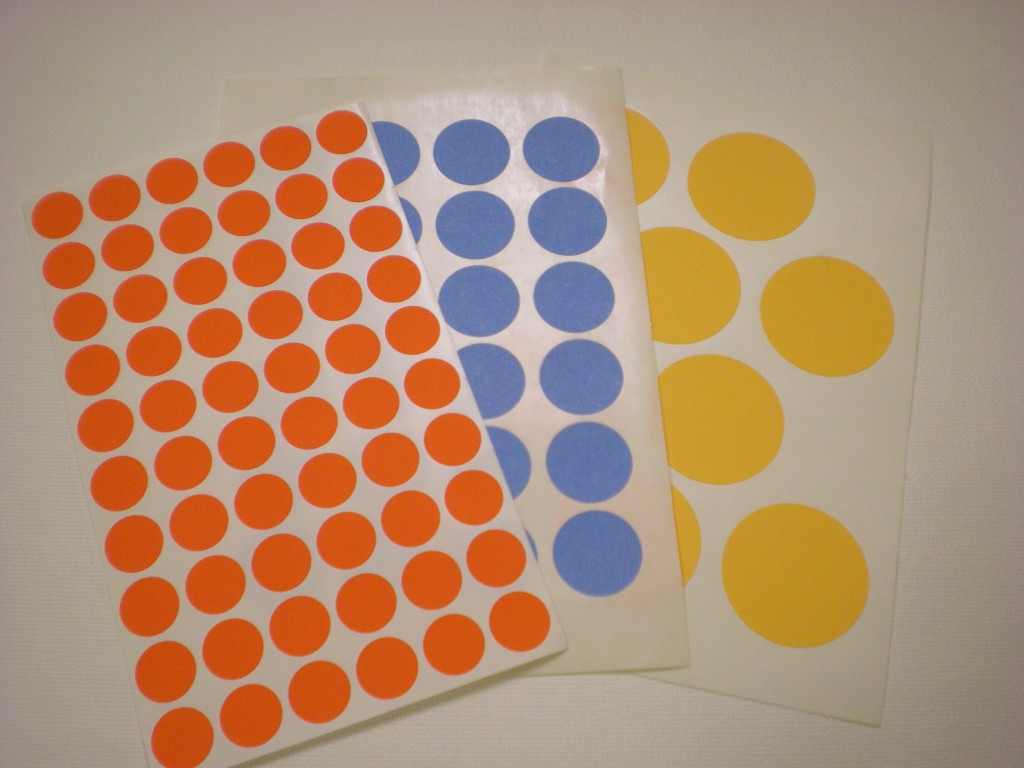
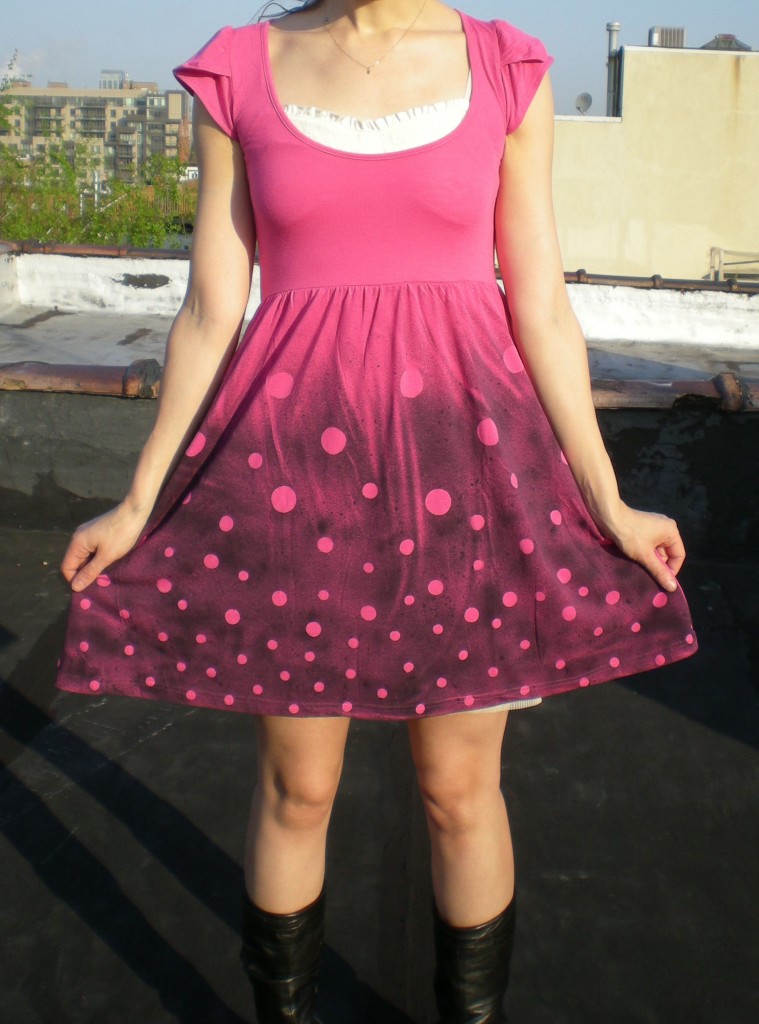
To create the appearance of bubbles rising up to the surface, I started with closely spaced small dots at the hem, then transitioned to more widely spaced medium dots, with the large dots finishing below the bodice.
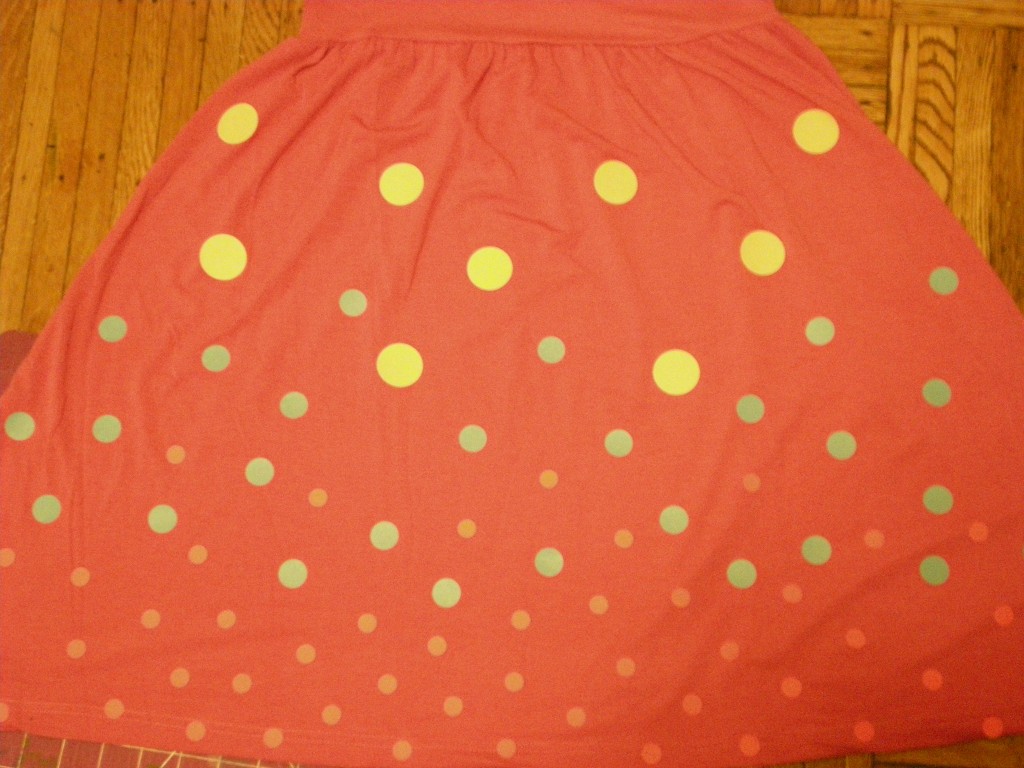
Mask all the parts of the garment you don’t want to color. I used black spray paint, fading out at the top, to make the pink really shine through! I also allowed the naturally occurring wrinkles caused by the gathered skirt to form “cracks” in the paint.
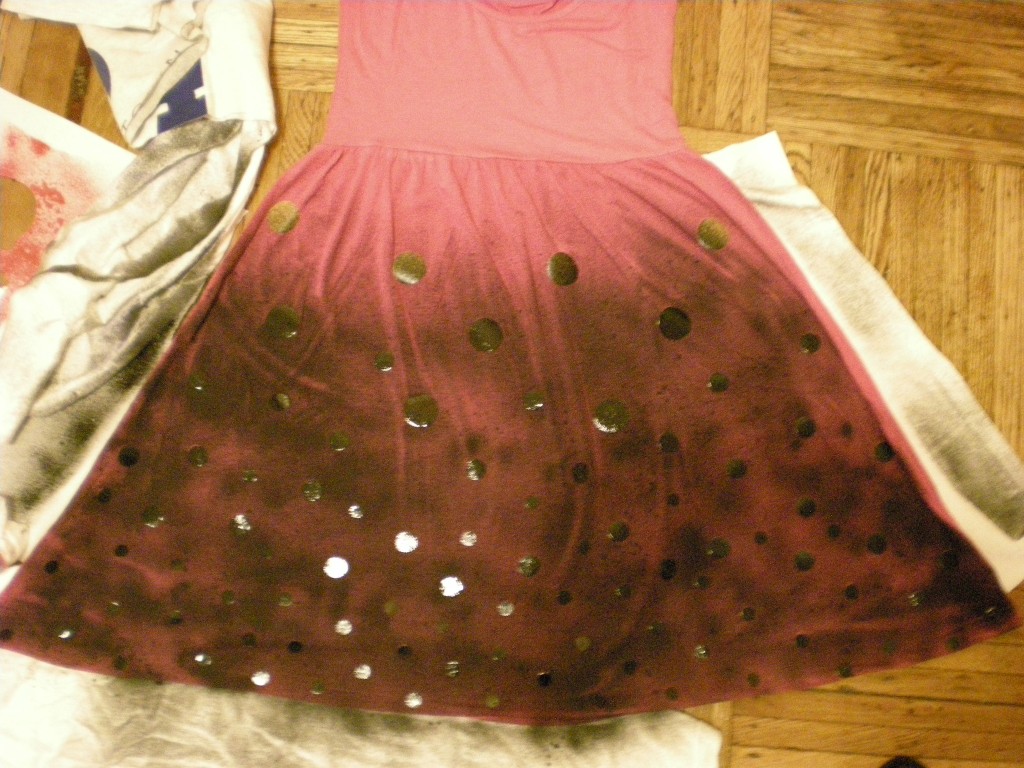
Let the paint dry completely before you put it on. Now that you’ve made your bubbles, go out and make some trouble!
4. Yipes Stripes!

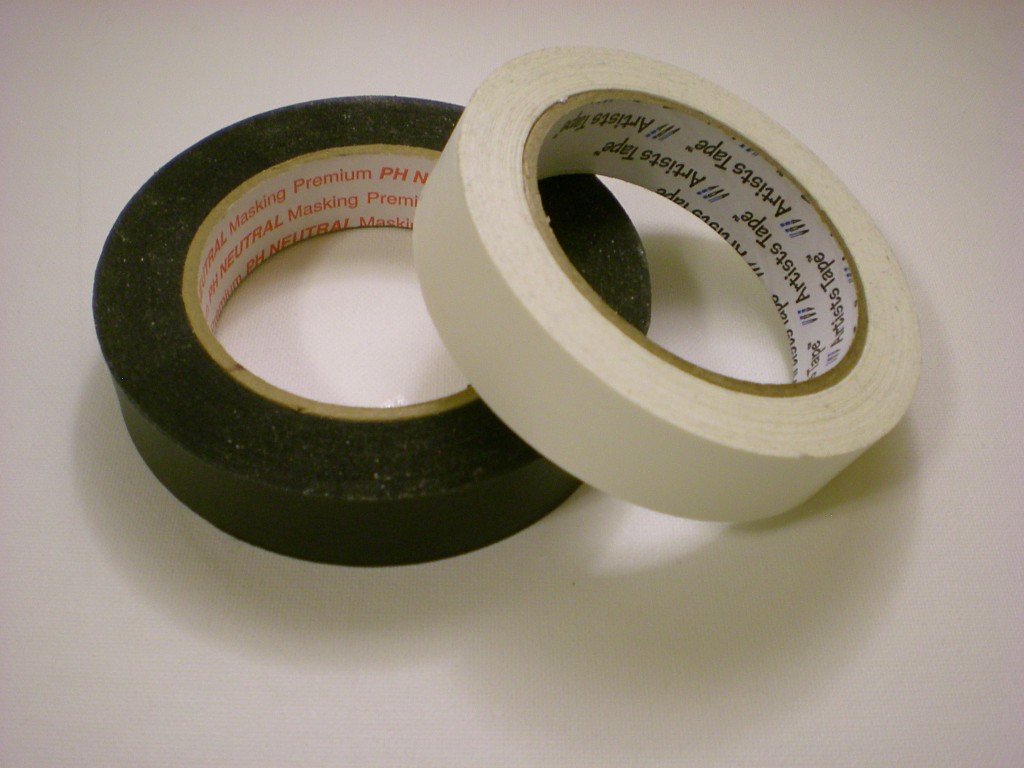
Secret weapon from around the house: Masking or Artists tape

Stripes are just the beginning–you can create plaid, checkered, or gingham patterns with a roll of masking tape. Keep in mind that the width of the tape (and how closely you align them) determines the width of your stripes!
I followed the V-neck cut of the dress to create gently slanting diagonal stripes. Be careful to line up the tape strips carefully in order to keep your design symmetrical and even.
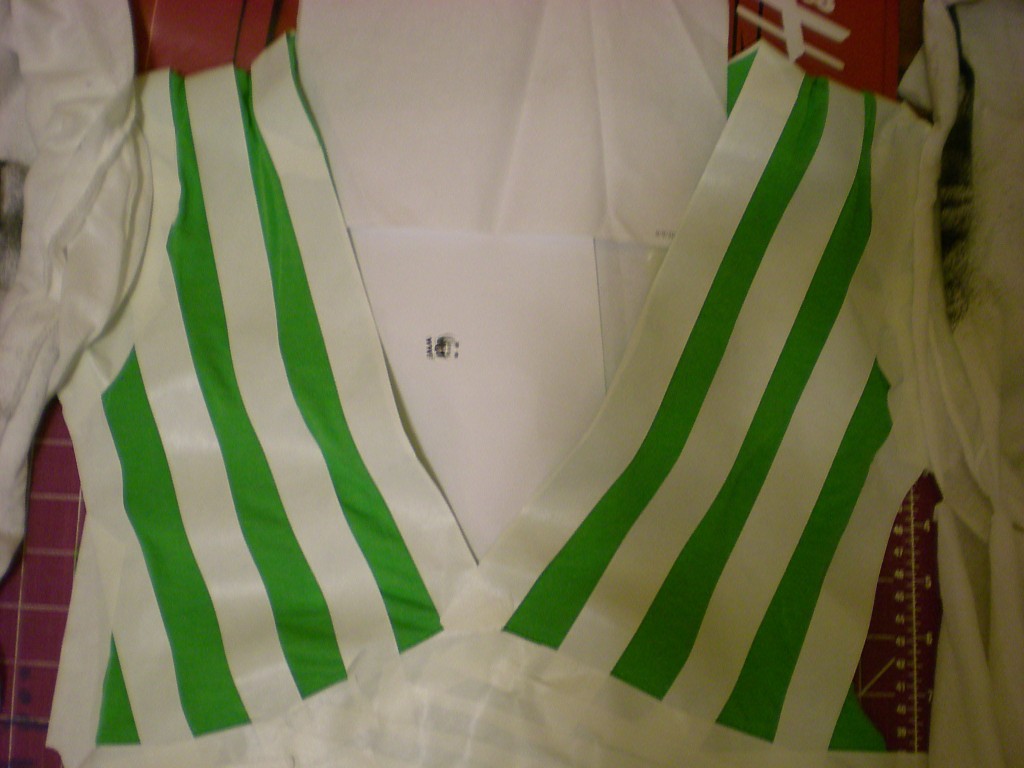
As always, mask the fabric you don’t want to paint! I chose blue spray paint to pair with my bright green frock–a springtime inspiration, for sure!
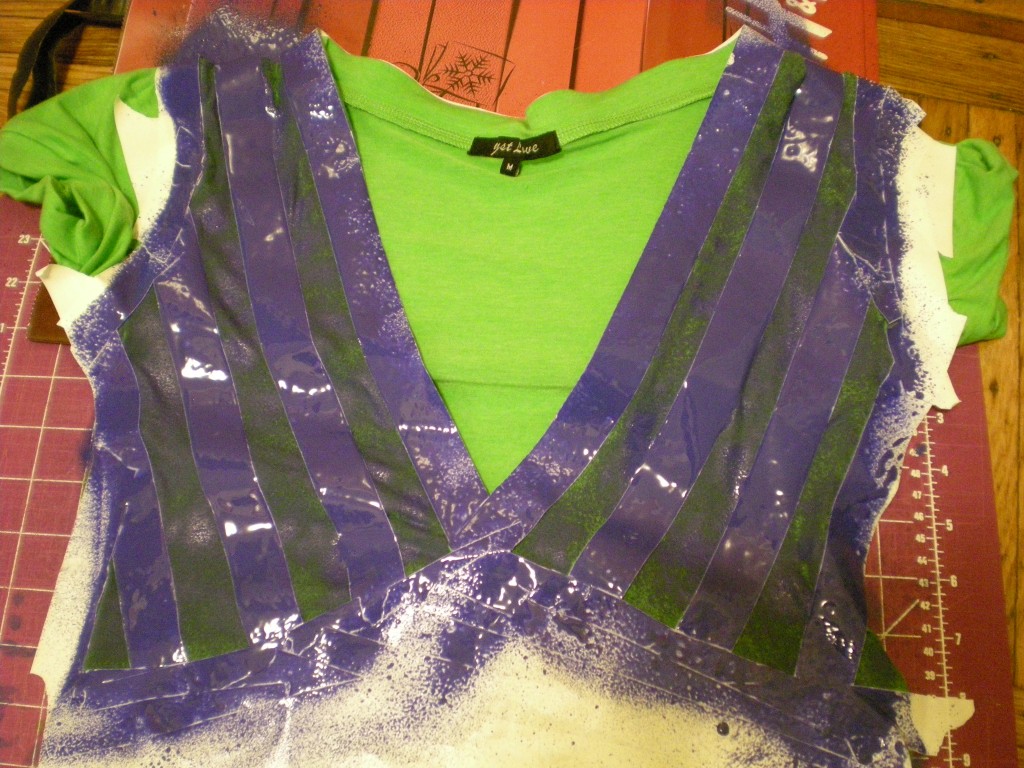
Let the paint dry before peeling off the tape to reveal your sassy stripes!

One, two, three, four — don’t stop now, let’s spray some more! How many more ways can you spray?

[ 20 Comments | Posted on April 26th, 2011 ]

The Spray (Paint)s of Our Lives…

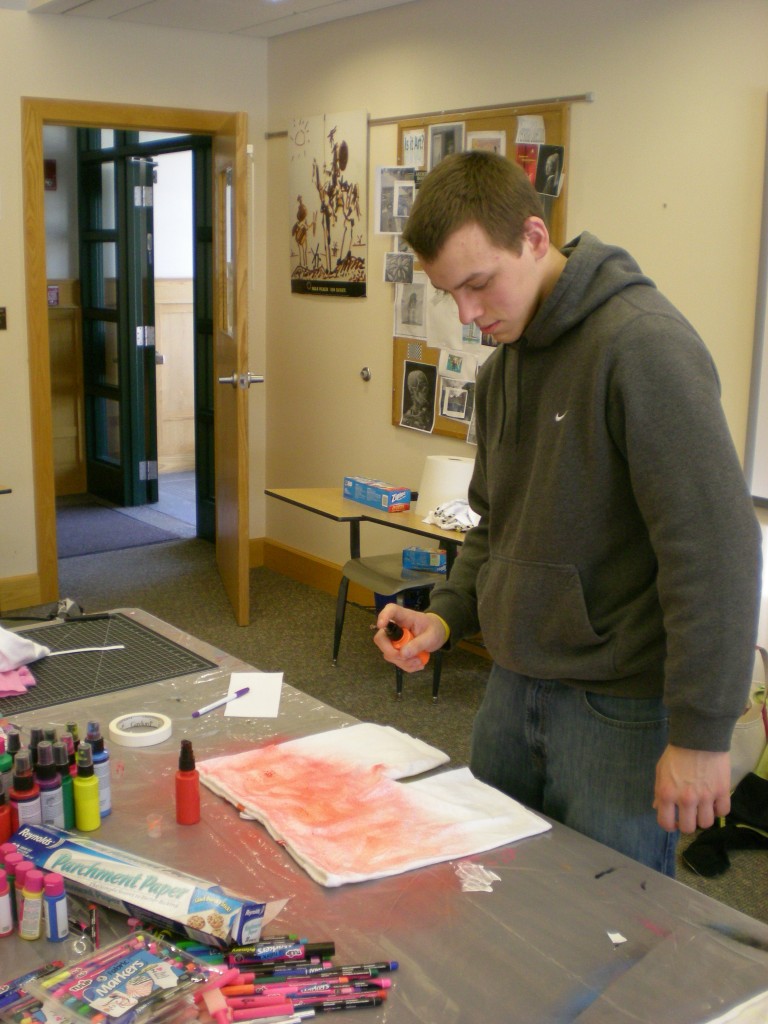
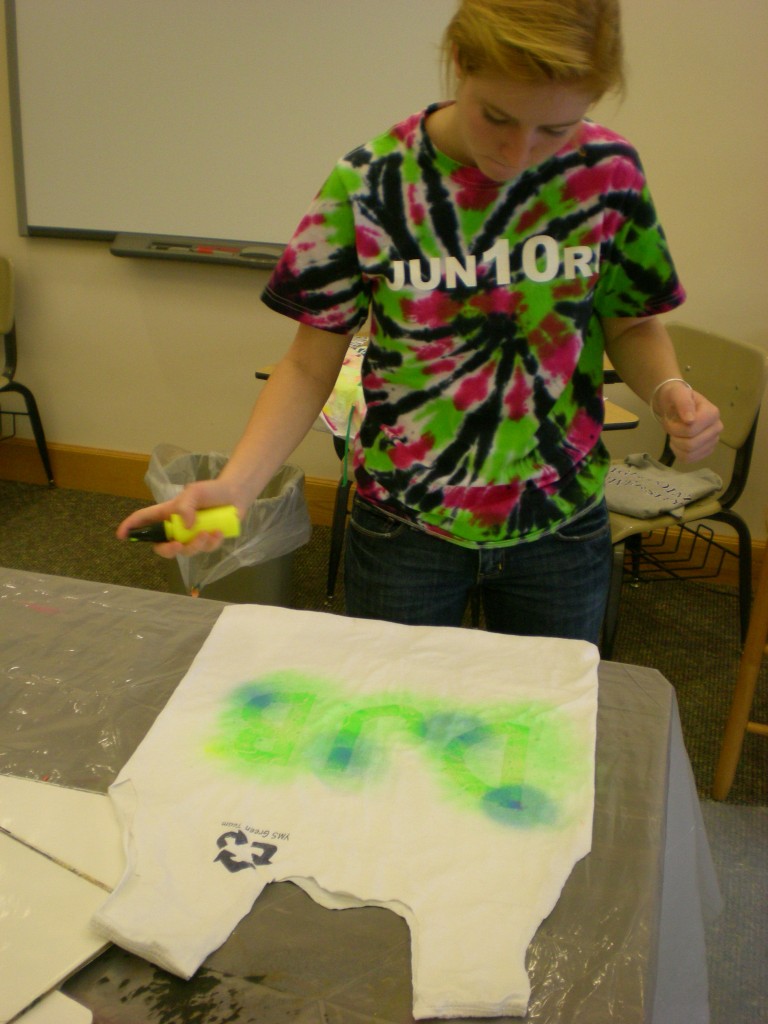
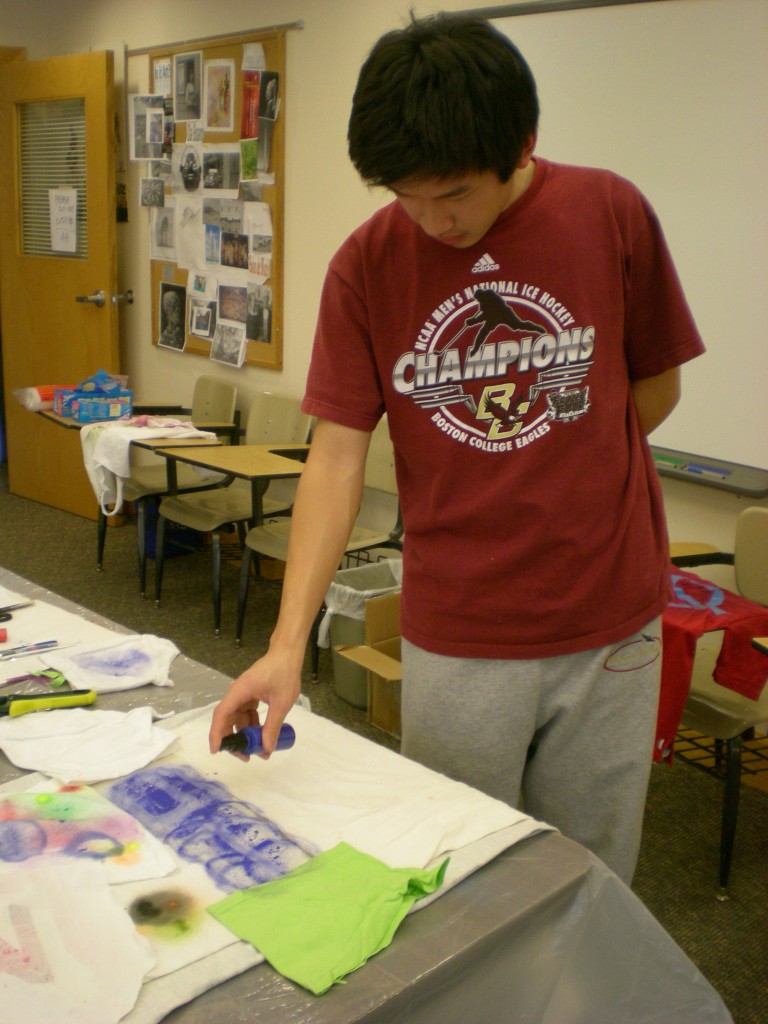
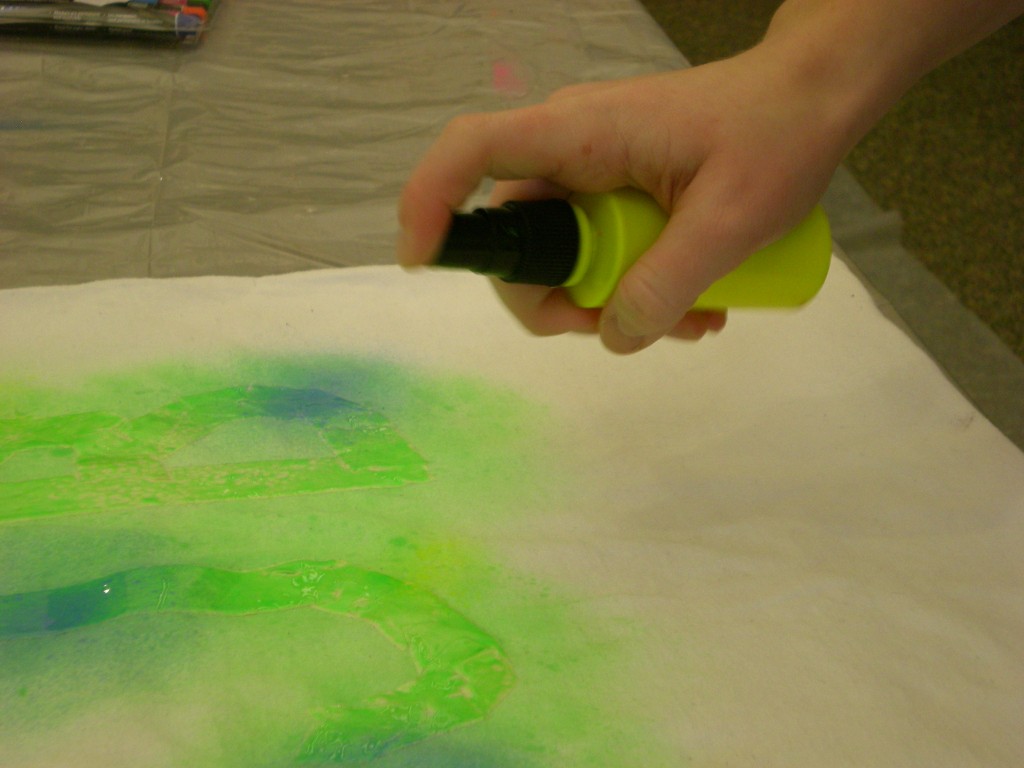
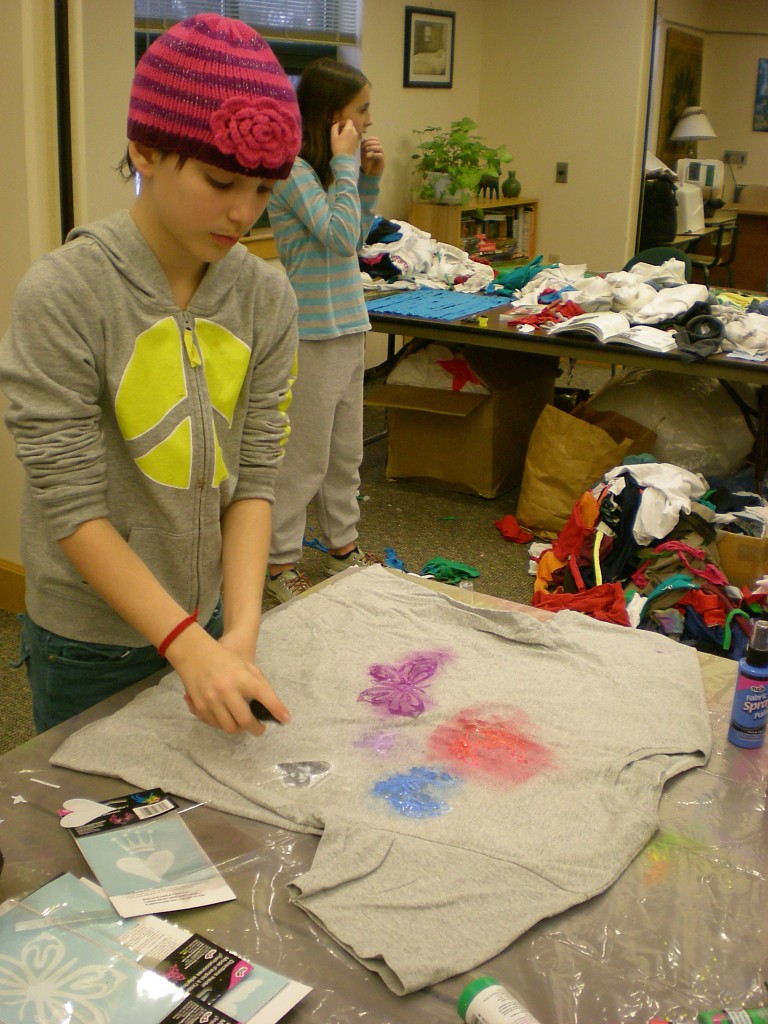
Like sand fabric paint through the hourglass a small nozzle, so go the sprays of our lives… Isn’t that how it goes? Last month I was up in NH for Artward Bound, where I was teaching T-shirt refashioning, and we set up a whole “wet station” dedicated to fabric pens, markers, stencils, and paints (thanks to sponsor iLovetoCreate)! And spray paints were decidedly the most popular kids in class. Students (of all ages, as you’ll see below) experimented with spraying freehand in tie-dye-like formations; they sprayed over reusable stick-on stencils; on foam stencils they brought from their dorms; they also experimented with making their own shapes and patterns using rolls of masking tape. Here’s a sampling of 10 ways to use your fabric spray paint!
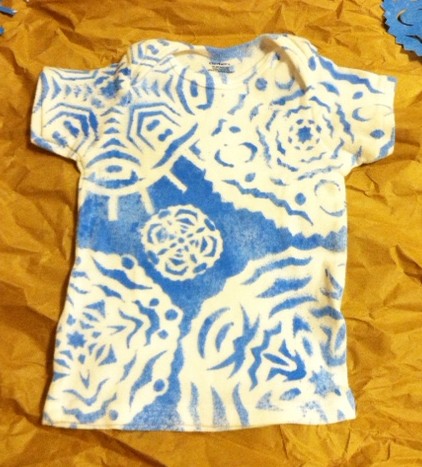
Christian used masking tape over the backside of his boxer briefs (pattern based on Ansty Pants, project #57 in Generation T: Beyond Fashion)

Molly wrote the initials DJB with masking tape to personalize the grocery tote (Plastic Surgery, project #42 in Generation T: Beyond Fashion) she stitched up for her mom.

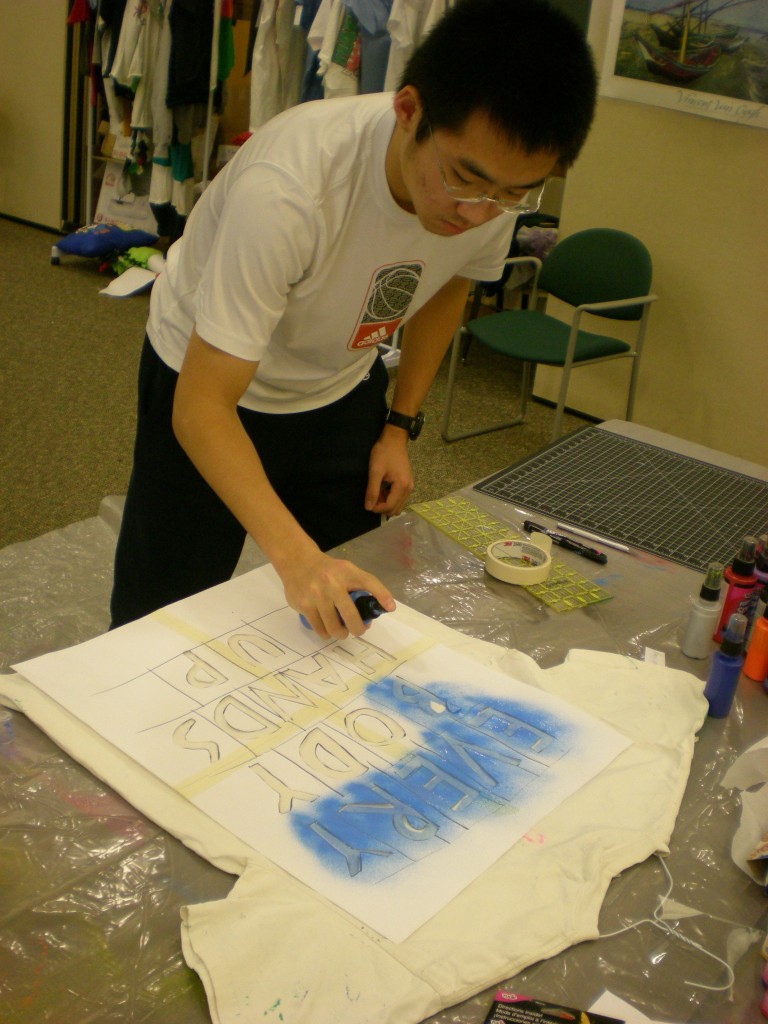
Kangdi diligently cut out all of the letter shapes from a larger sheet of paper we tiled together in order to fit the back of the T-shirt. “Everybody, hands up!” (On the front of the shirt, he used his hands as stencils — one guy who’s not afraid to get messy!)

Dan wanted to spray the number 35 for his DIY basketball jersey, carefully screening the rest of the shirt from excess paint with fabric scraps.

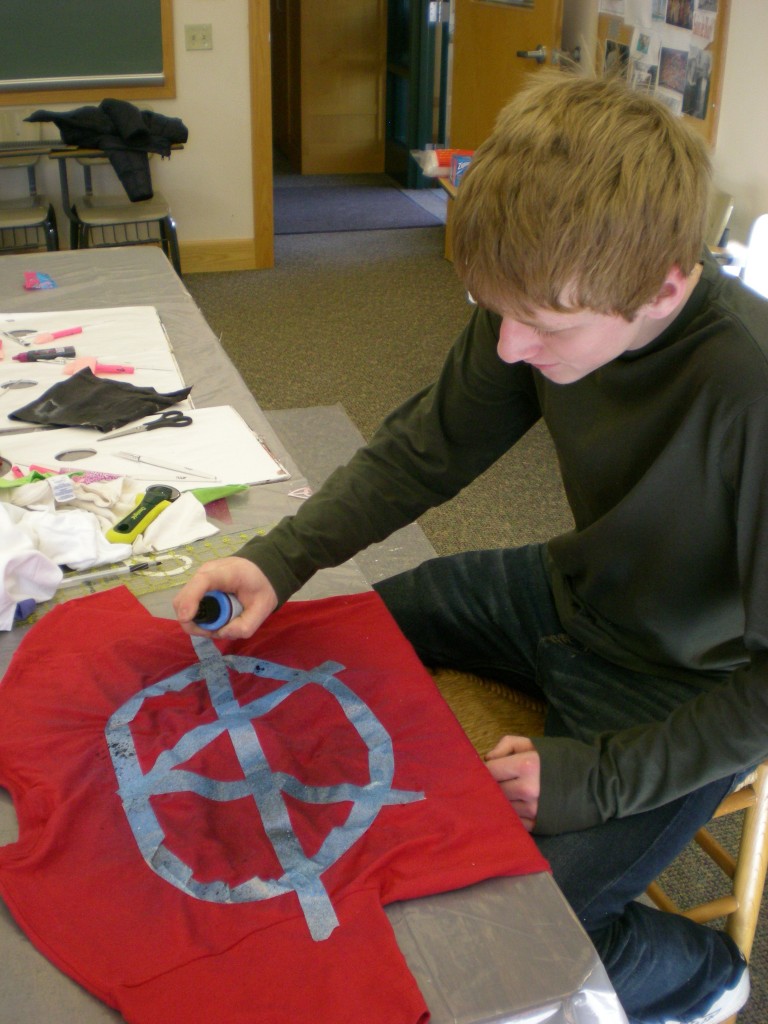
Ben expressed his anarchist tendencies in masking tape.

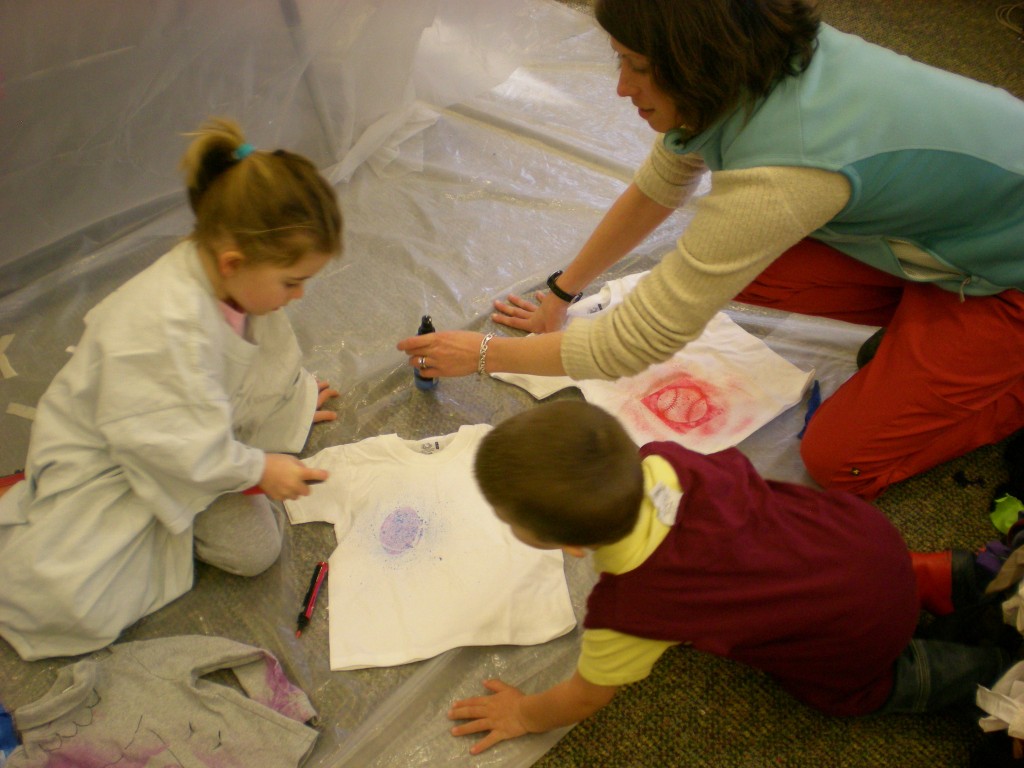
Even young Lindon, son of one of the faculty leaders, stopped by in a T-shirt smock to spray a football onto an old shirt.

Anna sought out the butterfly stencils to add color to the gray base T-shirt.

More footballs and baseball stencils for this young posse.

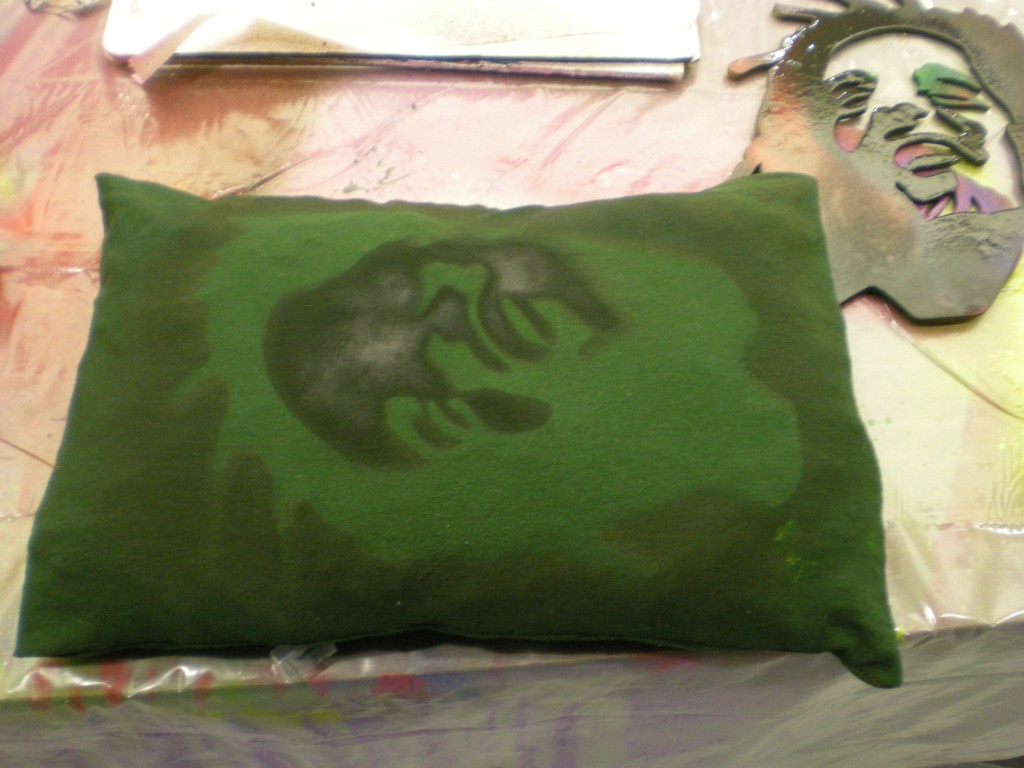
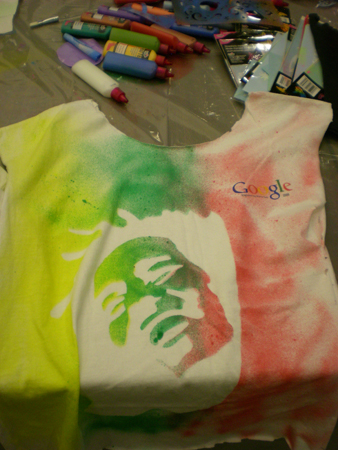
Michael brought his Bob Marley stencil from his dorm room — to make it a veritably Marley-fest. Pillows, T-shirts…

…and tank tops were just the beginning!

Thanks again to iLoveToCreate for the generous donation of spray paints, markers, and stencils for the workshops! As you can see, all the materials were put to wonderful and creative use!

What design would you spray paint? What technique would you use?

[ Comments Off on The Spray (Paint)s of Our Lives… | Posted on April 18th, 2011 ]