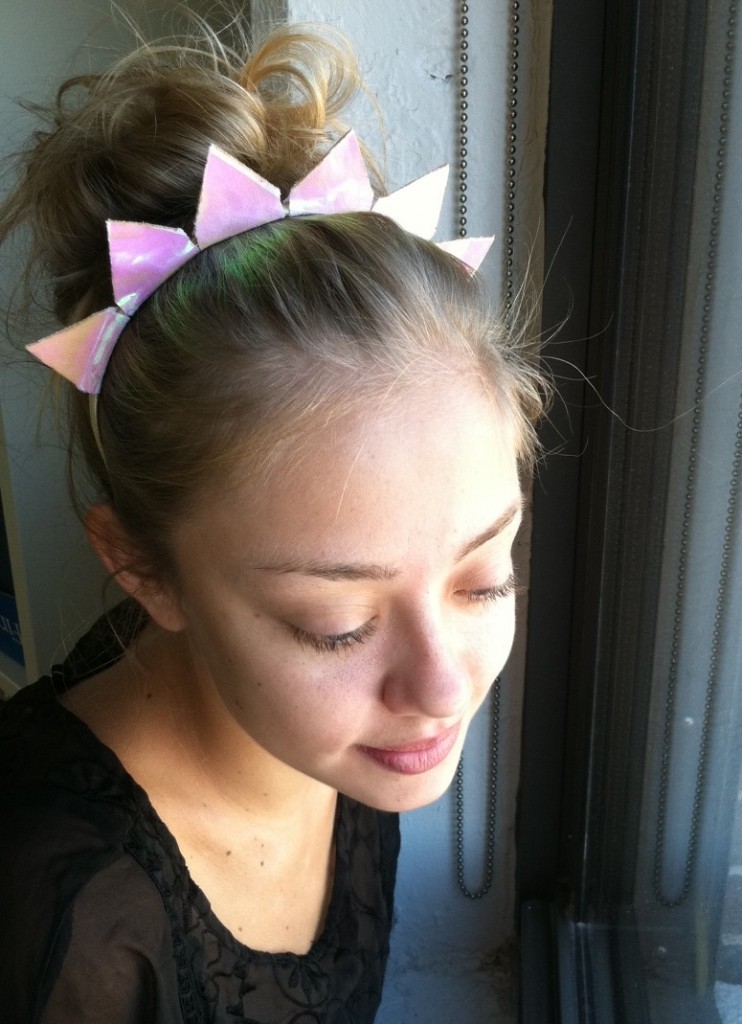
I attended a photo shoot recently and was inspired to make this headband after I saw a similar one in the stylist’s stash of goodies! While hers was glittery gold and mine is iridescent (I also doubt that hers was fashioned from an old T-shirt sleeve), it’s the Lady-liberty-inspired shape that’s so compelling.
I mean, it’s so bright and sunshine-filled (and a little prehistoric?), and I have to admit, though I was begging for cool temperatures back in the heat waves of July (and couldn’t be happier that nature has complied!), the shorter days are already threatening to change my mood. I’m already missing the sun! This happy, shiny, pixie headband brightens up the day wherever you are.
Materials:
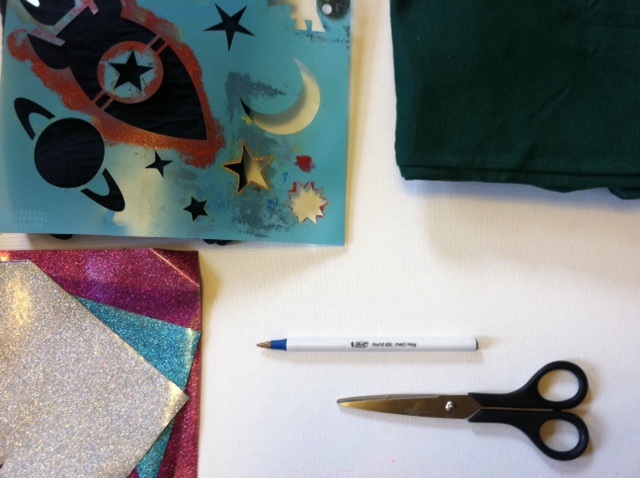
-T-shirt sleeve (or T-shirt scrap of equivalent size)
-scissors
–Tulip Fashion Glitter transfer sheets
-ballpoint pen
-ruler
–Aleene’s Fabric Fusion
-warm iron and pressing cloth
–Tulip Soft Fabric Paint in gold metallic (optional)
-toothpick (optional, to use as a paint applicator)
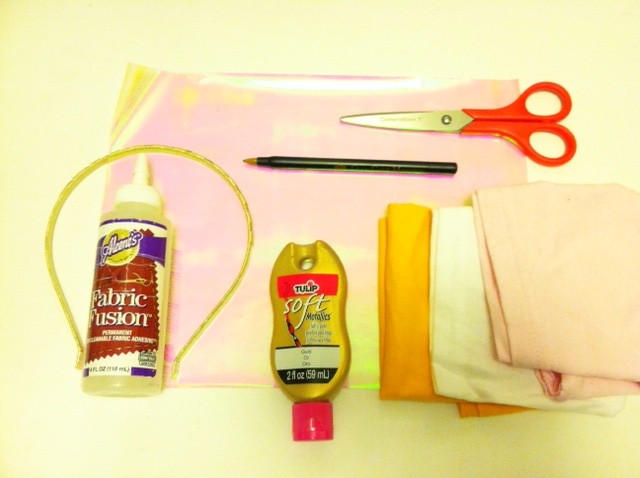
Make it:
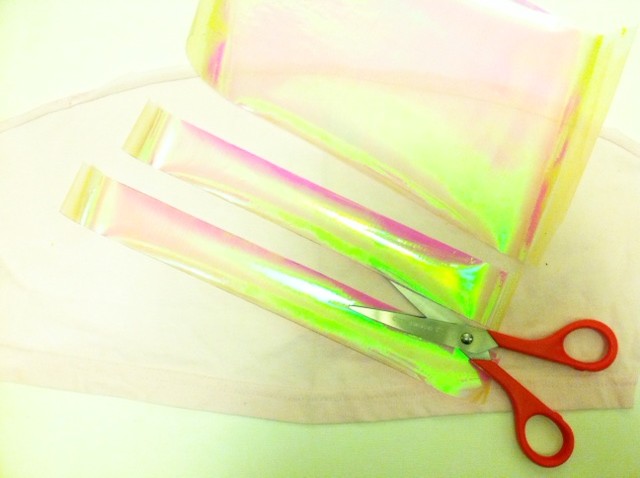
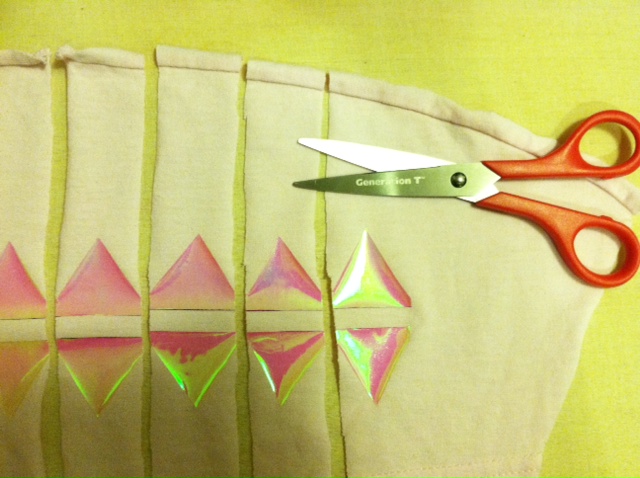
1. Cut out the underarm seam of the sleeve, and lay it flat, right side up. Measure, mark, and cut two 1 1/4″-wide to 1 1/2″-wide strips from the iron-on transfer sheets.
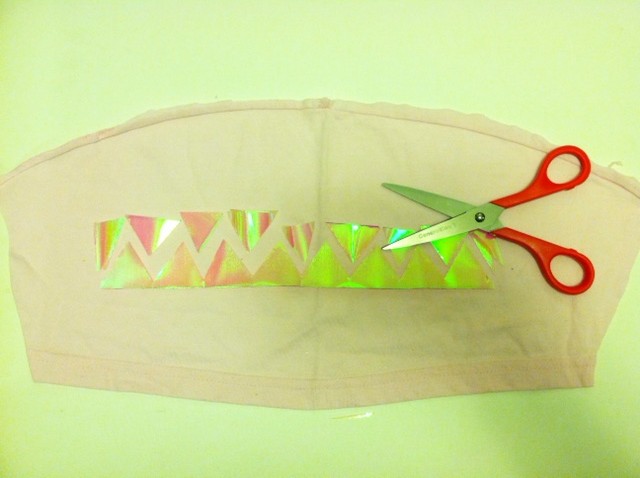
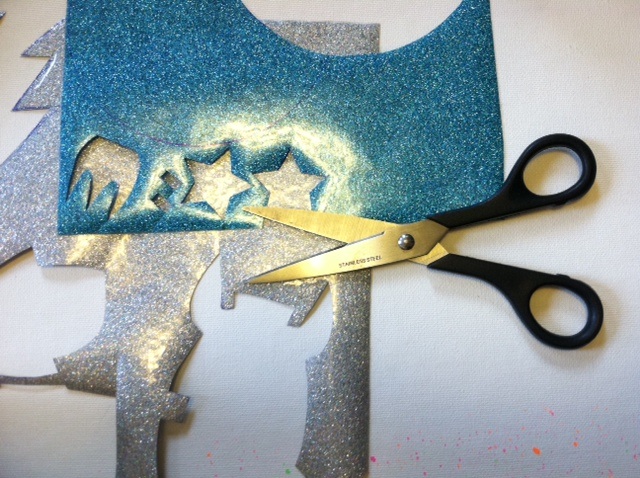
2. Sandwich the two strips together and cut out a series of triangles from one edge (through both layers), leaving a zigzag that runs the width of the strips.
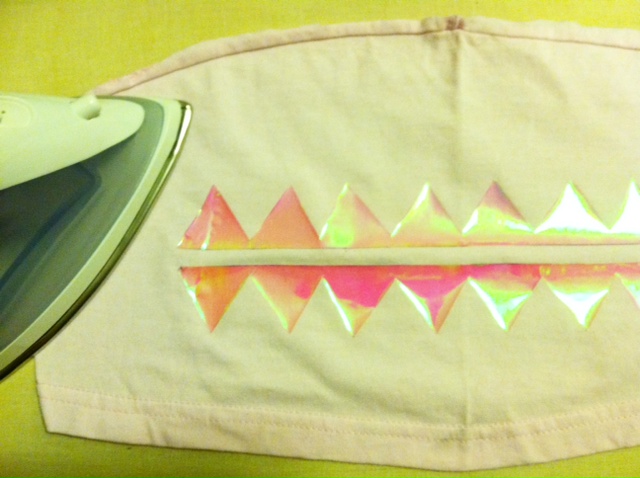
3. Separate the strips and align them along the straight edges, about 3/8″ apart. Use a pressing cloth and iron the strips onto the fabric.
4. Make parallel cuts through the fabric, separating each pair of triangles from the row of zigzags.
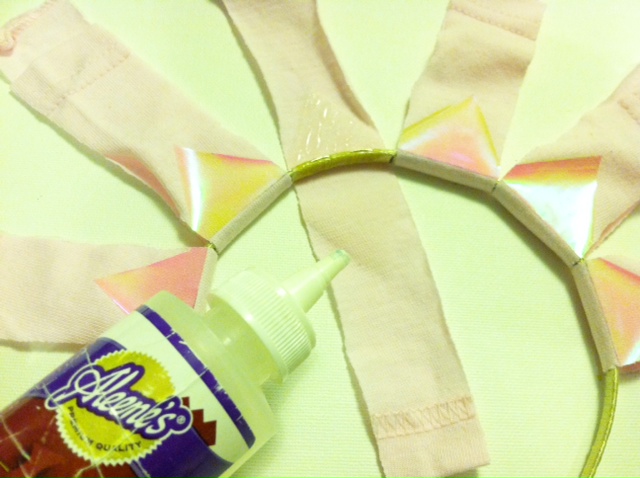
5. Determine how many rays of sunshine you’d like (I debated between 5 and 6, and ultimately went with 6), and arrange them evenly around the arc of the headband. Working one ray at a time, spread fabric glue evenly along the inside of the headband, and wrap the flexible fabric piece around the headband, lining up the triangles. Apply glue evenly to the inside of the strip of fabric and press the triangles together (the triangles should seal beyond their edges).
6. Finish gluing each ray, and let them dry flat. (Note: If the fabric is pulling apart, use a clothespin or paperclip to pinch it while it dries.)
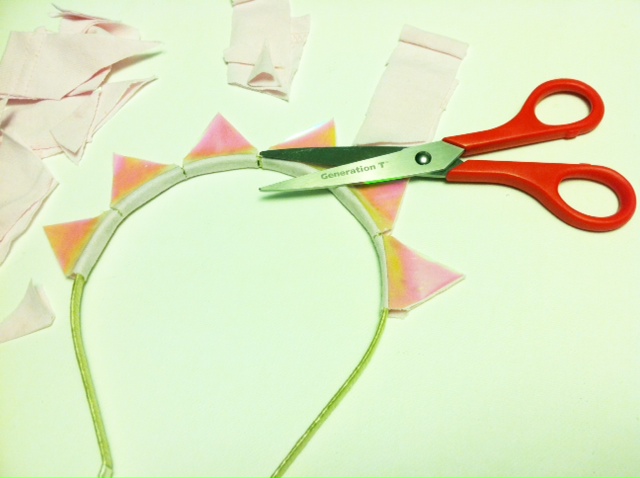
7. When the glue is completely dry, trim the fabric to the edges of the triangles.
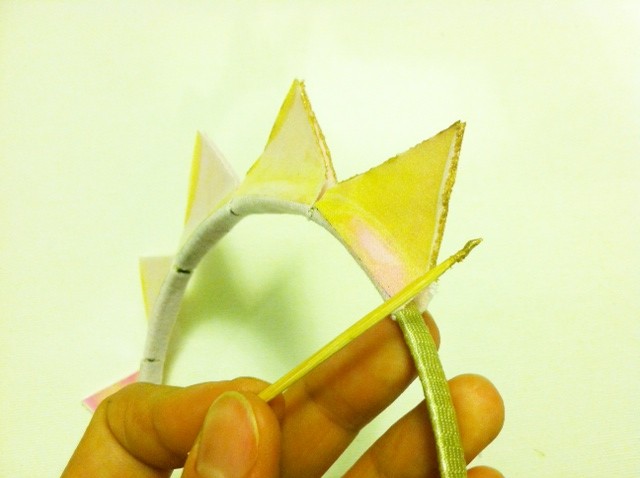
8. As an optional finishing touch, apply the metallic paint carefully with a toothpick along the fabric edges of the rays. Let it dry.
9. Try on the headband to spread a little sunshine both indoors and out!

