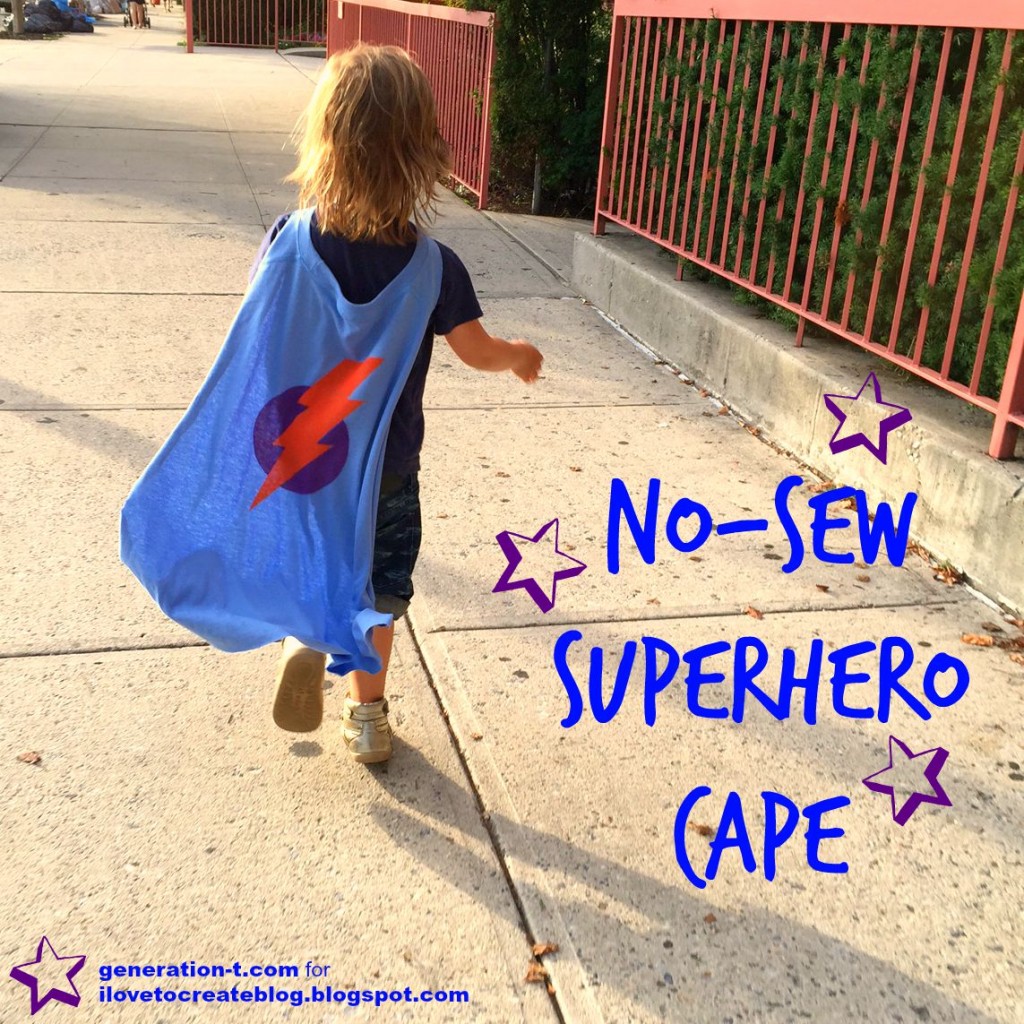
Here’s a classic I recently adapted from my second book, Generation T: Beyond Fashion, because, hey, it’s superhero season (okay, okay, when is it not??). A plain T-shirt is the key ingredient to this phonebooth-like transformation. Whether you’re a superhero at rest, or in action (leaping tall buildings in a single bound, racing faster than a locomotive, and generally exercising capabilities well beyond those of mortal men and women — you know, the usual), this cape has got you covered. Well, partially covered. It’s got your back, at least. (HA!)
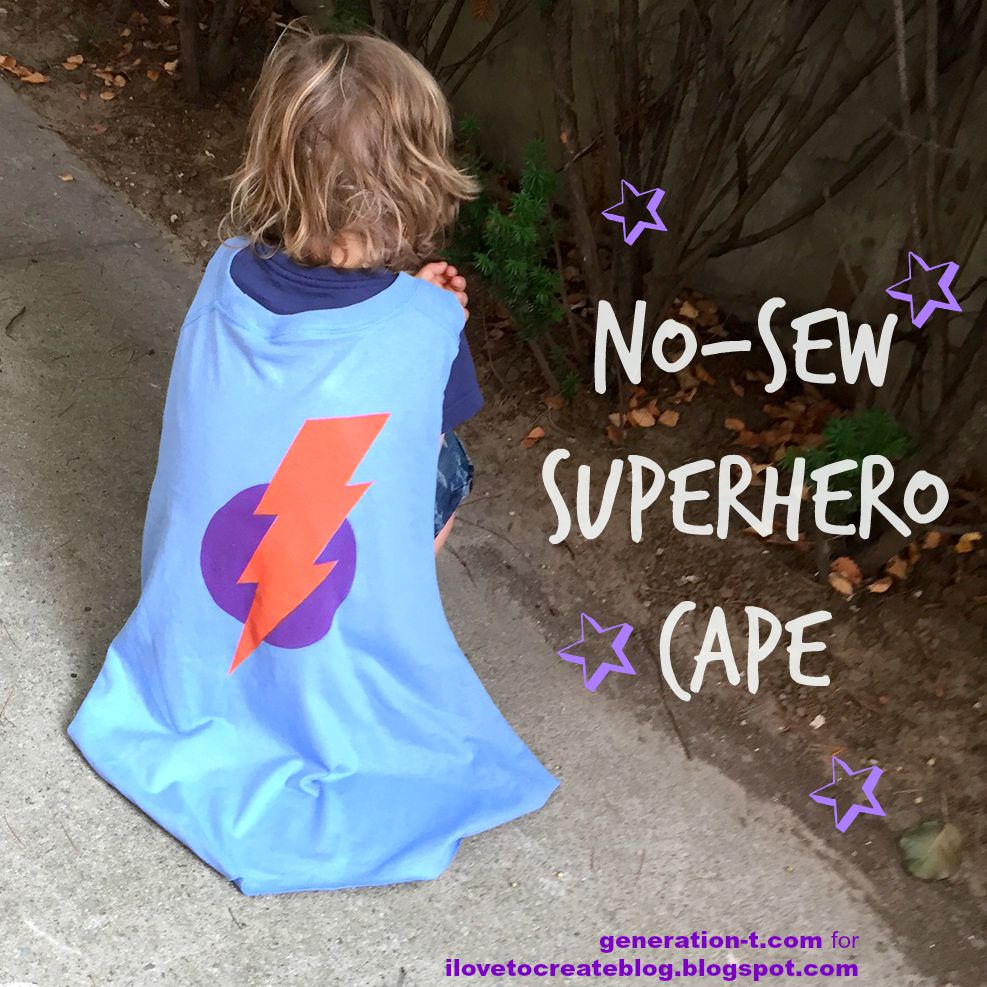
The superhero in my household requested an orange lightning bolt on his cape, so once I created the basic shape, I made a couple of stencils I could layer to get the two-color effect. The length can be customized, so rest assured that adults and children of any size can be made super!
PS: Let me know how you like seeing my illustrations in the tutorial. A throwback to the books….

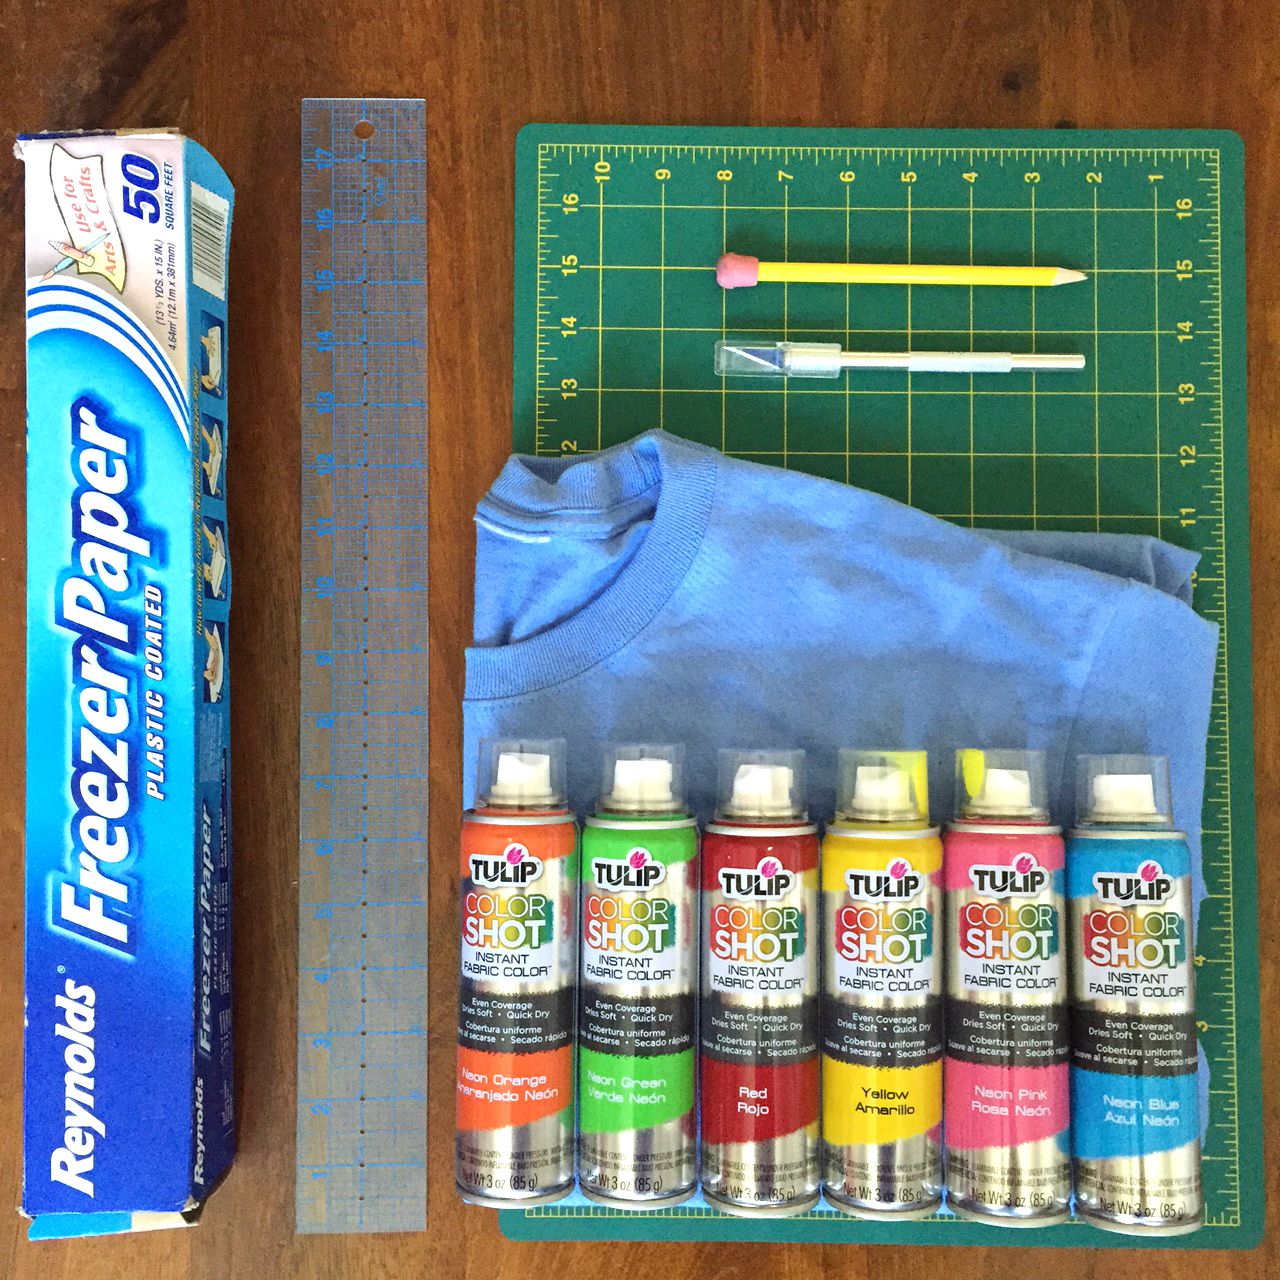
What you need:
-T-shirt
-Pencil or pen
-Ruler
-Fabric scissors
-Freezer paper (for stencils)
-Craft knife and cutting mat
-Warm iron
–Tulip ColorShot Instant Fabric Color (fabric spray paint)
PART 1: The cape.
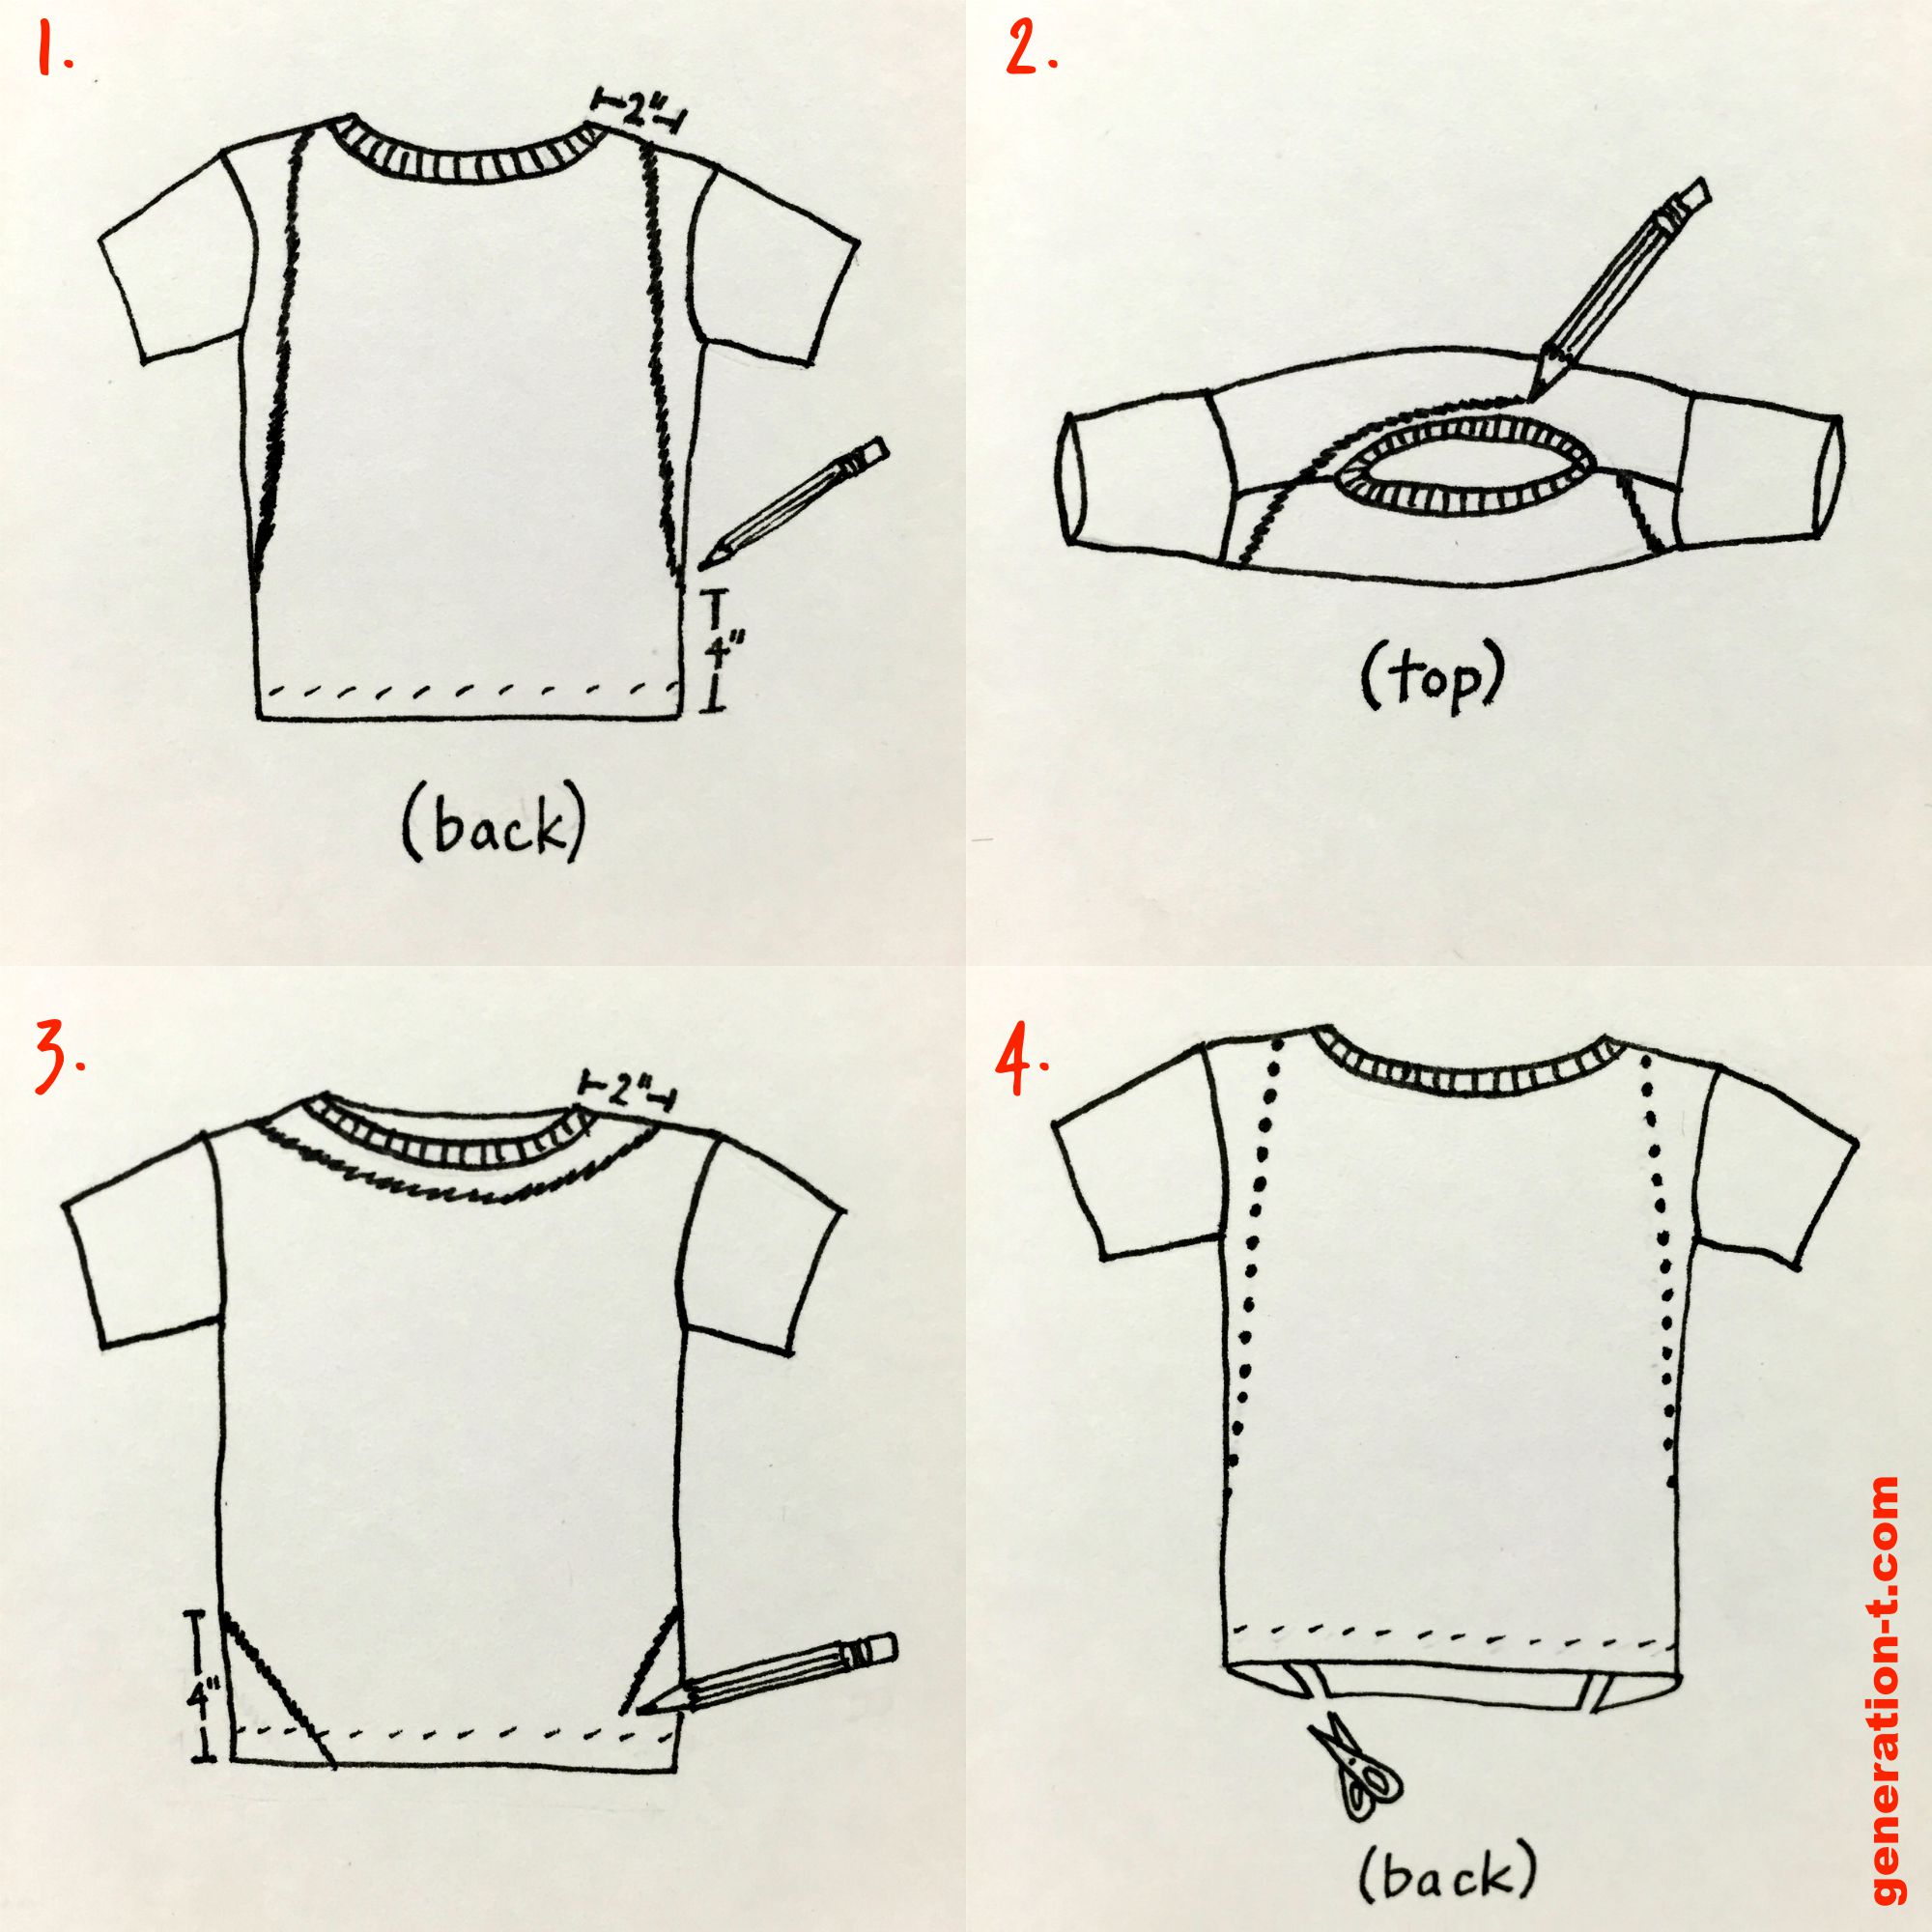
1. Lay the T-shirt flat, back side up. Use the pencil and ruler to mark a diagonal line from about 4″ up from the T-shirt hem along the left side of the shirt to a point 2″ left of the neckband. Mark a second diagonal line from about 4″ up from the T-shirt hem along the right side of the shirt to a point 2″ right of the neckband.
2. Continue the diagonal lines over each shoulder at the top until they intersect just below the front of the neckband.
3. Continue the diagonal lines around to the front of the shirt at the bottom until they reach the hem.
4. Cut along the pencil markings, through just one layer, and around the neckband in the front.
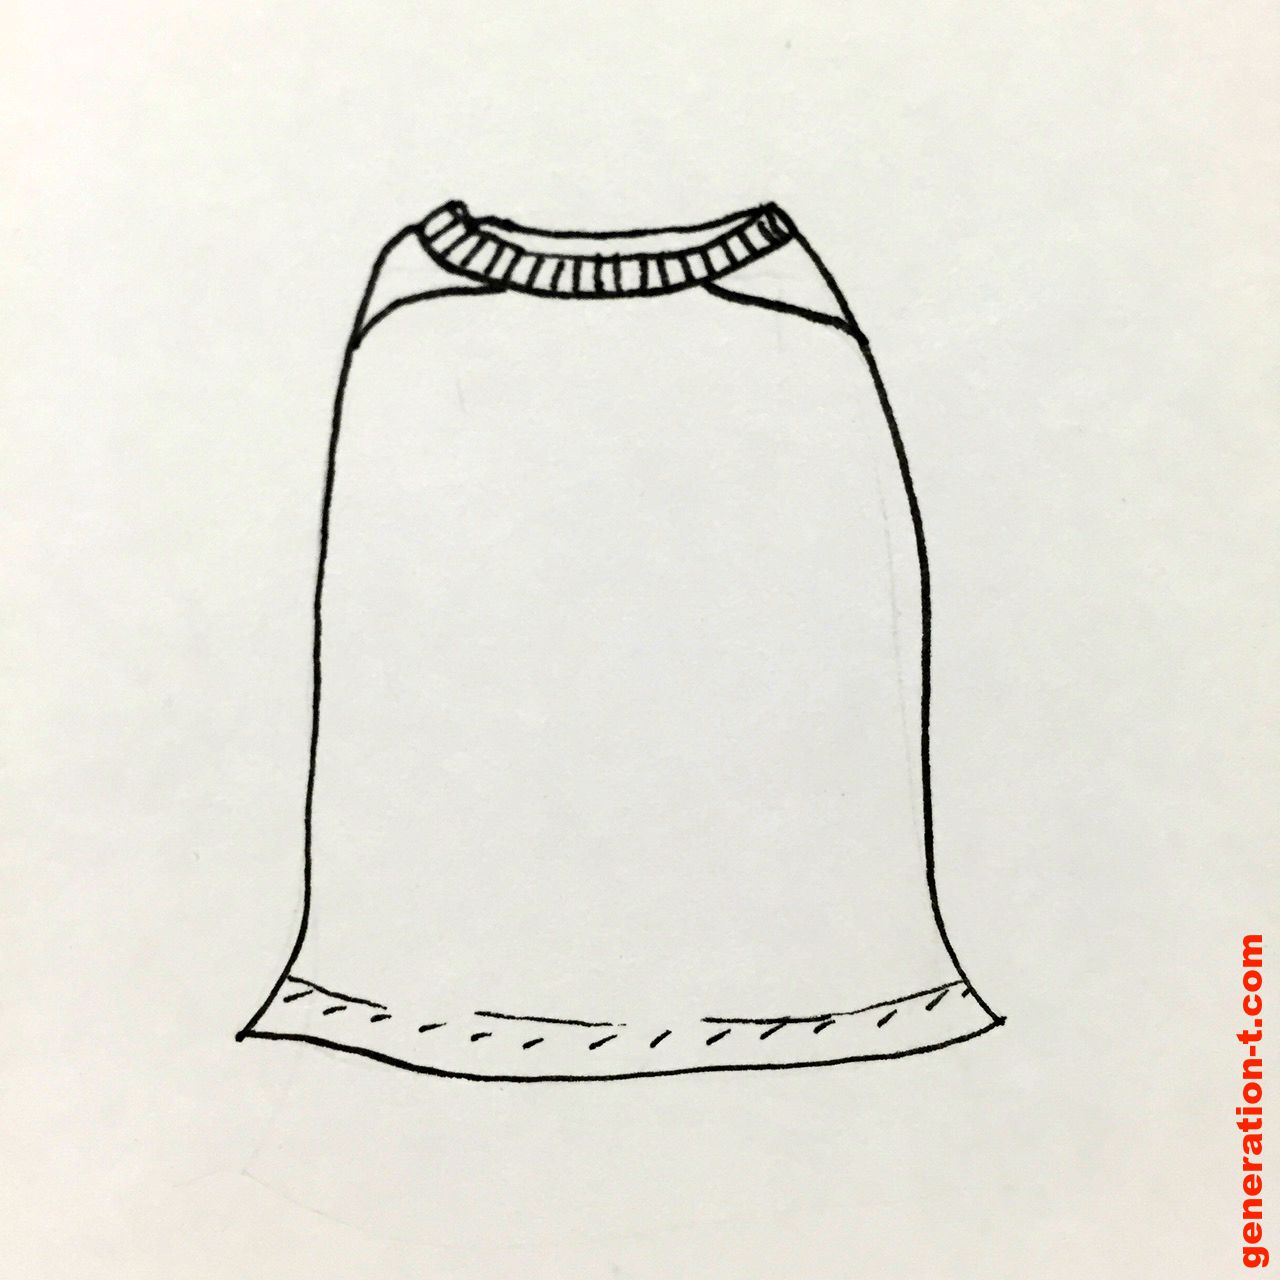
Slip the neckband over your superhero’s head. The hem at the bottom adds a nice weight, but check that it isn’t too long so that it’s in danger of getting snagged or stepped on, and trim it if necessary.
PART 2: The design.
1. Head on over to the iLoveToCreate blog for the stenciling tutorial!
PART 3: The execution.
1. Test out your cape’s powers!