Posts Tagged ‘softies’

How To: Embroidered Electric Bass Softie

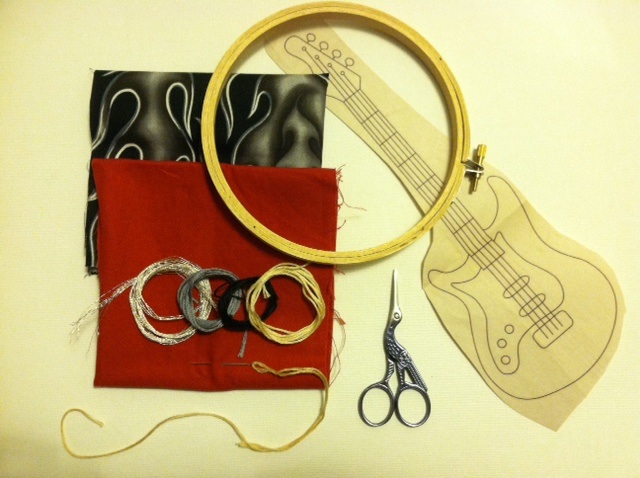
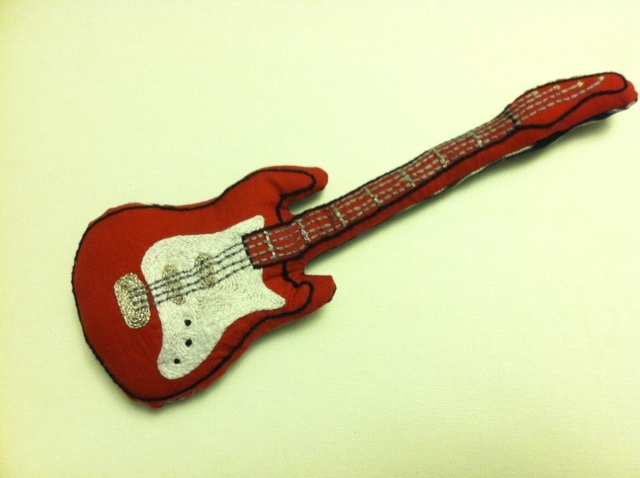
Happy New Year! With all the baby prep in the final months of 2011, I finished one craft project not-exactly-in-time-for-baby, but in time for Christmas. I began this embroidered bass guitar a couple of months ago, after finding the pattern in a local sewing shop. Though most of the designs in the envelope were intended (so suggested the text on the packaging) to be applied to tea towels or pot holders or grocery totes, I immediately envisioned this one as a softie toy for my soon-to-arrive little rock star. And, well, all I can say is that he seems to be taking to it quite naturally.

Materials:
-Solid color cotton quilting fabric to embroider
-Patterned cotton quilting fabric for backing
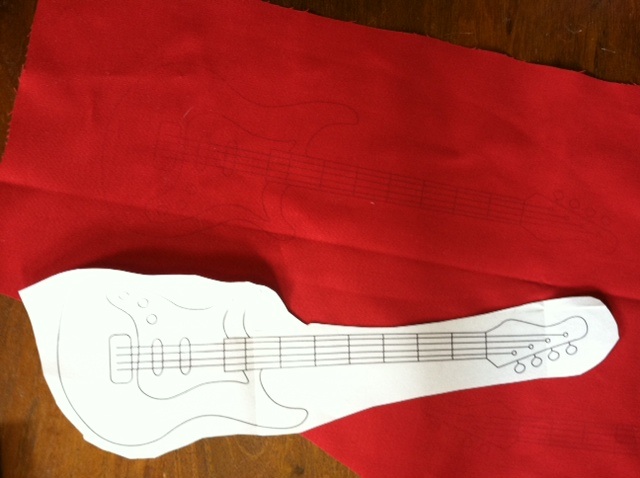
-Electric Bass Iron-on Pattern (in Colonial Patterns “SR4 Rock’n & Roll’n”)
-All-purpose scissors
-Iron and ironing board
-Wooden embroidery hoop
-Embroidery floss in white, black, silver, and slate blue
-Embroidery needle
-Embroidery scissors
-Straight pins
-Sewing machine and thread
-Fiberfill

Make it:

1. Cut out the iron-on pattern and place it face down on the plain fabric. Follow the instructions on the pattern packaging to press and transfer the image with a warm iron.

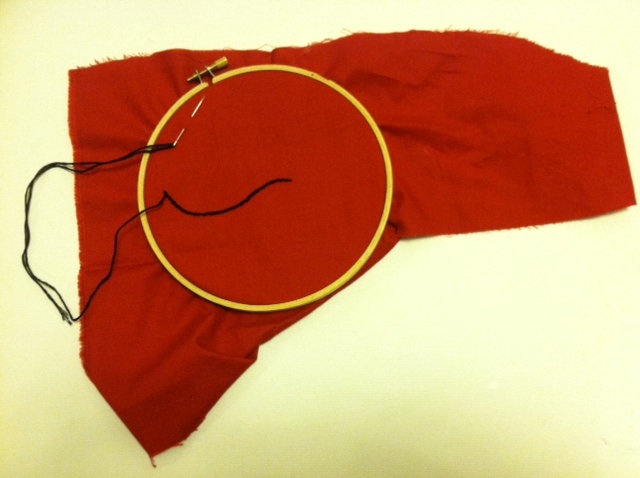
2. Thread the needle with an arm’s length of black embroidery floss. Use four strands for each stitched segment of the design. I outlined the bass in black with a split stitch, used split stitch fill in white for the pick guard, split stitch and split stitch fill in silver for the frets, pickups, bridge, and tuning keys, used backstitch in slate gray for the strings, and finished off the control knobs with French knots in black.

3. When the stitching is complete, carefully cut about 1/2″ around the black outline stitching. Place the embroidered piece against the backing fabric, right sides together, and cut around the shape to create a matching back piece. Pin the edges and, leaving a 1/4″ seam allowance, sew a running stitch around the pinned area. Leave a 2″ opening at one end. Remove the pins and turn the fabric right side out. Stuff with fiberfill, making sure all the “corners” get filled first, and hand stitch the opening closed.

4. Put it in the hands of an eager young musician.

[ 2 Comments | Posted on January 1st, 2012 ]

I Love to Create: T-shirt Baby Book!

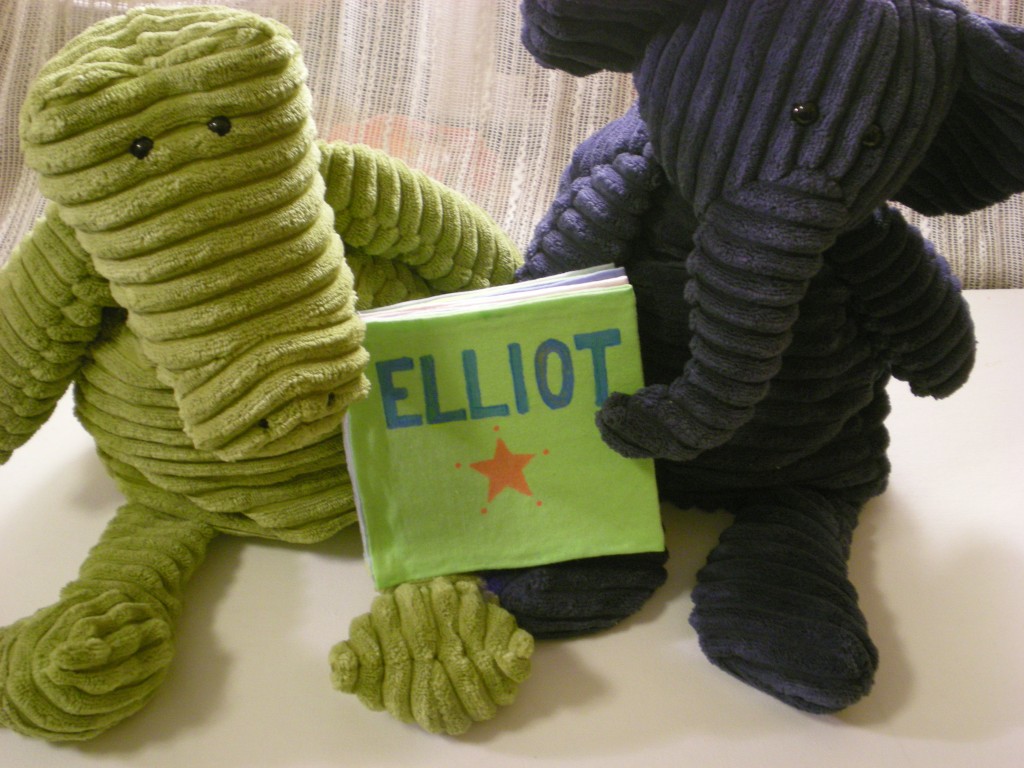
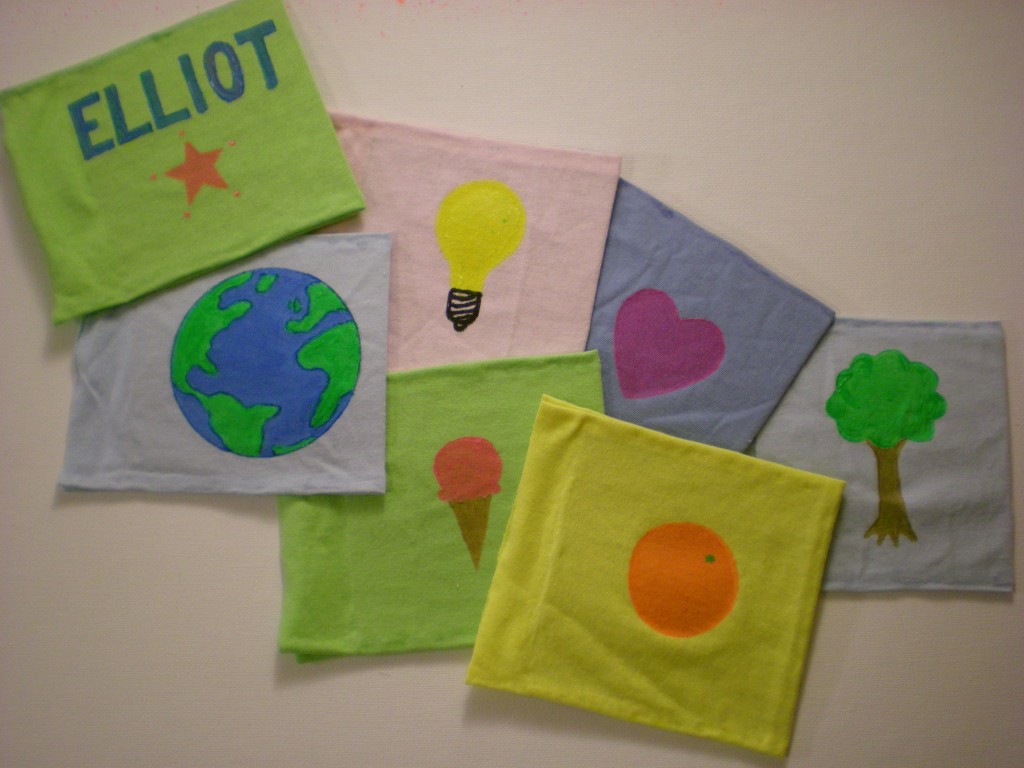
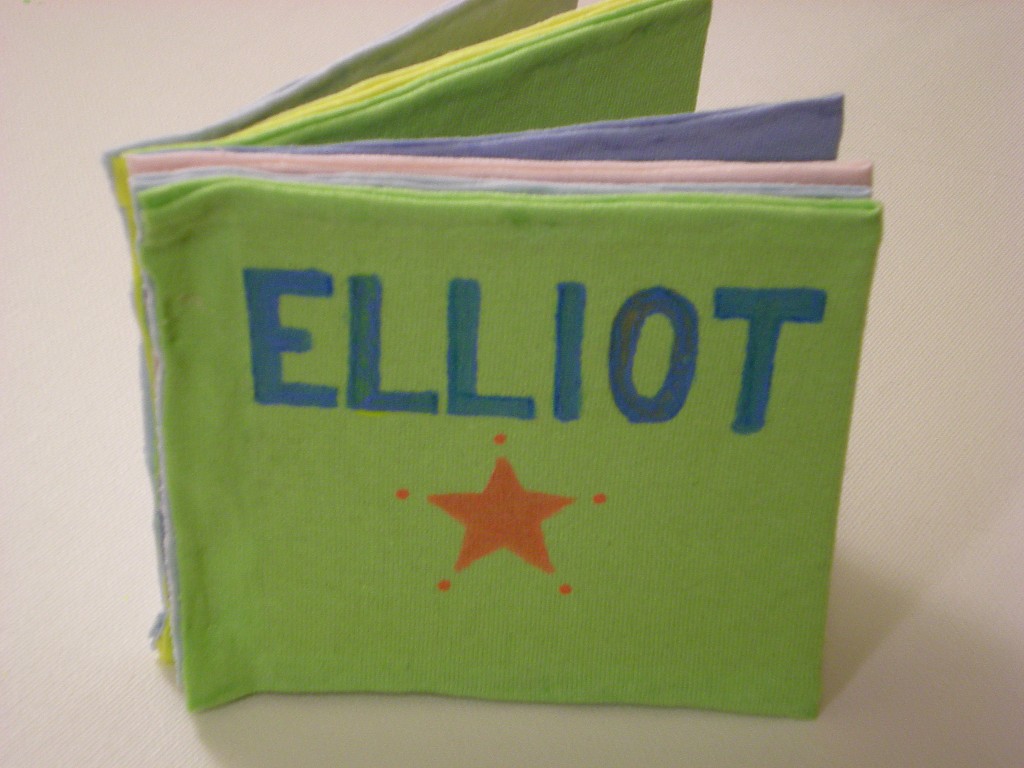
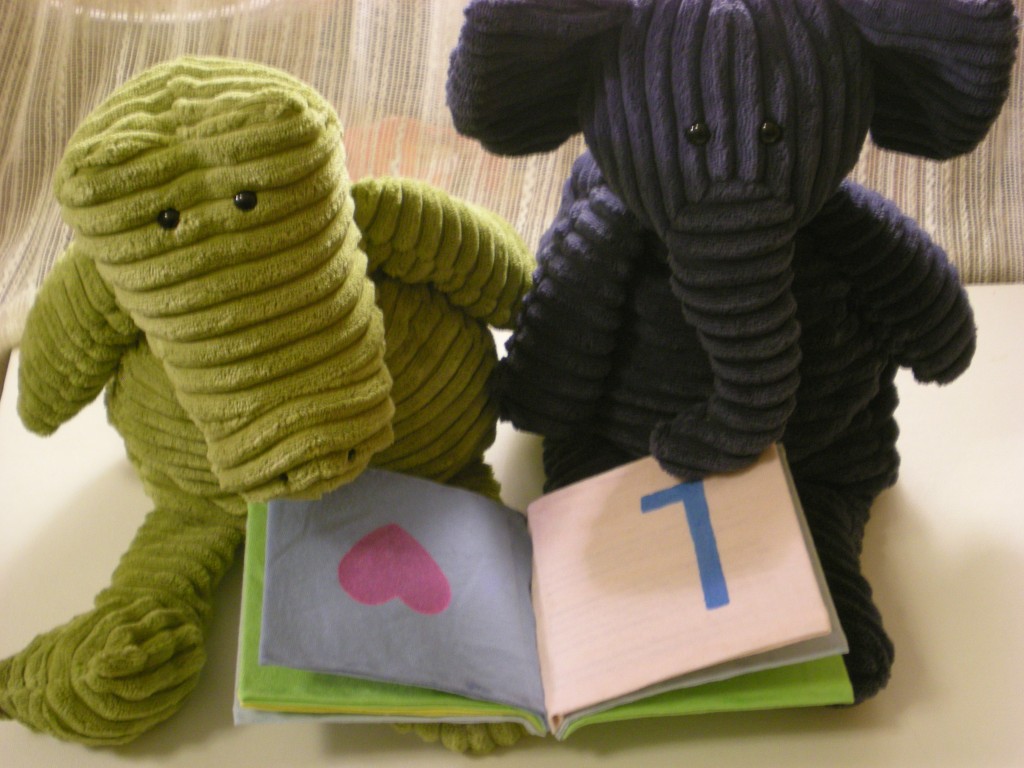
I like projects that help me use up the scraps that threaten to overwhelm my craft space. I also like projects that can be gifted. So this one’s a win-win: The T-shirt Baby Book is perfect for using the T-shirt sleeves that have been cut from another project (like a tank top) and it makes a great personalized baby gift. Once I picked the recipient (my friend’s new baby, Elliot), I had a lot of fun figuring out what words each letter of his name would represent (in other words, what could I illustrate easily?). I settled on: E = earth, L = light, L = love, I = ice cream, O = orange, and T = tree. Sorry, no pictures of baby Elliot and his new book just yet, so the book is presented by these two cute corduroy pals.

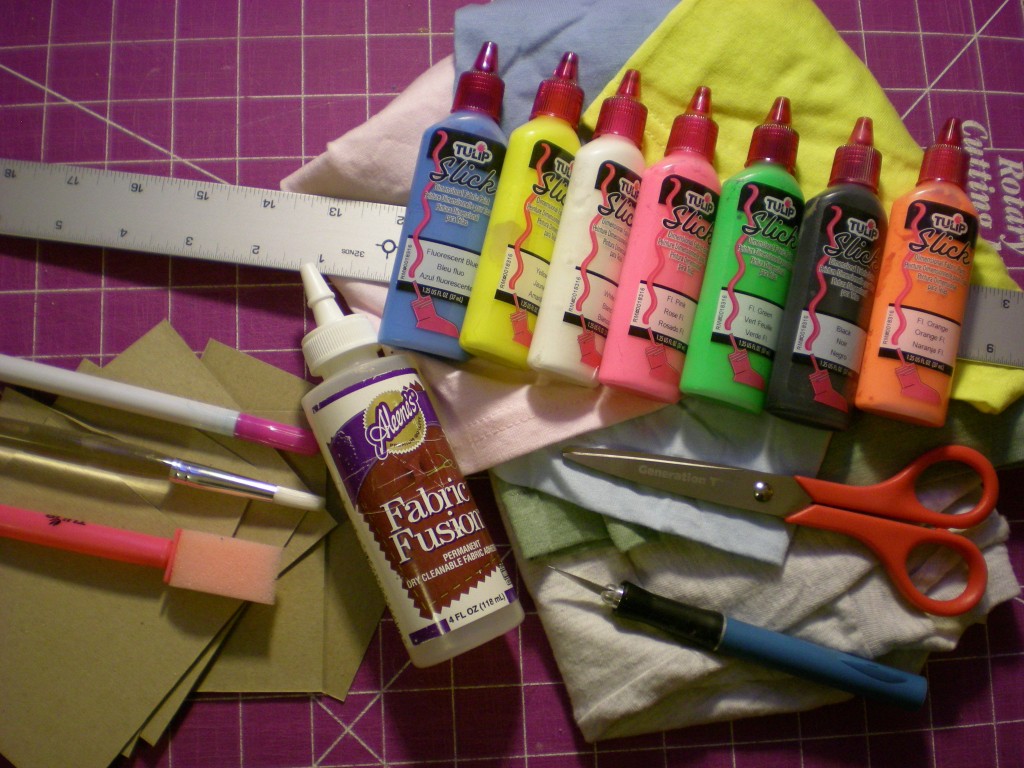
Materials:

-T-shirts or T-shirt scraps (in multiple colors)

-Scissors

-Ruler

-Craft knife

-Cutting mat

-Lightweight cardboard (cereal, snack, or tissue boxes work great!)

Aleene’s Fabric Fusion Permanent Dry Cleanable Fabric Adhesive

Tulip Disappearing Ink Pen

Fabric paintbrushes

Tulip 3D Fashion Paint Blazin’ Brights (variety of colors)

-Clothespins (optional, for clipping in place while gluing/drying)

Make it:

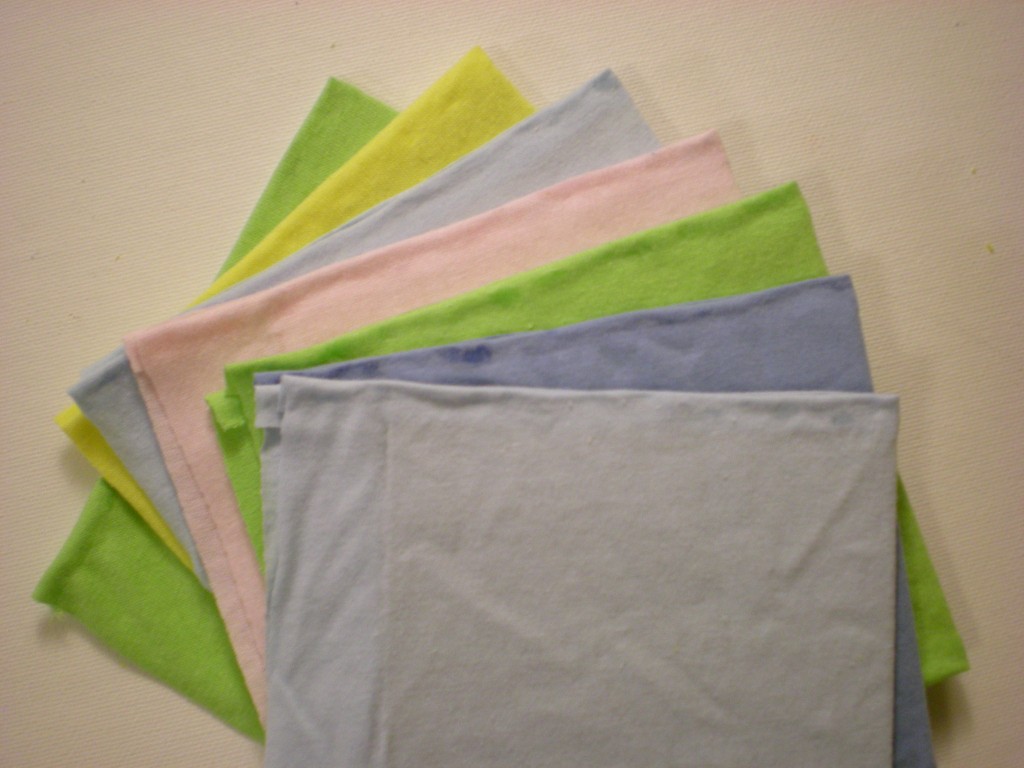
1. Measure and cut one more 4″ x 4″ square of cardboard than there are letters in the baby’s name. (Example: Elliot has 6 letters, so I cut 7 squares.) Then cut as many 5″ x 10″ rectangles from the T-shirts as there are cardboard squares.

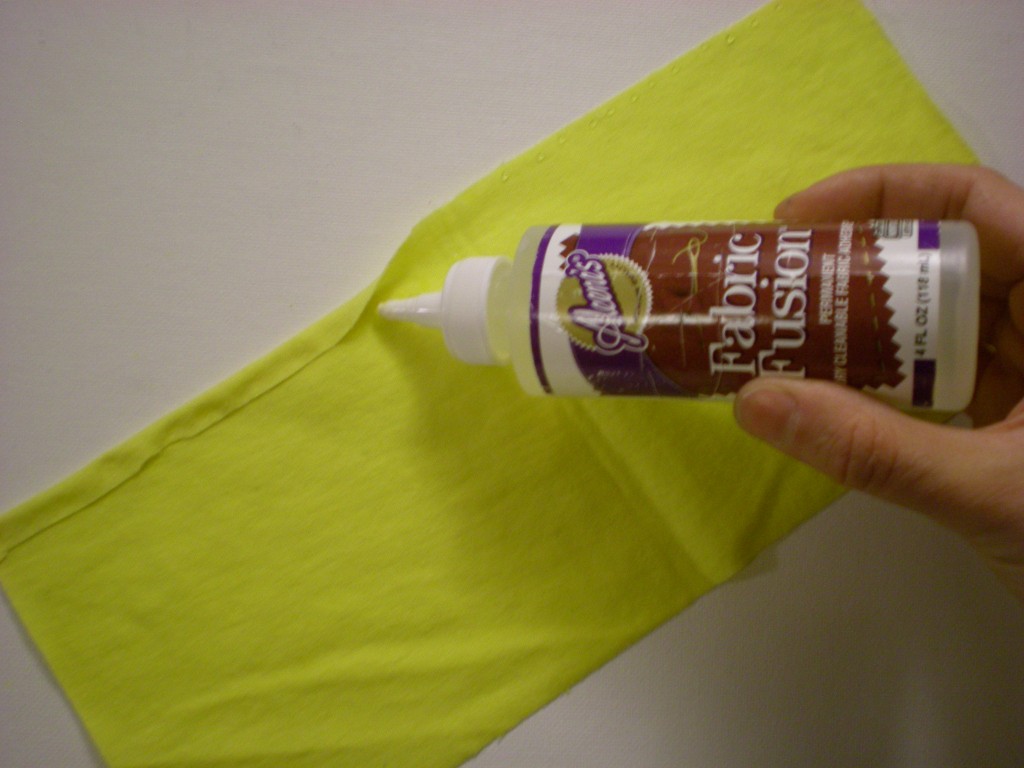
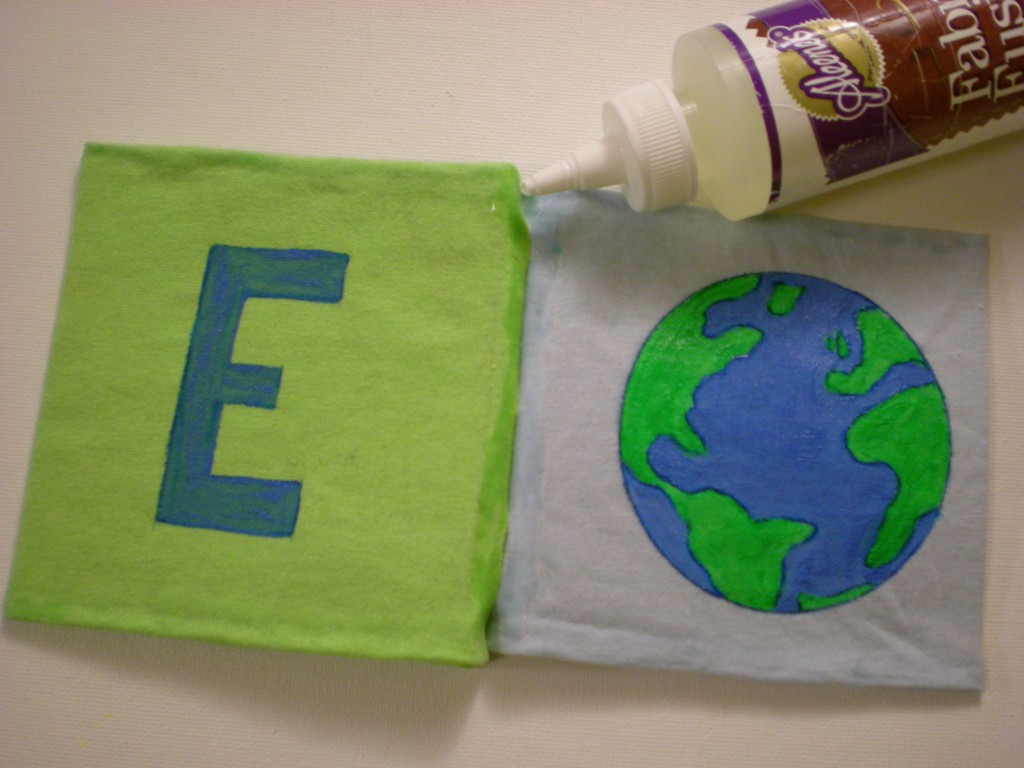
2. Squeeze a small ribbon of glue along one long side of one of the fabric rectangles. Then fold over the edge about 3/8″ and press. Repeat on the other long side.

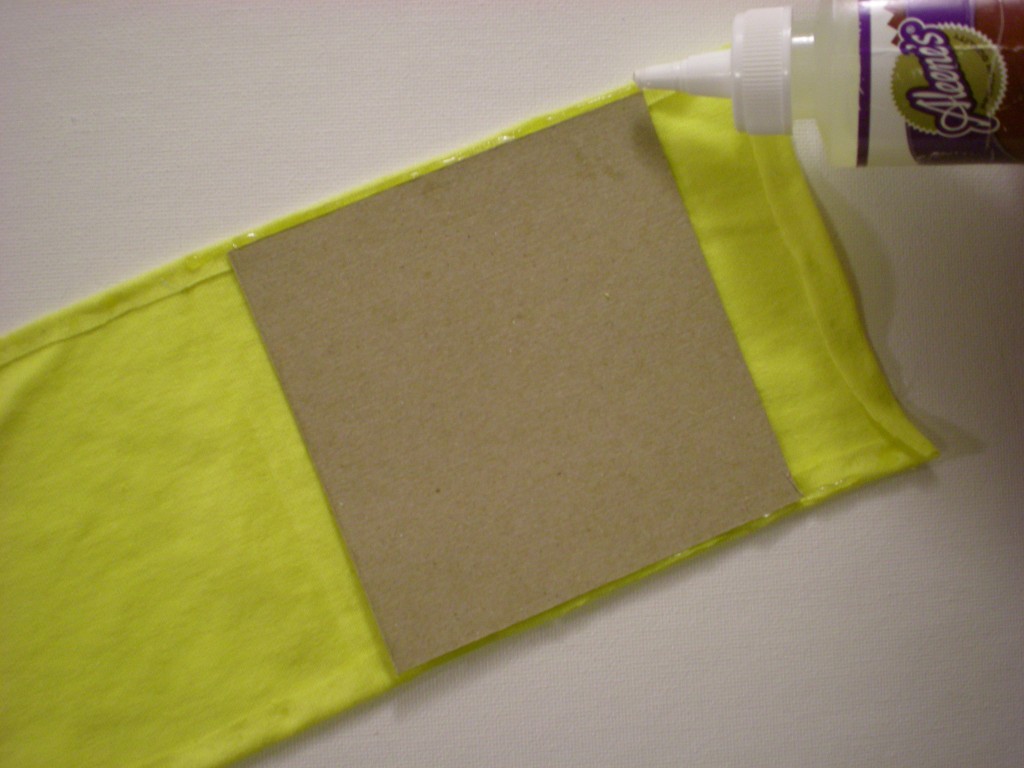
3. Find the center of the rectangle and line up one edge of one of the cardboard squares. Squeeze a small ribbon of glue along the fabric at the top and bottom edge of the cardboard.

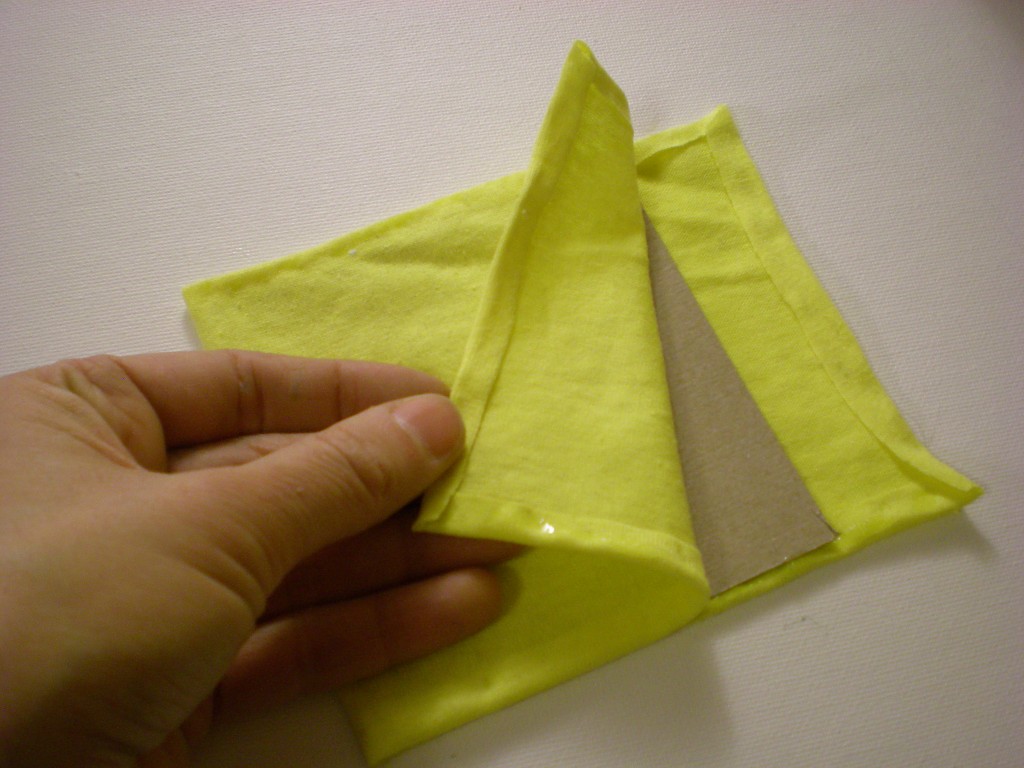
4. Fold the fabric in half, sandwiching the cardboard in between the layers. Press the glue into the edges to seal it. Squeeze another ribbon of glue against the cardboard and between the fabric layers on the open side. Press it closed.

5. Repeat steps 2 through 4 until all of the cardboard squares are covered. These are the pages of the book.

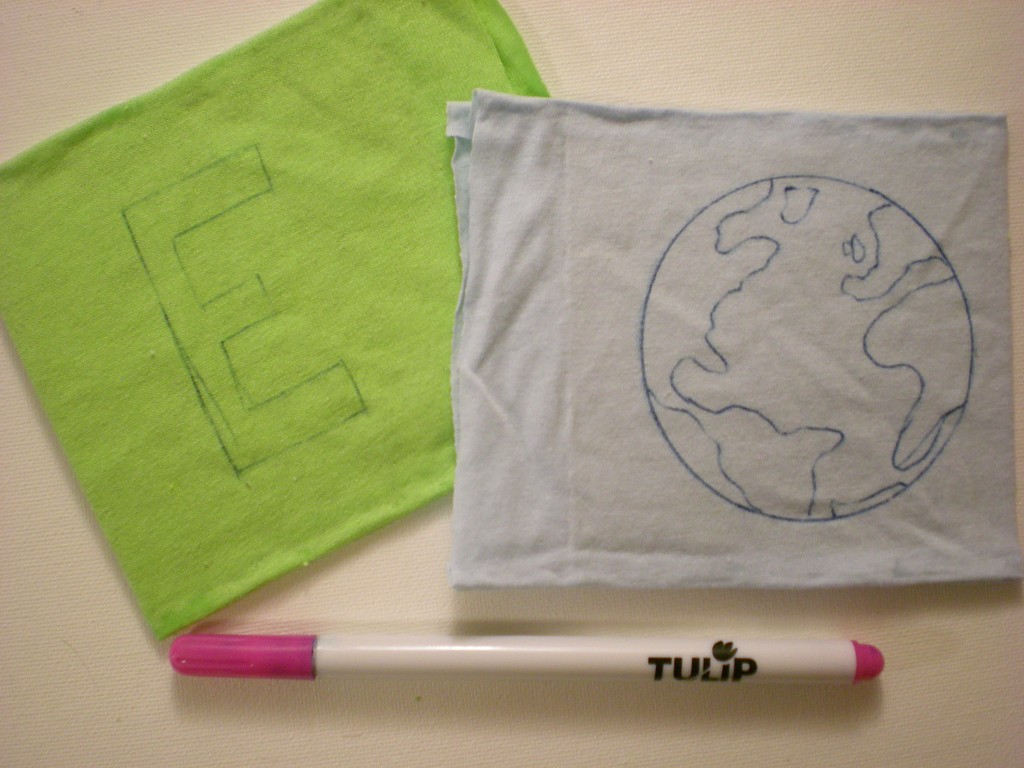
6. Use the air-soluble ink pen to begin outlining the letters and images on the book pages.

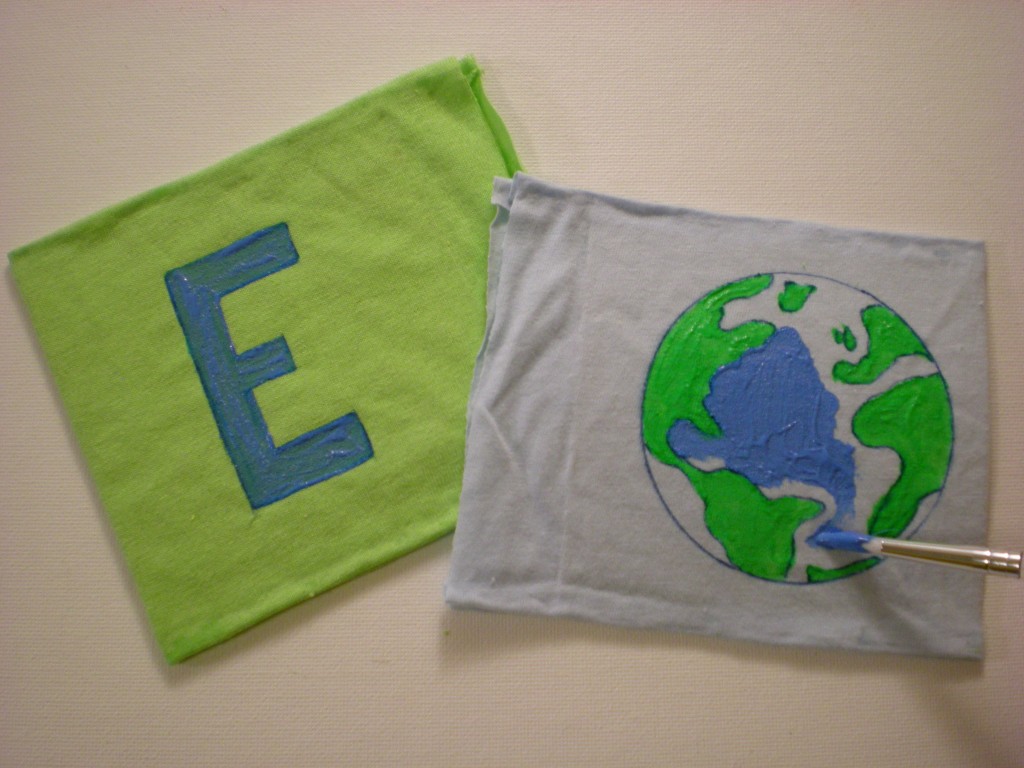
7. Color in the lines with fabric paint!

8. Paint all the right-folio pages first (including the front cover), let them dry, then paint all the left-folio pages, making sure you match up all the letters and images.

9. Trim the raw edges (the side of the pages that will go into the binding) down to 1/2″. Then squeeze a line of glue along one of the edges you just trimmed and press it against the adjacent page. Keep gluing and adding pages (in the correct order!) until the book is complete.

10. Let dry completely. Optional: Clip the binding closed with clothespins while it dries.

11. Then it’s story time! E is for earth. L is for light. L is also for love. I is for yummy ice cream. O is also for a delicious orange. T is for Tree (and Totally Terrific and….T-shirt book!).


[ 7 Comments | Posted on January 25th, 2011 ]

How to: Softie Robots

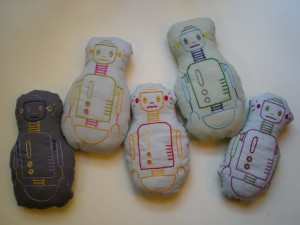
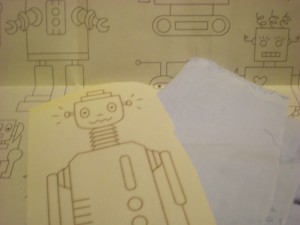
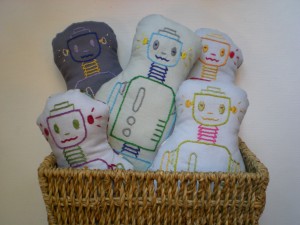
I came to make these little soft-bots quite by accident. I was testing some patterns for a project at my day job, and suddenly found myself in the company of five robot outlines that had been ironed onto several fat quarters of fabric I had picked up from a local quilt shop. What was I going to do–not stitch them? Never. So I set to embroidering each robot in my spare time (on the subway to and from work, at jury duty despite having my scissors confiscated, during my lunch break in the park). And then they sat. (One reason why the step-by-step photos are less than stellar is that the process for making them was so very stretched out!) It wasn’t until a not-so-recent craft night that I took the next step: cutting them out and pairing each bot with its backing. Now that I’ve finally completed the mini-army of ‘bots, it’s time that they found homes…. Thankfully, in the amount of time that it took me to complete them, several of my friends have had babies. And every new baby deserves a new ‘bot!

Materials:

-Scrap fabric for embroidering (light colors work best with iron-ons)

-Scrap fabric for backing (use patterns!)

Aunt Martha’s Heat Transfer Pattern “SR1 Robots Invade”

-Scissors

-Embroidery needle and thread

-Embroidery hoop

-Chalk marker or air-soluble marking pen

-Straight pins

-Sewing needle and thread (or sewing machine)

-Fiberfill

-Cotton twill tape (optional)

Make it:

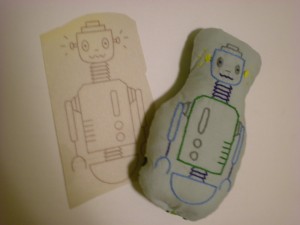
1. Select your light scrap fabric. Cut out the pattern and transfer it to the fabric with a warm iron.

2. Select the embroidery floss colors. (I used 3 to 4 colors for each robot.) Separate 4 strands from the selected floss and thread the embroidery needle. Secure the fabric template into the embroidery hoop and start stitching!

3. Mark and cut about 1″ to 1 1/2″ around the stitched robots. Select appropriate backing material and place the cut piece against the backing. Cut around the piece to create a matched backing piece. Pin around the edges.

4. Sew around the pinned edges about 1/4″ from the edge, leaving a 1″ to 1 1/2″ opening at one end. Turn the fabric right side out and stuff it with fiberfill.

5. Stitch closed the opening and you’re done! Optional: If you’re feeling adventurous, stitch a personalized tag with 2 strands of embroidery floss on cotton twill tape.

And voila: Here they are, five robots in a basket. In a creative stroke of inspiration, I named each ‘bot for its destined owner: Clockwise from lower left, that’s Levi-bot, Elliot-bot, Luke-bot, William-bot,  and Lillian-bot. Hope to update soon with photos of the ‘bots in their new homes!

For other great fresh, alternative embroidery patterns, check out Jenny Hart’s Sublime Stitching designs.

[ 7 Comments | Posted on January 4th, 2011 ]