Oh, that iconic (though misquoted) line uttered by Darth Vader to Luke Skywalker. Any kid growing up in the 1980s with the name Luke was oft subjected to various illuminations of this kind along with other ubiquitous Jedi advice such as, “Use the Force” and “May the Force be with you.” Today, on Father’s Day, we decided to flip Darth’s utterance on its head to honor a very special Jedi Knight named Luke (aka Mr. T) over here in the Generation T galaxy.

Though it’s a project particularly suited for a father named Luke (I’m sure you know one or two!), you can easily substitute any other Star Wars-loving dad’s name to make a personalized message from his little Ewok.
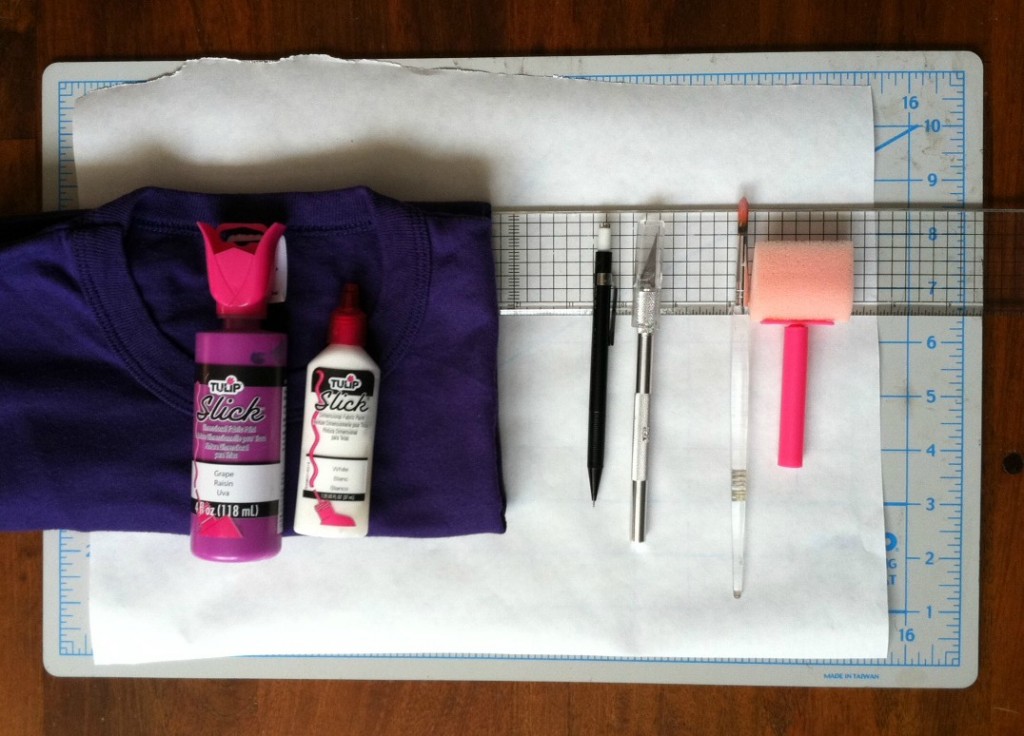
Materials:
-T-shirt for the little one (at least one, but I made two in different sizes)
-design printout (high contrast is best, and adjust your letters, like A and O, to make sure you’re not missing any center cutouts)
-freezer paper
-craft knife
-cutting mat
-ruler
-masking tape
-iron
-fabric spray paint (and/or fabric paint and a foam brush — I used both)

Make it:
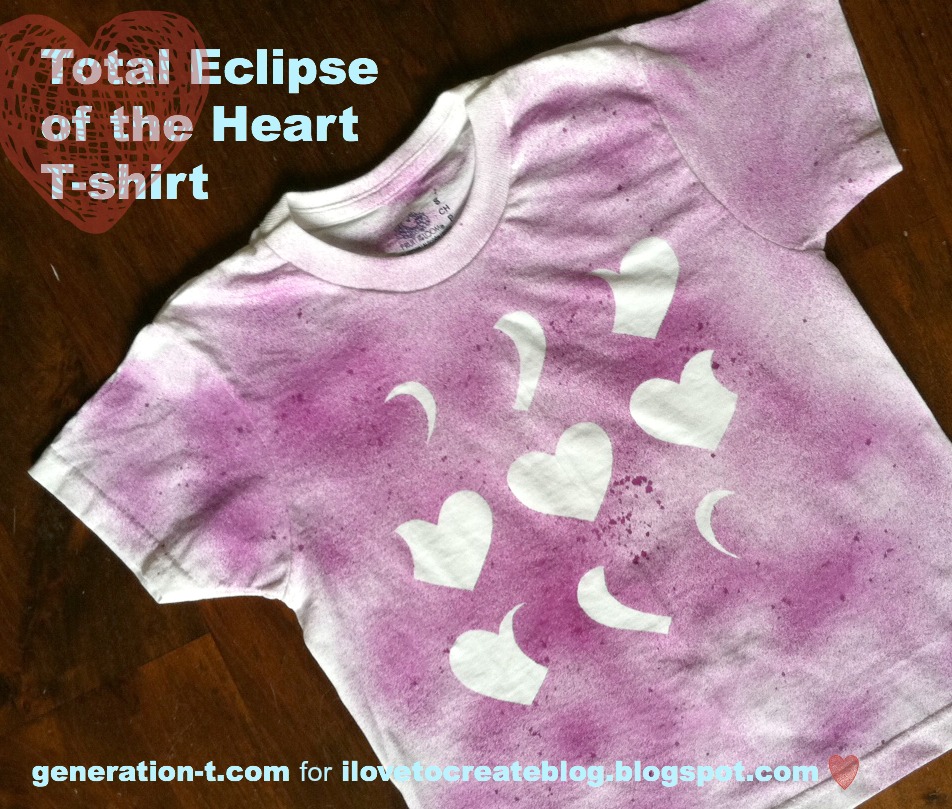
1. Lay your printout on the cutting mat and place a sheet of freezer paper, shiny side down, over it. Trace the darkened pieces with the craft knife to create the stencil. (Again, be sure to attach the center of any letters with holes to their outside framework to prevent parts of the letter from going missing — I used masking tape to fix a couple letters I botched!)

2. Lay the freezer paper stencil over the T-shirt, using the ruler to center it below the T-shirt neckline. Gently press it (oh-so-quickly!) with a warm the iron to temporarily secure it to the front of the T-shirt. Insert a scrap piece of paper between the front and back of the T-shirt to keep the paint from bleeding through.

3. Spray and/or sponge the paint over the stencil. Cover the entire stencil but be careful not to over-saturate the fabric with paint or it may bleed under the edges.

4. Let the paint dry and gently peel off the stencil. (And even with the best intentions, the paint may bleed a bit!)

5. If the stencil is dry, reapply it to the next T-shirt and repeat! (We tried a version in gray, one size up, in long sleeves, for winter — because, hey, why not celebrate Father’s Day all year long?)

Happy Father’s Day from Generation T!