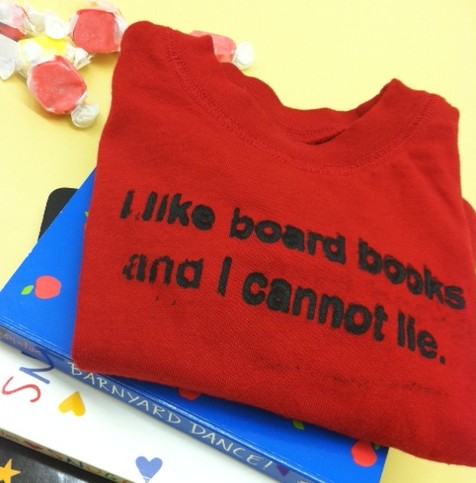
Whether your wee ones are heading back to daycare this fall or are college-bound (not so wee ones), it’s always a treat to have fresh togs to celebrate the occasion — learning! Yes! When I was brainstorming ideas for dressing my little one, I was inspired to try out my shiny new Tulip ScreenIt machine (unlike paper stencils that can wilt a bit after a few uses with soggy paint, you can print in bulk once you make a screen that you like! — I’m stashing that thought away for future birthday party favors…) For this one, I riffed on a little ditty I penned last year to the beat of the esteemed Sir Mix-A-Lot with a nod, of course, to the toddler set and their literary repertoire.
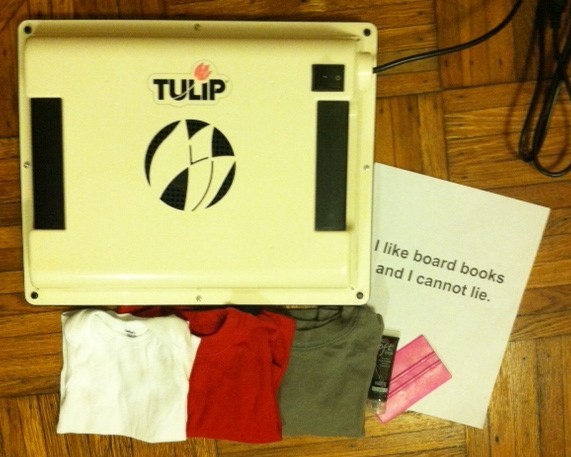
Materials:
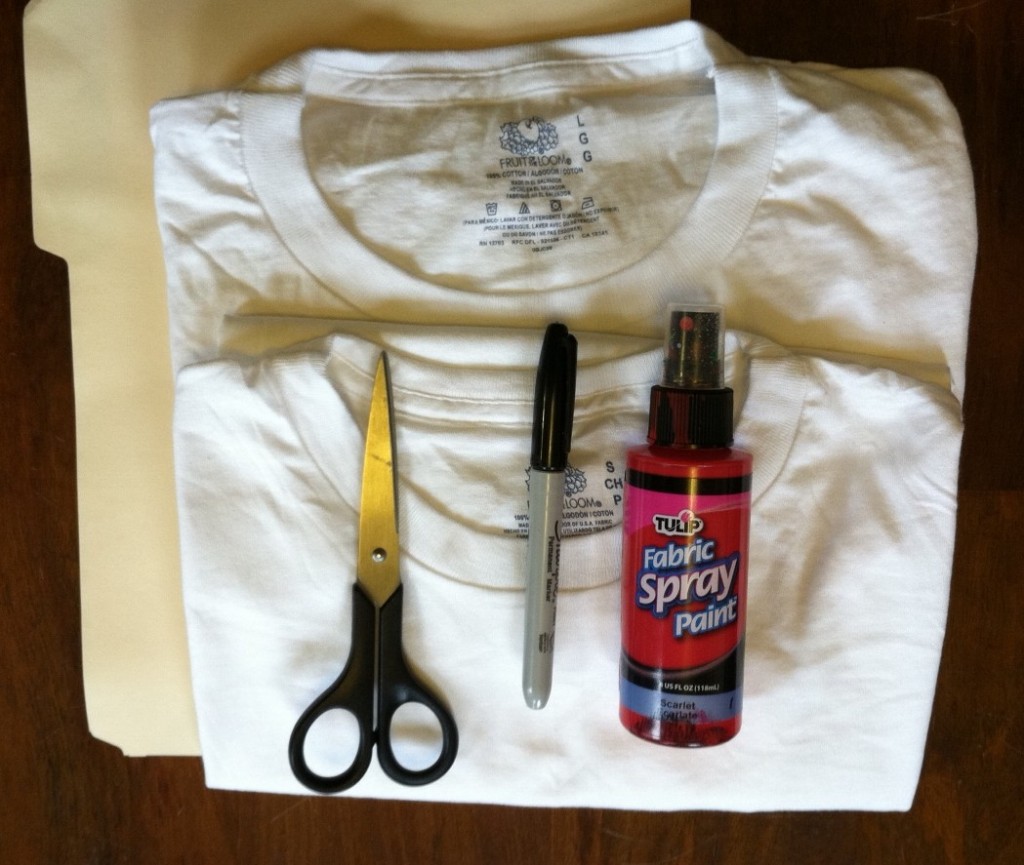
–Tulip ScreenIt kit (including fabric ink/paint, brayer, design screens, and a darkroom bulb to install in your workspace)
-8 1/2″ x 11″ sheet of printer paper with black design printed on it (“I like board books and I cannot lie.” in Arial font, size 54)
-tub of water large enough to accommodate the screen
-non-abrasive sponge
-plastic covering for your work surface
-blank T-shirts in the appropriate size
Make it:
1. In a totally light tight room (my bathroom is the only room in my apartment that qualifies, so welcome to my bathroom, dear readers!), place one of the blank screens onto the foam bed, then layer your design face down on top of it. Close the ScreenIt system, sandwiching your design and the screen between the foam bed and the light lid. Then flip the switch on the system to expose the screen to your design. (I set my smart phone timer to 14 minutes.)
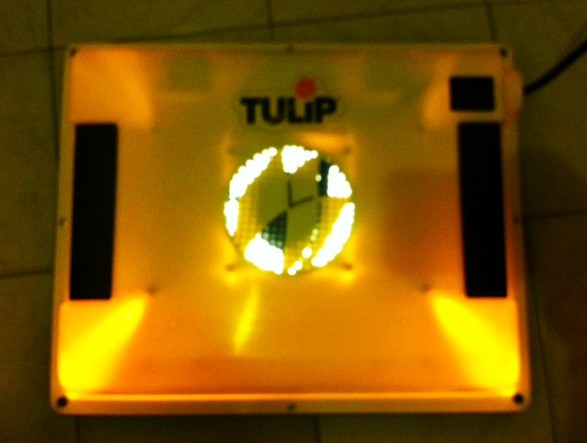
2. When the timer goes off, briefly submerge the film completely in water (since we’re getting so well acquainted, welcome to my bathtub!). I left the darkroom light on (that’s the yellow tinge you see), but it’s safe to turn on the regular overhead light at this stage.
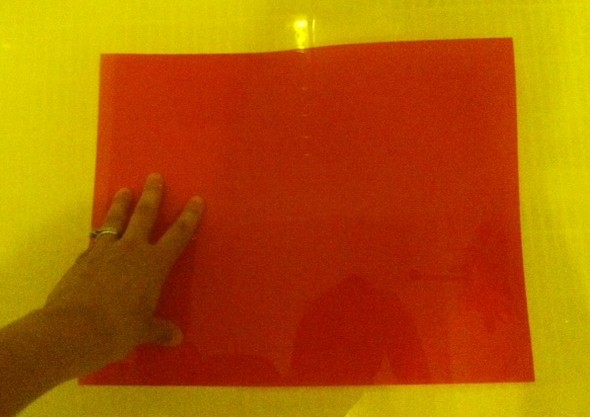
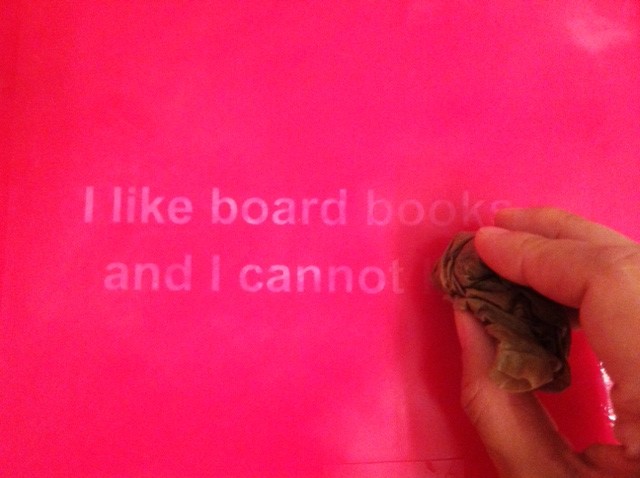
3. Place the screen on a flat, dry, plastic-covered surface for 30 seconds, then begin gently rubbing a wet sponge over the design to “bring out” the design and clarify it. (Note: I didn’t have a sponge, so I used a wadded up wet paper towel, which isn’t ideal, but can work in a pinch.) Let it dry completely (about 45 minutes to 1 hour).
4. Slide the T-shirt over the foam bed of the machine, centering it as best you can.
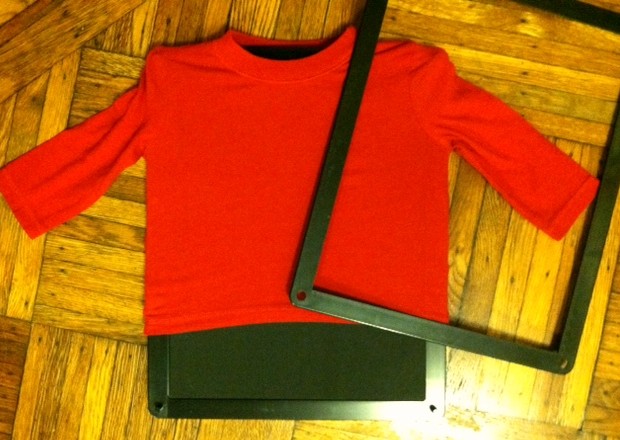
5. Place the design screen (right-reading, if you use text like I did) and then the black frame over the design, to keep the shirt and screen from shifting. (Note: Because of the size of the shirt I used — very tiny! — and the placement of the design on the screen, there was overlap, making the screen not entirely secure.)
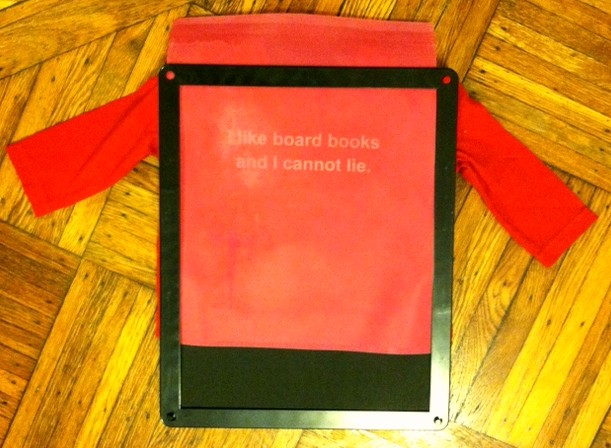
6. Apply a thin line of ink directly to the screen, along one side of the design.

7. Use the brayer to firmly spread the ink over the entire design, always swiping in the same direction.
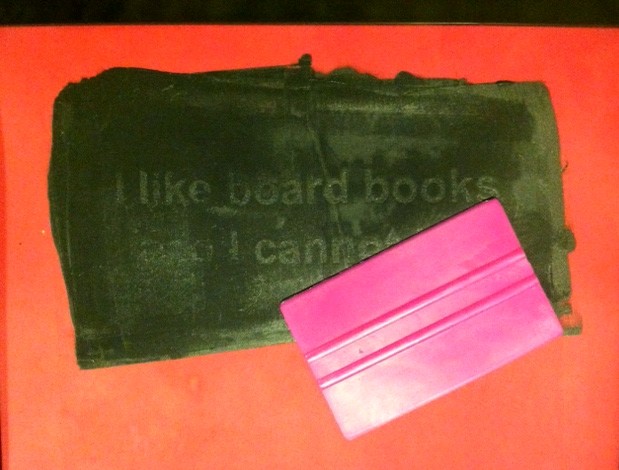
8. Remove the black frame and peel back the design screen. Rinse the screen immediately, without scrubbing it, so that you can let it dry and use it again. (As you can see, mine smudged a bit because the screen shifted slightly because of the small tee, but I think it just looks a little raw and edgier!)
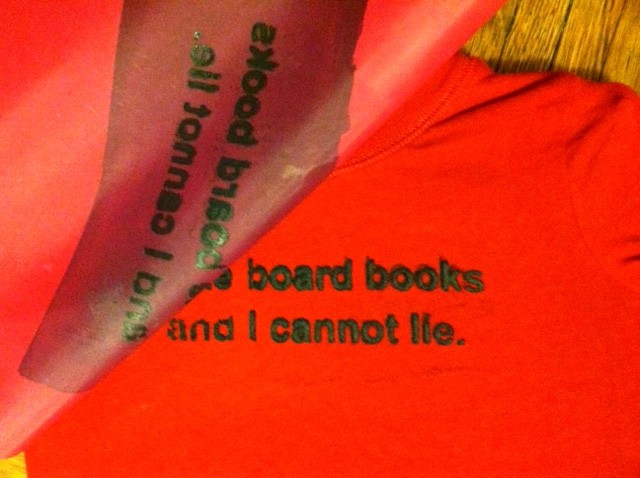
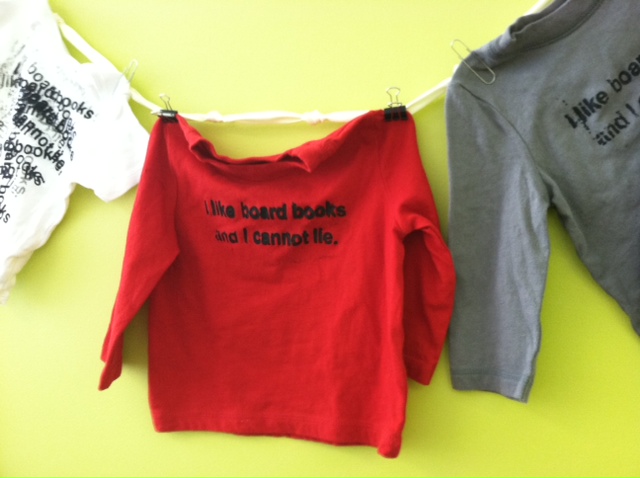
9. Let the shirt dry completely — about 4 hours (no heat-setting required) — and then dress your studious little guy or gal for success!
Variations:
-Since your screen can be used up to 75 times (I haven’t tested this!) if you rinse it immediately after using it (don’t scrub it!), try printing the same design on multiple different items. Print the design across the tush of a pair of pants for a crawler, or down the leg for a little one who’s walking. Print on bandanas, skirts, jackets, shoes and socks, even!
-Use your screen as a pattern that can be layered and repeated (see the white T-shirt in the photo above) — this is especially smart for when it smudges a little too much — just go with the mistake and turn it right around into something great!

 Materials:
