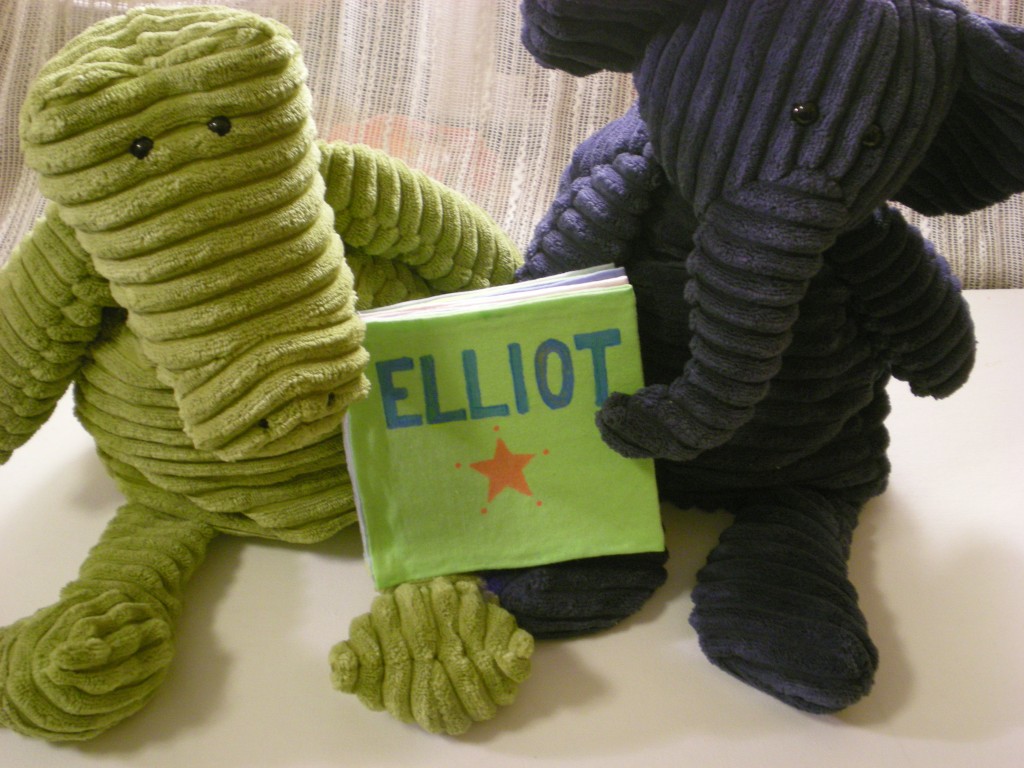
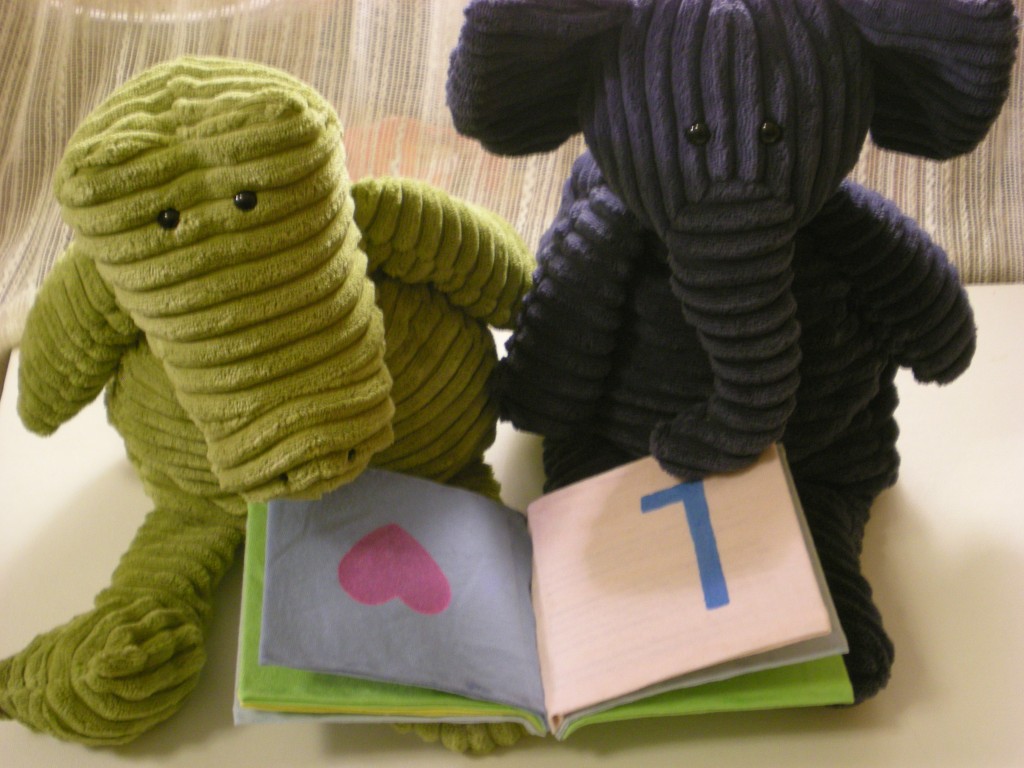
I like projects that help me use up the scraps that threaten to overwhelm my craft space. I also like projects that can be gifted. So this one’s a win-win: The T-shirt Baby Book is perfect for using the T-shirt sleeves that have been cut from another project (like a tank top) and it makes a great personalized baby gift. Once I picked the recipient (my friend’s new baby, Elliot), I had a lot of fun figuring out what words each letter of his name would represent (in other words, what could I illustrate easily?). I settled on: E = earth, L = light, L = love, I = ice cream, O = orange, and T = tree. Sorry, no pictures of baby Elliot and his new book just yet, so the book is presented by these two cute corduroy pals.
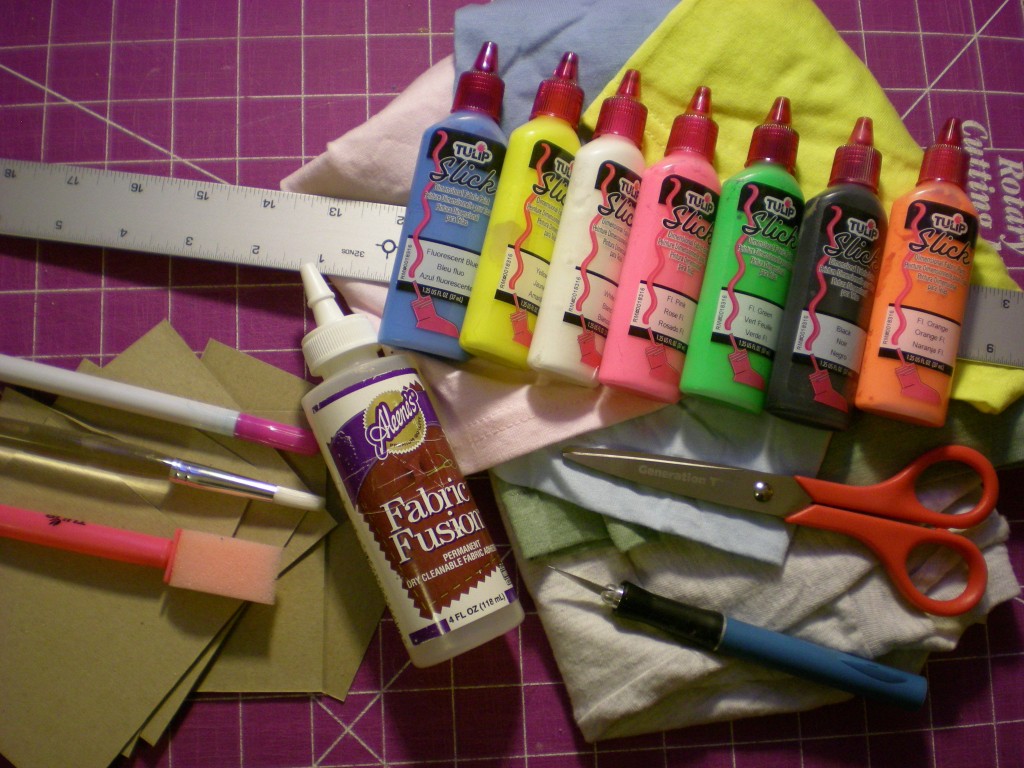
Materials:
-T-shirts or T-shirt scraps (in multiple colors)
-Scissors
-Ruler
-Craft knife
-Cutting mat
-Lightweight cardboard (cereal, snack, or tissue boxes work great!)
–Aleene’s Fabric Fusion Permanent Dry Cleanable Fabric Adhesive
–Tulip Disappearing Ink Pen
–Fabric paintbrushes
–Tulip 3D Fashion Paint Blazin’ Brights (variety of colors)
-Clothespins (optional, for clipping in place while gluing/drying)
Make it:
1. Measure and cut one more 4″ x 4″ square of cardboard than there are letters in the baby’s name. (Example: Elliot has 6 letters, so I cut 7 squares.) Then cut as many 5″ x 10″ rectangles from the T-shirts as there are cardboard squares.
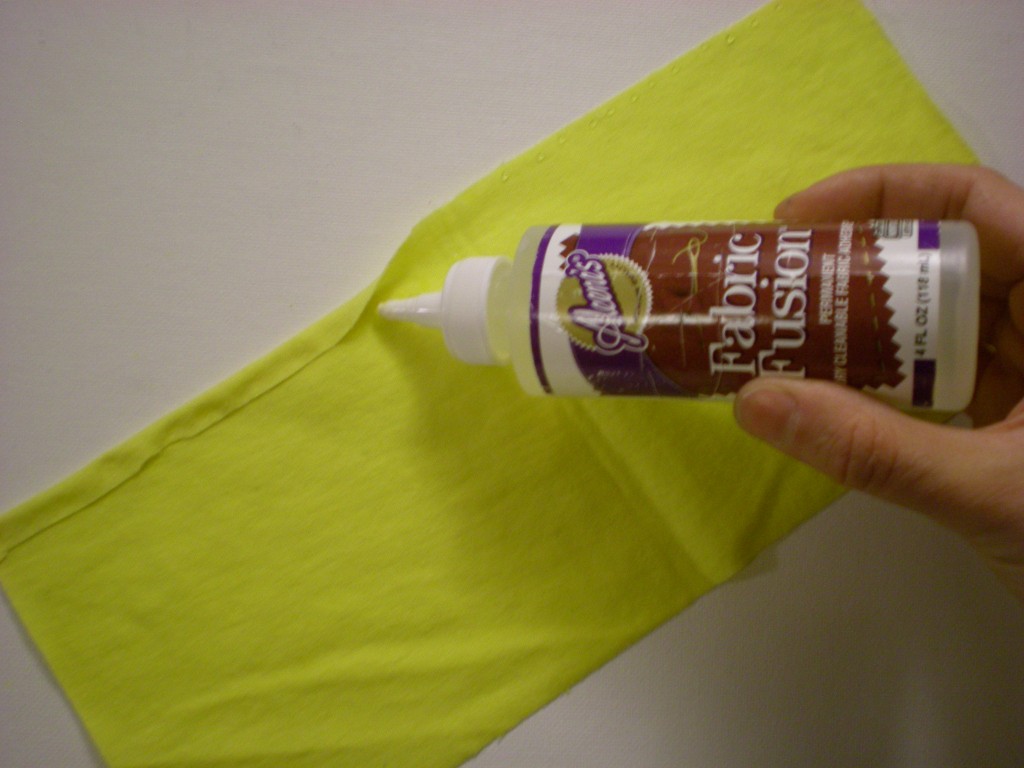
2. Squeeze a small ribbon of glue along one long side of one of the fabric rectangles. Then fold over the edge about 3/8″ and press. Repeat on the other long side.
3. Find the center of the rectangle and line up one edge of one of the cardboard squares. Squeeze a small ribbon of glue along the fabric at the top and bottom edge of the cardboard.
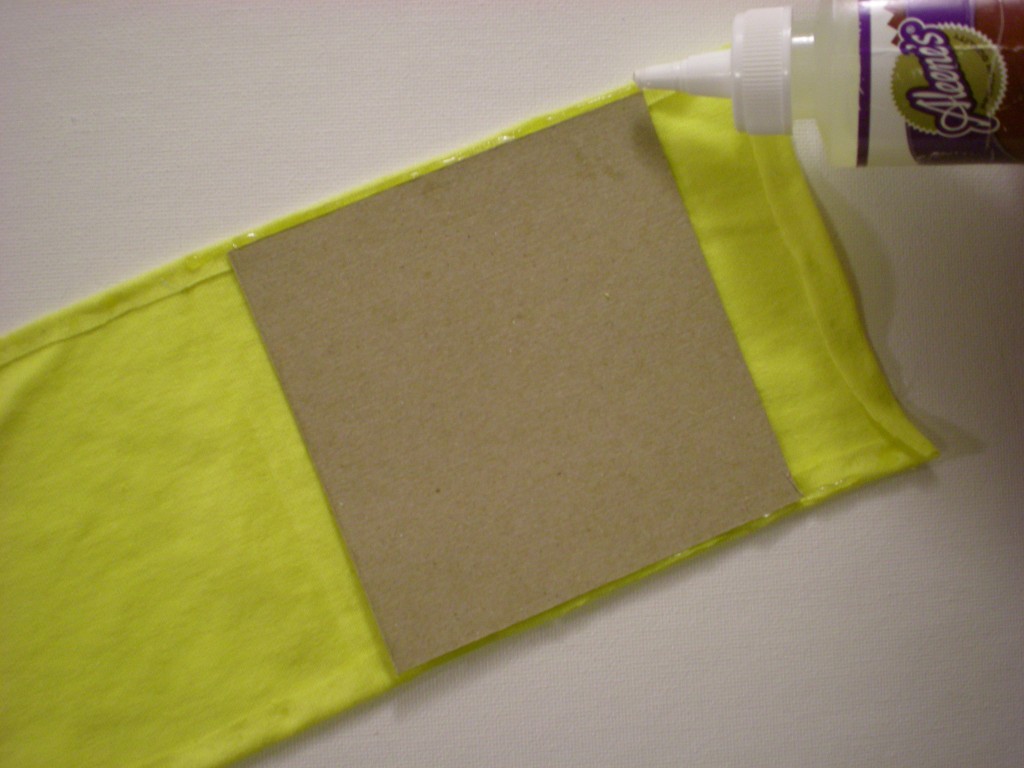
4. Fold the fabric in half, sandwiching the cardboard in between the layers. Press the glue into the edges to seal it. Squeeze another ribbon of glue against the cardboard and between the fabric layers on the open side. Press it closed.
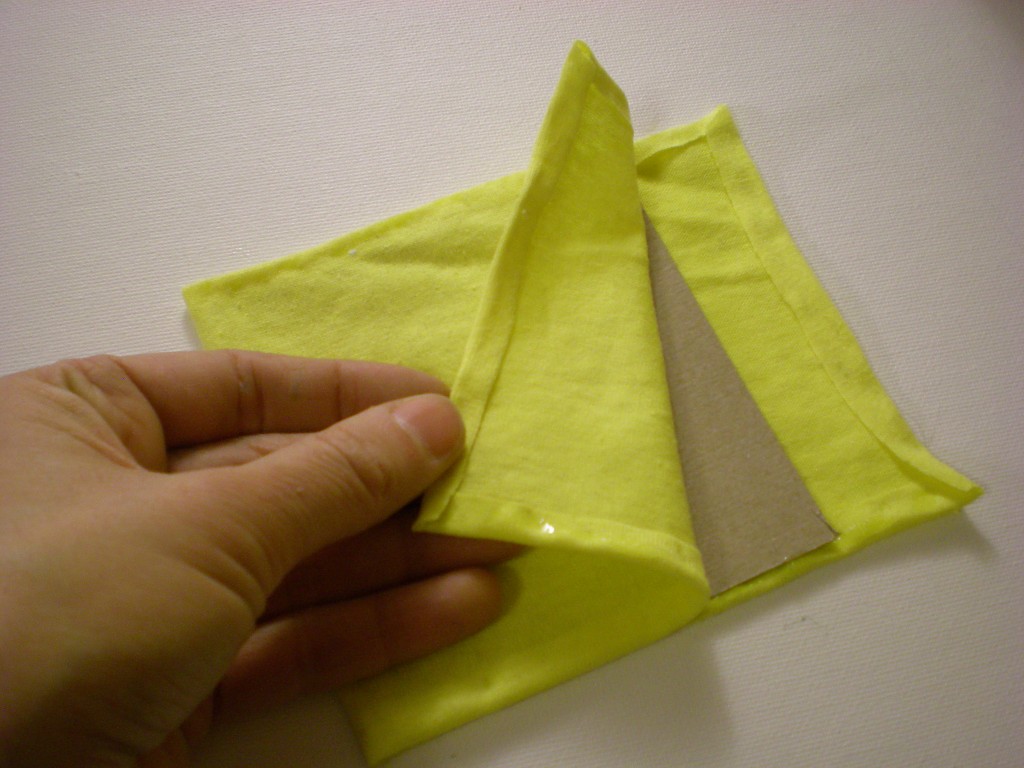
5. Repeat steps 2 through 4 until all of the cardboard squares are covered. These are the pages of the book.
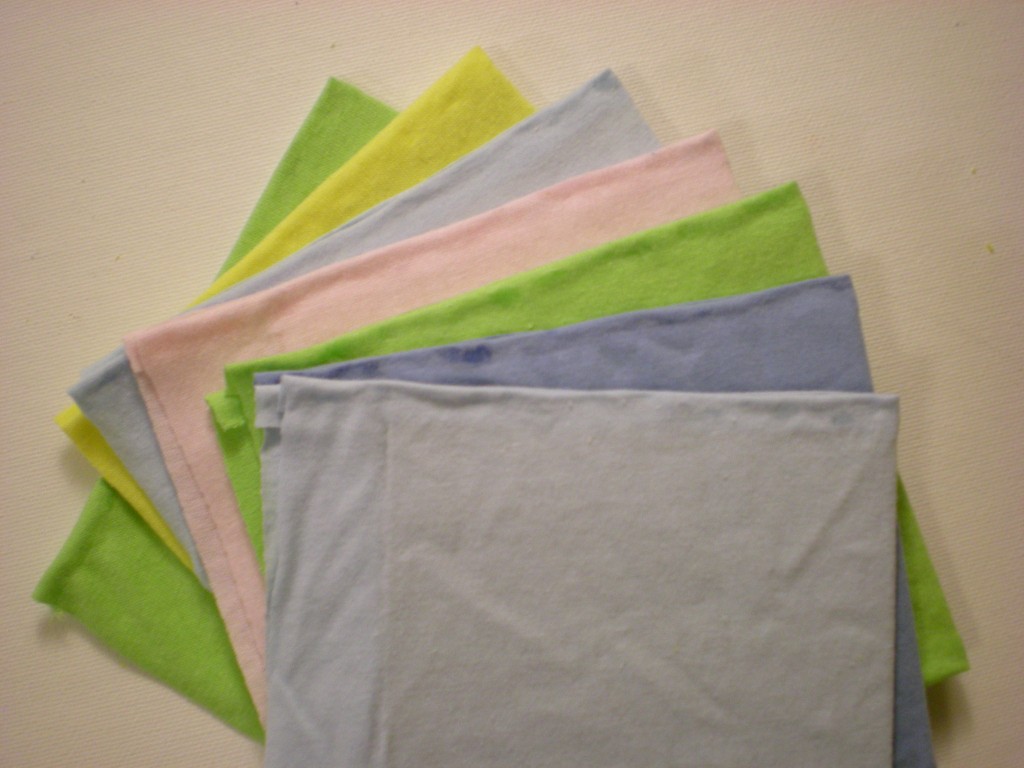
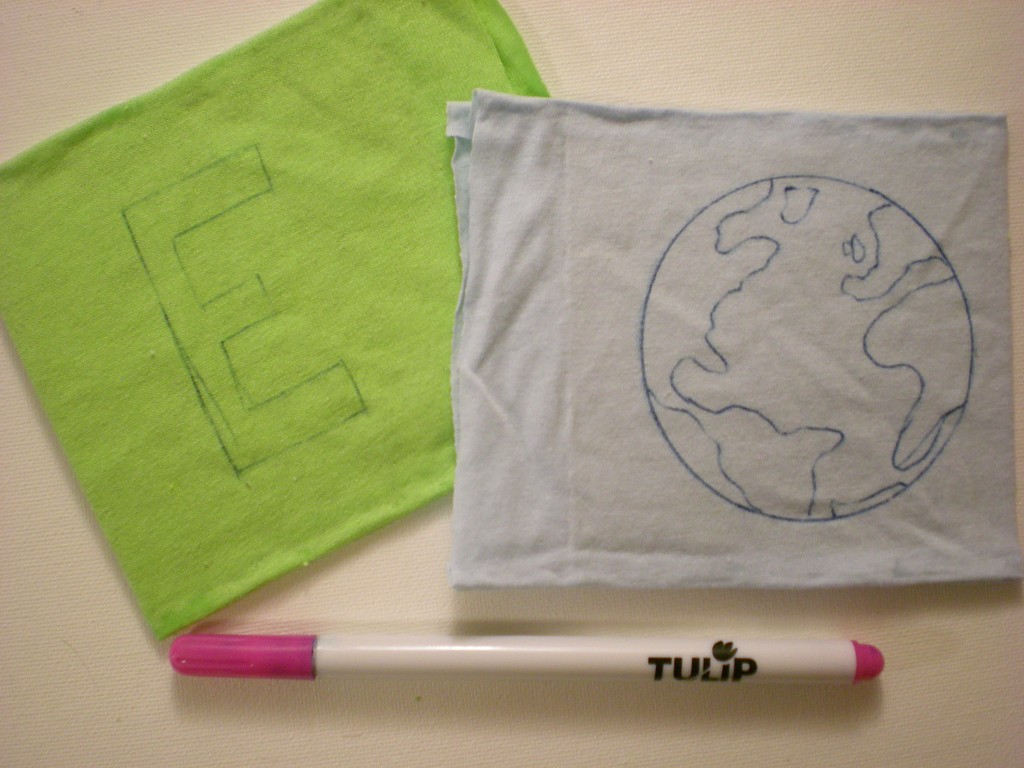
6. Use the air-soluble ink pen to begin outlining the letters and images on the book pages.
7. Color in the lines with fabric paint!
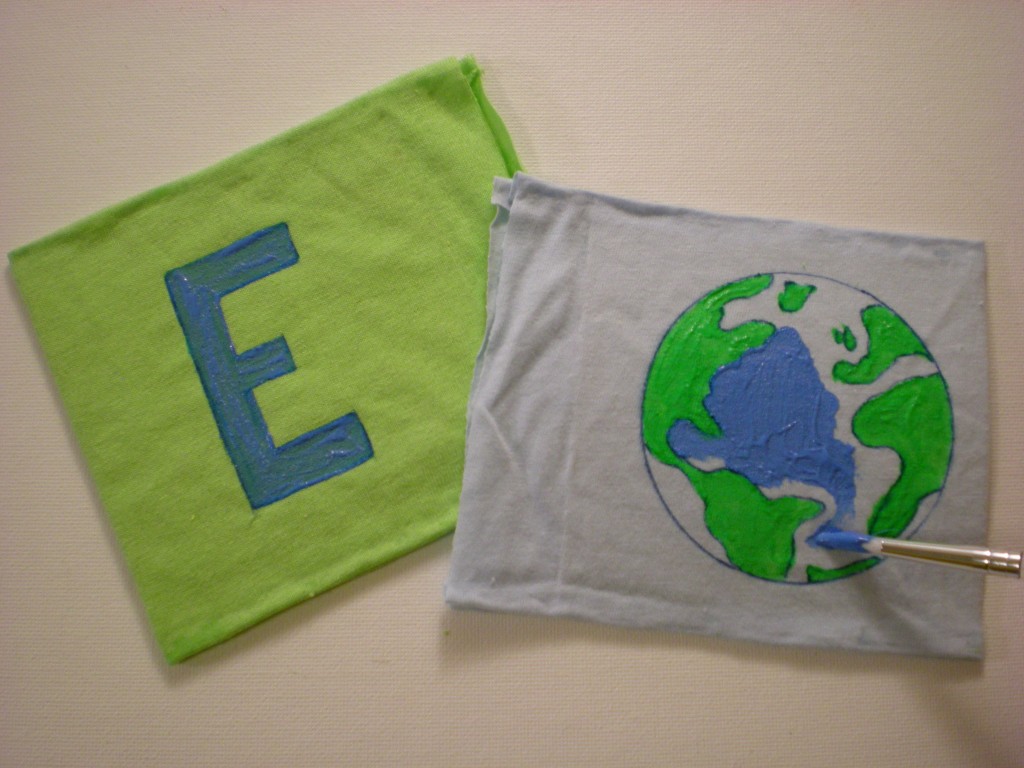
8. Paint all the right-folio pages first (including the front cover), let them dry, then paint all the left-folio pages, making sure you match up all the letters and images.
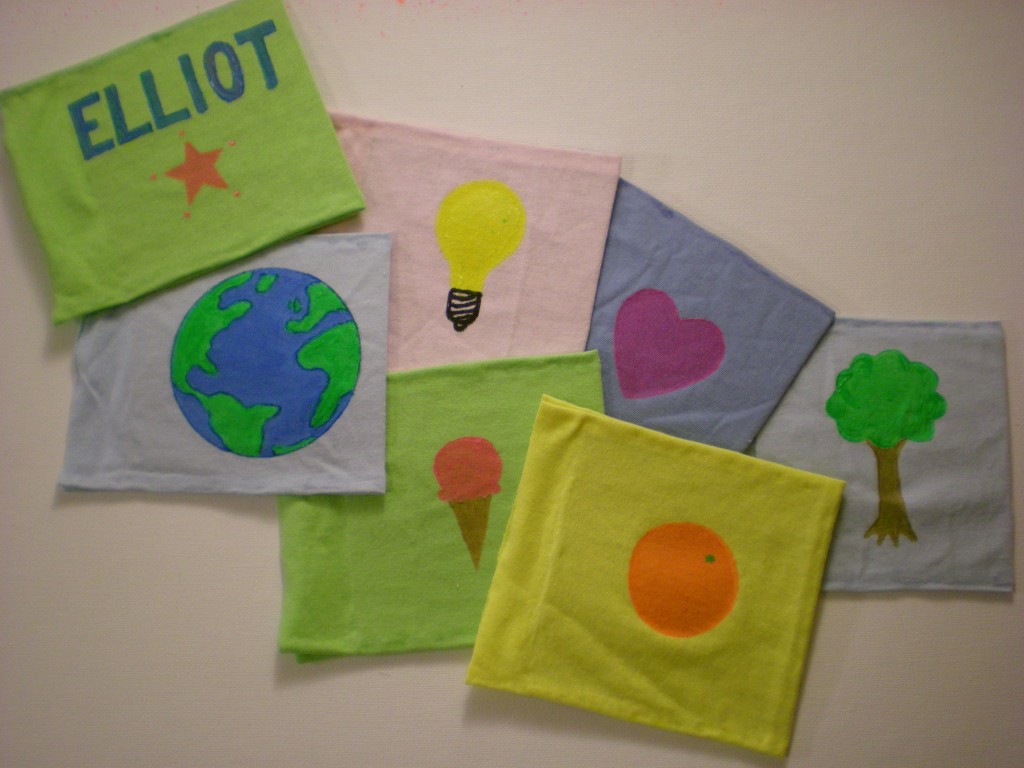
9. Trim the raw edges (the side of the pages that will go into the binding) down to 1/2″. Then squeeze a line of glue along one of the edges you just trimmed and press it against the adjacent page. Keep gluing and adding pages (in the correct order!) until the book is complete.
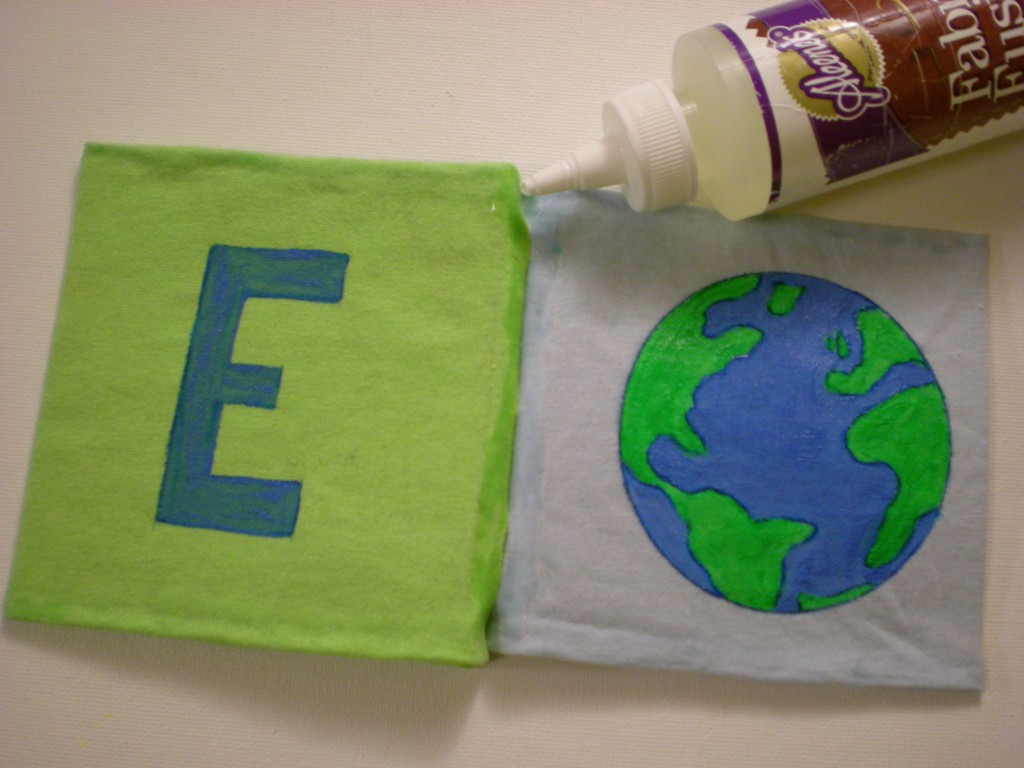
10. Let dry completely. Optional: Clip the binding closed with clothespins while it dries.
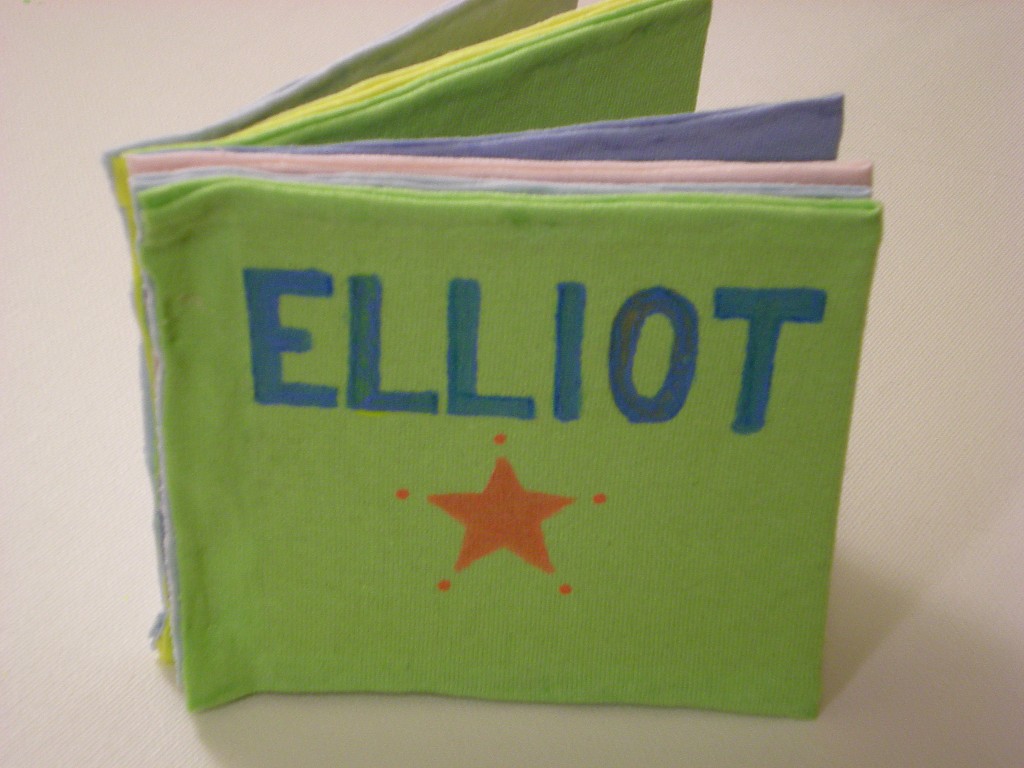
11. Then it’s story time! E is for earth. L is for light. L is also for love. I is for yummy ice cream. O is also for a delicious orange. T is for Tree (and Totally Terrific and….T-shirt book!).

 Hey there, Generation T! Are you ready to get really knotty? Today’s T-shirt tutorial comes courtesy of one of our esteemed readers: Ms. Liz Russo of Craft-Stop. It’s the “Tic Tac Boa,” project #115 in Generation T: Beyond Fashion — the boa scarf is perfect for spring, infinitely personaliz-able (pick a color, any color!), great for using up scraps (cut strips from old T-shirt sleeves) — oh, and did I mention it’s no-sew? Well, it is. Settle down in front of a good movie while you complete all the knots (you won’t notice when your fingers start to cramp) or, if it’s warm enough where you are, kick back in a park, your backyard, or poolside!

