Posts Tagged ‘Transform a T-shirt’

DIY: Crossback Tank Top

Summer is all about easy, breezy fashion (stay cool) and tie-dye (stay fun!). Here’s an ombre-style surface treatment for a quick-and-easy T-shirt transformation. From plain white T-shirt to a smock-styled, crossback tank top that’s nearly no-sew (about 6 inches of stitching) in no time. Smock it to me!Smock Tank Finish generation-t.com

megan-nicolay-blog-footer-1

Materials:
-Plain white T-shirt
Tulip One-Step Tie-Dye
-Scissors
-Needle and thread or sewing machine
-Plastic container from the recycling bin

Smock tee materials generation-t.com

Make it:
Click through to the iLoveToCreate blog from a complete step-by-step  photo tutorial!

Smock tank finish1 generation-t.com

[ Comments Off on DIY: Crossback Tank Top | Posted on July 22nd, 2014 ]

Tee Party at the Park Slope Library

Happy Thanksgiving/Hanukkah (Thanksgivikkah?)! Over here at Generation T, we’re thankful for YOU — the folks who read the site with dedication, those who populate Tee Party events, and those who just stop by from time to time to like a project on Facebook or look for some quick inspiration. Here’s an admittedly belated share of some highlights from the Tee Party we hosted at the local library in Brooklyn last month. I think the enthusiasm of the 35 or so folks who filled the room is ample proof that T-shirts don’t lose their luster the moment the temperatures drop!

PSLibrary Tee Party generation-t.com

Thanks so much to everyone who came to our little crafternoon — we had a great turnout, warm pizza to nourish our creativity, and the scissors were active!

Park Slope Tee Party2 generation-t.com

And, to our lovely hosts, the Friends of Park Slope Library — thanks so much for having us!

PSLibrary Tee Party collage generation-t.com

I’m all for T-shirts 365 days a year! Show of hands–who’s on board with that idea?


[ 1 Comment | Posted on November 28th, 2013 ]

How to: No-Sew T-shirt Grocery Tote!

Move over potato stamping! There are some other fruits and veggies that want in on the action. Printing with fruits and veggies is nothing new — but when applied to a grocery or green market bag, you get a tote that forecasts what should go inside (apples, onions, peppers, celery, corn…). Not to mention, you can construct this sturdy bag from an old T-shirt without sewing–a single safety pin is the closest you’ll get to any specialty tools. I worked out the bag particulars while I was in residency at a workshop up in NH (I’ve since discovered a great tutorial for a very similar technique by Lee Meredith over at Leethal.net, which I imagine works particularly well for larger T-shirts, where the bottom bunching can be redistributed between several gathers). And I was inspired to use an apple after seeing Kayte Terry’s lovely apple-printed tote (I wish my apple had had a stem on it!).

Materials:
-Plain old T-shirt (I used a kid’s size 6-8 for this particular one)
Tulip Dimensional Paint or Tulip Soft Fabric Paint Tubes
-Plastic lid to use as a paint palette
-Half an apple (or bell pepper, or onion, or…) to use as a stamp
-Scissors
-Safety pin
-Scrap paper (optional)

Make it:

Head on over to iLoveToCreate blog for the complete step-by-step tutorial! You’ll be ready to hit the farmer’s market (or beach! or park!) in no time.

And don’t forget to share your bounty!

Stay tuned: Another veggie-printed, no-sew tote bag tutorial is coming your way right here on Generation T next week!

[ 1 Comment | Posted on June 25th, 2013 ]

Harold and the Purple Crayon Halloween!

Baby’s first Halloween is a tough one — there’s a lot of pressure to make it memorable (even though he won’t remember it at all) and it’s also probably the only time that he won’t have an opinion about the costume. About two months in, Mr. T and I discovered our baby had not one, but two literary doppelgangers, and I promised that if he was still anywhere near as bald as he was at the time, we would honor one of his likenesses for his first Halloween. So between Crockett Johnson’s timeless “Harold” and the holiday-appropriate Alfred Hitchcock, Harold and his violet-hued crayon won out. Let’s start with the inspiration (above, at two months old). Wrinkled brow, giant cheeks, turned up nose. Pretty uncanny, right?

And please forgive the inconsistency in the photos…I made the costume over several late nights!

Materials:
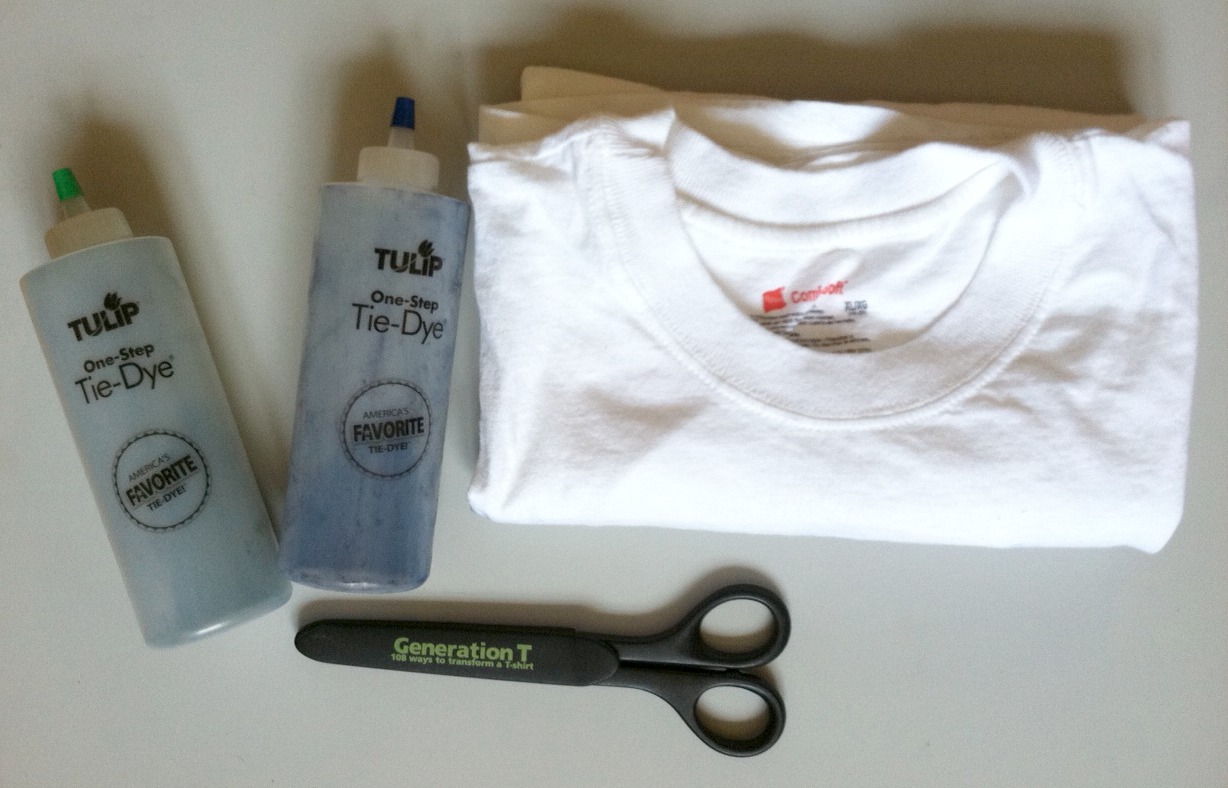
-purple T-shirt (to use for parts)
-long-sleeved off-white T-shirt (or more, depending on how many “drawings” Harold will make)
-blue sleeper (this was worn as the top layer over 2 other sleepers, for warmth!)
-fabric scissors
-ballpoint pen
-ruler
-craft knife and cutting mat
gold fabric spray paint
freezer paper
-warm iron

-copy of Harold and the Purple Crayon by Crockett Johnson (for reference! and for reading!)
disappearing ink fabric marking pen
-sewing machine with matching thread
-needle and thread (for hand sewing)
-fiber fill
craft jingle bells (optional, to make the crayon rattle a bit)

Make it (Harold’s Purple Crayon):
1.
Use the ruler and ballpoint pen to mark out a stencil for the stuffed crayon.

2. Use the craft knife and cutting mat to cut out the stencil.

3. Iron the stencil onto a scrap from the purple T-shirt (I used a flattened out sleeve).

4. Use the fabric paint to spray over the stencil, making sure to mask the areas you don’t want painted. (I originally was going to use black paint for authenticity, but saw this Gold Glimmer in my paint stash, and thought the high contrast would make it show up better!)

5. Let the paint dry for a minute, then peel off the stencil before letting it dry entirely. (I let the stencil sit too long on the one below, and as you can see the paint bled a bit  — so I made another one!)

6. Cut 4 to 5 additional rectangles of purple fabric to layer beneath the painted piece (to thicken the crayon wall and add structure). Cut a circle (also several layers) for the bottom of the crayon.

7. Fold the rectangle (all layers), right side in, and line up the paint lines. Then pin and use the sewing machine to stitch a straight line to create a tube. Make two angled cuts to help shape the point of the crayon.

8. Cut a length of T-shirt cord and thread it inside the crayon tube, pinning it between the layers at the tip of the crayon. Stitch along the open edges at the tip (catching the end of the T-shirt cord) and turn it right side out. (The cord should appear to be a “drawing line,” extending from the tip of the crayon, as shown. Use fiber fill to stuff the crayon, and add a few bells in the center, if desired, to add a little jingle (it helped create more interest for my little guy, so he would play with it longer!).

9. Tuck in the edges of the layered circle pieces, and hand-sew the end of the crayon in place.

10. Trim the T-shirt cord (drawing line) as necessary.

11. Harold’s costume is finished! But his drawings (aka his parents’ costumes) aren’t…

Make it (Harold’s Drawings):
1. Select a drawing from the book, and use the disappearing ink pen to sketch it onto shirt number 1. (It’s just a coincidence that the ink from the pen shows up purple before it fades!)

Optional: Select and sketch an image onto shirt number 2.

Perhaps, given the weather, I should have gone with one of these pages:

2. Begin to outline the drawings with more T-shirt cord.

3. Use the sewing machine to carefully stitch the T-shirt cord over the sketches, piece by piece.

4. Done!

And what happens… When Grandma is unexpectedly in town for Halloween festivities? A quick online trip to Out of Print Clothing, of course, and we were able to round out the “story,” with Grandma as the cover of the book!

The best news? Less than 364 days until next Halloween. Start planning! What literary character would you dress as?

[ 14 Comments | Posted on November 2nd, 2012 ]

iLoveToCreate: Happy Shiny Pixie Headband!

I attended a photo shoot recently and was inspired to make this headband after I saw a similar one in the stylist’s stash of goodies! While hers was glittery gold and mine is iridescent (I also doubt that hers was fashioned from an old T-shirt sleeve), it’s the Lady-liberty-inspired shape that’s so compelling.

I mean, it’s so bright and sunshine-filled (and a little prehistoric?), and I have to admit, though I was begging for cool temperatures back in the heat waves of July (and couldn’t be happier that nature has complied!), the shorter days are already threatening to change my mood. I’m already missing the sun! This happy, shiny, pixie headband brightens up the day wherever you are.

Materials:
-T-shirt sleeve (or T-shirt scrap of equivalent size)
-scissors
Tulip Fashion Glitter transfer sheets
-ballpoint pen
-ruler
Aleene’s Fabric Fusion
-warm iron and pressing cloth
Tulip Soft Fabric Paint in gold metallic (optional)
-toothpick (optional, to use as a paint applicator)

Make it:
1.
Cut out the underarm seam of the sleeve, and lay it flat, right side up. Measure, mark, and cut two 1 1/4″-wide to 1 1/2″-wide strips from the iron-on transfer sheets.

2. Sandwich the two strips together and cut out a series of triangles from one edge (through both layers), leaving a zigzag that runs the width of the strips.

3. Separate the strips and align them along the straight edges, about 3/8″ apart. Use a pressing cloth and iron the strips onto the fabric.

4. Make parallel cuts through the fabric, separating each pair of triangles from the row of zigzags.

5. Determine how many rays of sunshine you’d like (I debated between 5 and 6, and ultimately went with 6), and arrange them evenly around the arc of the headband. Working one ray at a time, spread fabric glue evenly along the inside of the headband, and wrap the flexible fabric piece around the headband, lining up the triangles. Apply glue evenly to the inside of the strip of fabric and press the triangles together (the triangles should seal beyond their edges).

6. Finish gluing each ray, and let them dry flat. (Note: If the fabric is pulling apart, use a clothespin or paperclip to pinch it while it dries.)

7. When the glue is completely dry, trim the fabric to the edges of the triangles.

8. As an optional finishing touch, apply the metallic paint carefully with a toothpick along the fabric edges of the rays. Let it dry.

9. Try on the headband to spread a little sunshine both indoors and out!


[ 4 Comments | Posted on September 25th, 2012 ]

Queens, NY @ Maker Faire/NY Hall of Science

See me at Maker Faire!Hey New York — this just in: Megan will be demonstrating some T-shirt transformation techniques at the Maker Square Stage at Maker Faire NYC in just one week!

Reduce, Reuse, ReFASHION! Learn 3 quick-fire, no-sew ways to transform that boring, boxy T-shirt that’s been languishing in the back of your closet into your next go-to style staple. Scissors will be provided, so bring a T-shirt and follow along!

Maker Faire takes place at the New York Hall of Science in Queens — details below.

Maker Faire NY 2012 (@makerfaire)
New York Hall of Science (@nysci)
47-01 111th Street
Queens, NY 11368

Click here for directions. Hope to see you there!

[ 1 Comment ]

From Our Readers: Maria & Franz!

Earlier this summer, I got an email from my brother and sister-in-law with the subject line “T-shirt Guru, Help!” Maria and Franz are two musicians on an adventure along the Trans-Siberian Railway. Like any good musicians, they travel with merch, and like any good merch-peddlers, they run out of stuff fast. So they were down to two XXL T-shirts and quickly discovered that their fans were tending to come in smaller sizes. Maria writes…

“Franz and I have two XXL T-shirts left of one design and people much smaller than XXL keep expressing interest, but then balk at the size. We have a long train ride coming up, so I started thinking about trying to convert the shirts into cute, cut-up T-shirts. My sewing abilities and supplies are limited, but we’ve got decent scissors, safety pins, and a travel sewing kit. Can you recommend an easy-ish pattern that we could sell to a punky Russian girl?”

How could I ignore such a request? A few cross-continent consultation emails later, Maria and Franz had set up shop: They’d been crashing with some cute punk gals in the outer boroughs of St. Petersburg, and set up a workspace on their kitchen table. Armed with a pair of scissors, and that travel sewing kit, they set to work transforming their merch. Measuring and marking…

Cutting…

And knotting. Ta-da! It’s the “Knot So Fast” (project #104) tank top from Generation T: Beyond Fashion.

Sveta, one of the aforementioned cute punk girls who was looking on, was suspicious of all the scissor activity, but once she tried on the completed result, she asked if she could keep it, so, it seemed to be working. Nothing like converting a skeptic!

Then it was time to tackle “Outer Lace” (project #16) from Generation T.

And then they set off in search of one of the Russian editions of the two books, should any additional emerchencies arise.

UPDATE from the road: “We just sold the last of our Generation T-styled Franz Nicolay shirts to the fashionable women of Orenburg Russia. Thanks for the designs!”

[ Comments Off on From Our Readers: Maria & Franz! | Posted on September 14th, 2012 ]

From Our Readers: CC!

One of my favorite familial designations (big sister, mother, daughter, niece, cousin) is that of “Aunt.” So you can imagine my elation last week when I got an email from CC, another proud auntie who recently sent a copy of Generation T as part of a care package to her niece when an emergency appendectomy (!) threatened to derail the family vacation. Her niece (and nephew) were bummed about the change in course (who wants to go to the emergency room when you’re expecting a relaxing week on Cape Cod?) and Auntie CC had just the remedy. Needless to say, her gift was well-received: “I was on auntie cloud 9 when I got this photo. Thanks for making me look good!”

The young lady (standing here with her brother, who’s wearing a pretty cool T-shirt himself) was so proud of the butterfly slashed tee she made (variation on project #2 Brokenhearted in Generation T that we all hearted so much last month) that she selected it to wear on her first day of school. Now that, my friends, is quite the compliment!

She used the same technique as you would for the slashed heart, but simply used the outline of a butterfly as a guide instead. The great thing about this look is she can change the color of her tank top underneath and change the color of her butterfly — orange for a monarch or yellow for a tiger swallowtail.

Happy back-to-school!

[ Comments Off on From Our Readers: CC! | Posted on September 7th, 2012 ]

From Our Readers: A Crafty Vegan Librarian!

Back in April 2009, craftyveganlibrarian hosted a Tee Party for a magnificent seven DIY teens at the library where she works. The group used scissors and safety pins to customize their wardrobes using a handful of no-sew techniques. Below is the “Brokenhearted” tee design (project #3) by the crafty librarian herself, found on page 30 in Generation T.


[ 1 Comment | Posted on July 20th, 2012 ]

How to: T-shirt Scrunchie Necklace

Last week, I posted a tutorial for making a statement necklace using T-shirt scraps. This week, we’re making a necklace using the scraps leftover from that necklace. It’s worth keeping in mind that you can construct and wear this necklace in about two minutes — seriously! Now that is a statement.

Materials:
-Scrap hems (or scrap sleeve seams) from 2-3 T-shirts
-Safety pin or paperclip
-Fabric scissors

Make it:
1. Trim the stitching off one of the T-shirt hems and stretch it out to create a long T-shirt cord. Attach a safety pin (all I had on hand was a paperclip, which worked fine!) to one end. Collect all the hem pieces left over from cutting the rectangles needed to make the T-shirt Confetti Necklace (a byproduct of step 1, the hem pieces should be about 1 1/2″ long, with the stitching still in place). There should be a hollow space through the center, making it, essentially, a soft bead.

2. Thread the T-shirt cord through the T-shirt beads, arranging them in any desired pattern.

3. Rotate the beads so the stitching appears on the “outside” of the necklace and scrunch them together, creating a ruffled look. Then tie the two ends of the T-shirt cord in a bow at the desired length at the back of your neck.

Ta-da! Almost exciting as fireworks. Happy 4th, everybody!


[ 5 Comments | Posted on July 4th, 2012 ]