Posts Tagged ‘mother’s day crafts’

Happy Mother’s Day!

It’s been fairly quiet ’round these parts, but I’m emerging from hibernation to share two bits of fun news this Mother’s Day!

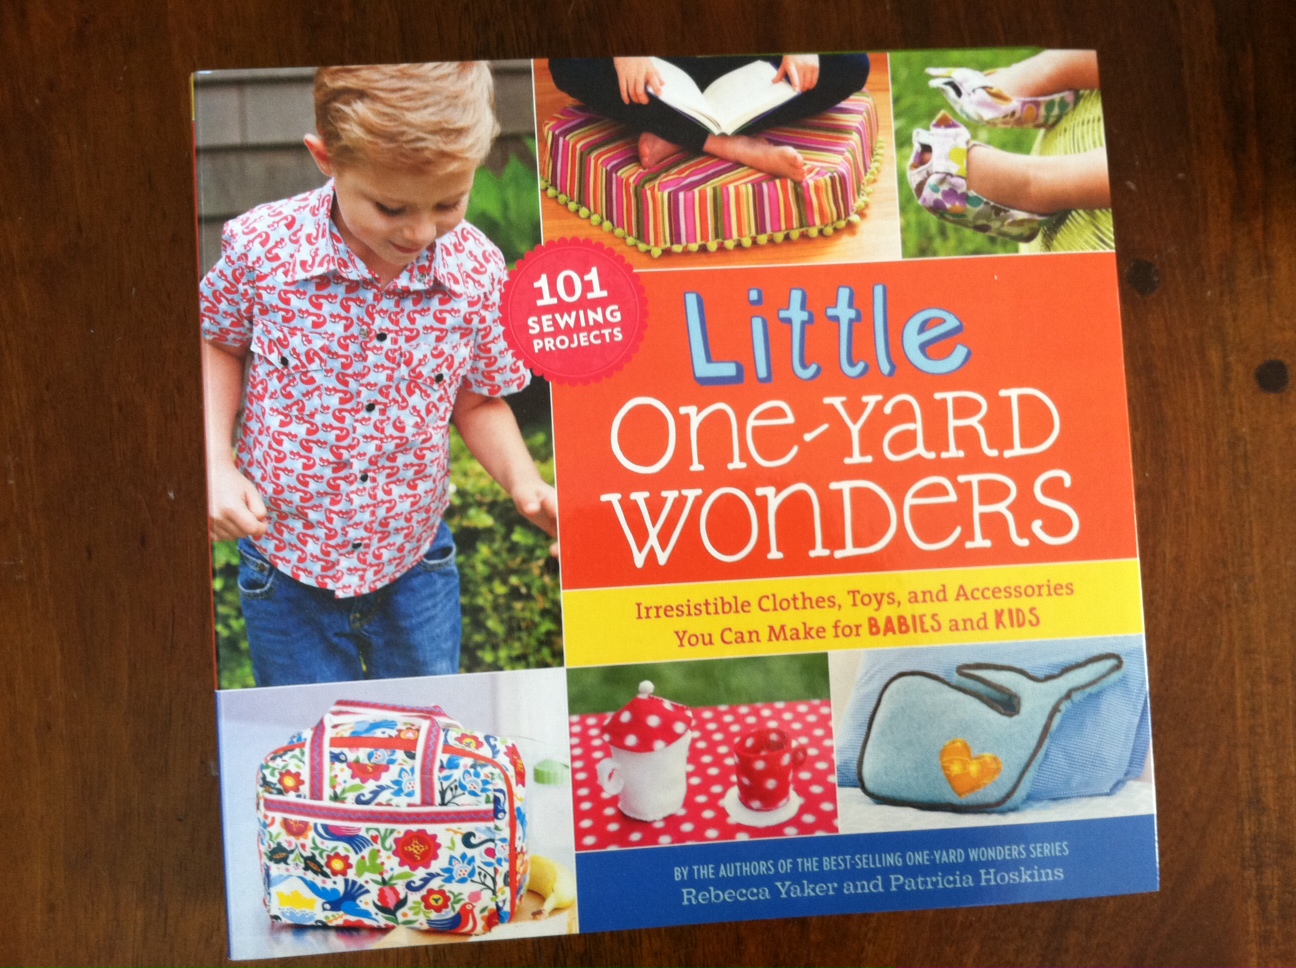
1. I’m very excited to share that a collaboration that I worked on with my very creative mom, Susan, almost two years ago, is coming out soon! We designed a fleece hoodie for the newest installation in Rebecca Yaker and Patricia Hoskins’ One-Yard Wonder series, Little One-Yard Wonders: Irresistible Clothes, Toys, and Accessories You Can Make for Babies and Kids. My mom is the person who first showed me the way around a sewing machine, so I was glad that she accepted my invitation to team up and submit a project when the call for entries was posted! We brainstormed ideas, and came up with a few…long story short, one of them is featured in the book.

How cute is that shirt on the front? Those shoes! That tea set!

Little One Yard Wonders cover

Below is the first spread of the project we designed with squirmy toddlers in mind (no zippers, buttons, or drawstrings — just pull it over the head and you’re ready for an afternoon of exploring). YiaYia’s Snuggle Hoodie! It’s so exciting to see it in print! And, it should be noted, the hoodie can be made from jersey knit material, too, for a more traditional sweatshirt or a lighter T-shirt-weight design. Pre-order the book at any of the online retailers listed here, or look for it in your local bookstore when it releases June 3, 2014! Little One Yard Wonders interior

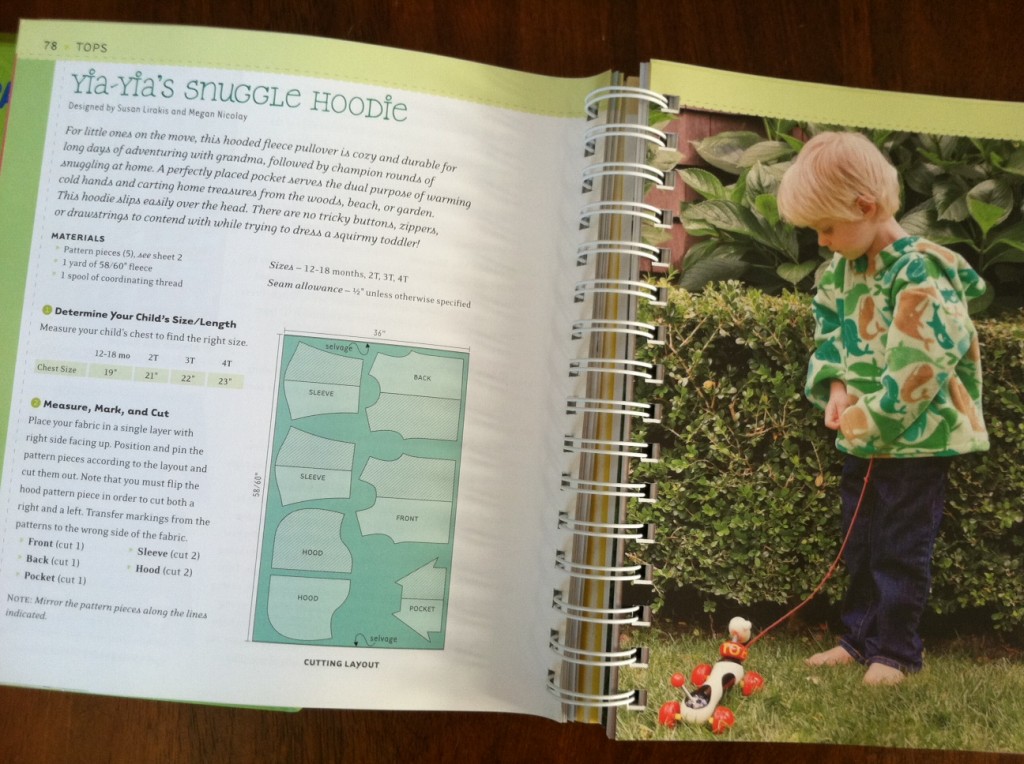
My mom and I are so looking forward to making lots of the 101 projects for my little ones….which brings me to news point #2.

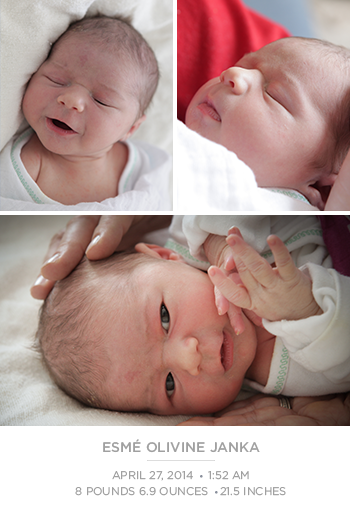
2. And, not to bury the lede, but…the Mr. and I welcomed a new member to our family just two weeks ago! Meet Esmé Olivine, born 4/27/14 (you’ll no doubt be seeing more of my newest fashion muse in the weeks, months, and years to come!).

EsmeOlivineJanka427

A very happy Mother’s Day to all you crafty mamas who encourage creativity in the next generation!

xoxo,
Megan

[ 2 Comments | Posted on May 11th, 2014 ]

How to: Make a Silhouette Portrait

Here’s a handmade, personalized, and timeless gift for Grandparent’s Day (the first Sunday after Labor Day — for 2013, it’s on September 8!), or you can save it for Mother’s or Father’s Day. Just snap a photo of your subject in profile, gather up the rest of the materials, and you can make and assemble this in minutes. Start a series by making a new image each year so you can see the growth of your child!

Materials:
Aleene’s Tacky Dot Runner adhesive
-photo frame
-photo of subject in profile
to fit your frame (the photo doesn’t need to be crisp or particularly high quality–just irresistible, like my little pal Caleb, featured above!)
-artists tape
-craft knife and cutting mat

-black paper (tip: if you don’t have any, create and print out a sheet of black paper on your computer)
-decorative paper (for background–check out your wrapping paper stash for good options)
-scrap paper (for banner–I found a colorful envelope from a holiday card in the recycling bin)
-thin-tipped pen

Make it:
Check out the step-by-step tutorial over at the iLoveToCreate Blog!

There’s also a video tutorial I did for About.com, below:


[ Comments Off on How to: Make a Silhouette Portrait | Posted on September 4th, 2013 ]

I Love to Create: Paper Flowers 4 Ways!

I’ve been playing with paper a lot lately over at my day job, so was inspired to dig into my own paper stash for this month’s iLoveToCreate project. With plenty of time until Mother’s Day, here’s a delicate flower that can be applied four different ways to create a non-wilting “bouquet” for her hand, her head, her hair, or her lapel.

Materials:
-Paper scrap for template (brown paper bag or a sheet from the printer paper recycling) at least 3″ x 3″
-Decorative paper scraps (card stock, book pages, paper bags, thick wrapping paper, etc., in variety of colors)
-All-purpose scissors
Aleene’s Tacky Glue and clothespins OR Aleene’s Tacky Dot Rolls
-Pencil
-Ruler
-Ribbon of varying colors, widths, and lengths

Make It:
1. Fold the paper scrap in half three times to create a folded “wedge.” Cut a curved edge about 1 1/4″ from the point.

2. Unfold the template (it’ll look a little like a four-leaf clover), lay it flat and trace it three times on one or more of the decorative paper scraps. Three tracings makes one flower.

3. Cut around the tracings to make three identical blossoms. Snip two straight lines into the center of the first blossom, cutting out a wedge equal to two “petals.” Cut three petals from the second blossom, and four petals from the third blossom. Mark and then cut a 1/4″ semicircle from the center of each blossom, as shown.

4. Curve each of the blossoms to the cut edges overlap a bit. Adhere with glue or dots, let dry if necessary, then fold back the tips of the petals.

5. To make a flower ring, nest the blossoms inside one another. Select a piece of ribbon, wrap it around your finger, and knot the ends so the loop fits your finger. Gently thread the loop through the center of the flower, so the knot catches and rests in the center of the flower. Trim the ends of the ribbon as desired.

6. Slip the loop over your finger and the ring is complete!

7. Return to your paper stash and repeat the process to make more! You can personalize your bloom using crayons and card stock (a sweet way for younger kids to get involved if it’s a Mother’s Day gift), go for a more muted geometric design using pages from an Japanese puzzle magazine, gather up some vintage appeal by cutting into that newspaper-printed paper gift bag, or simply dig into the scrapbooking scraps for some playful color.

8. Keep your flowers uniform and muted…

…or mix and match the colorful blossoms in a paper botany experiment!

9. To make the headband, brooch, or barrette, thread one end of the ribbon through the flower, back to front, knot it, and then thread the end back through the flower, front to back. Thread multiples together this way, too! Wrap the ends of the ribbon around the headband, brooch, or barrette base and glue or knot to secure it.

And now, the million-dollar question for the author of Generation T: Can you make these flowers with T-shirts? Absolutely! Substitute fabric glue for the adhesive, and trim the neckline of a shirt with these sweet little blooms.


[ Comments Off on I Love to Create: Paper Flowers 4 Ways! | Posted on April 24th, 2012 ]