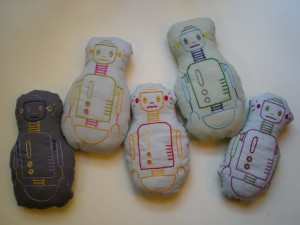
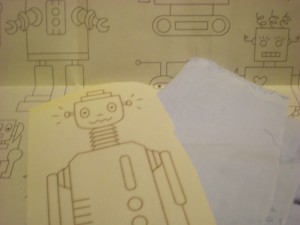
 I came to make these little soft-bots quite by accident. I was testing some patterns for a project at my day job, and suddenly found myself in the company of five robot outlines that had been ironed onto several fat quarters of fabric I had picked up from a local quilt shop. What was I going to do–not stitch them? Never. So I set to embroidering each robot in my spare time (on the subway to and from work, at jury duty despite having my scissors confiscated, during my lunch break in the park). And then they sat. (One reason why the step-by-step photos are less than stellar is that the process for making them was so very stretched out!) It wasn’t until a not-so-recent craft night that I took the next step: cutting them out and pairing each bot with its backing. Now that I’ve finally completed the mini-army of ‘bots, it’s time that they found homes…. Thankfully, in the amount of time that it took me to complete them, several of my friends have had babies. And every new baby deserves a new ‘bot!
Materials:
-Scrap fabric for embroidering (light colors work best with iron-ons)
-Scrap fabric for backing (use patterns!)
–Aunt Martha’s Heat Transfer Pattern “SR1 Robots Invade”
-Scissors
-Embroidery needle and thread
-Embroidery hoop
-Chalk marker or air-soluble marking pen
-Straight pins
-Sewing needle and thread (or sewing machine)
-Fiberfill
-Cotton twill tape (optional)
Make it:
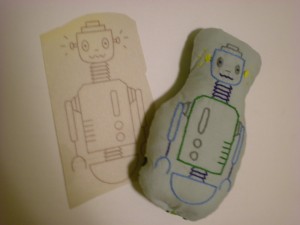
1. Select your light scrap fabric. Cut out the pattern and transfer it to the fabric with a warm iron.
2. Select the embroidery floss colors. (I used 3 to 4 colors for each robot.) Separate 4 strands from the selected floss and thread the embroidery needle. Secure the fabric template into the embroidery hoop and start stitching!
3. Mark and cut about 1″ to 1 1/2″ around the stitched robots. Select appropriate backing material and place the cut piece against the backing. Cut around the piece to create a matched backing piece. Pin around the edges.
4. Sew around the pinned edges about 1/4″ from the edge, leaving a 1″ to 1 1/2″ opening at one end. Turn the fabric right side out and stuff it with fiberfill.
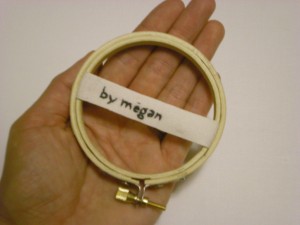
5. Stitch closed the opening and you’re done! Optional: If you’re feeling adventurous, stitch a personalized tag with 2 strands of embroidery floss on cotton twill tape.
And voila: Here they are, five robots in a basket. In a creative stroke of inspiration, I named each ‘bot for its destined owner: Clockwise from lower left, that’s Levi-bot, Elliot-bot, Luke-bot, William-bot, and Lillian-bot. Hope to update soon with photos of the ‘bots in their new homes!
For other great fresh, alternative embroidery patterns, check out Jenny Hart’s Sublime Stitching designs.


