Posts Tagged ‘scrap crafting’

How to: T-shirt Scrunchie Necklace

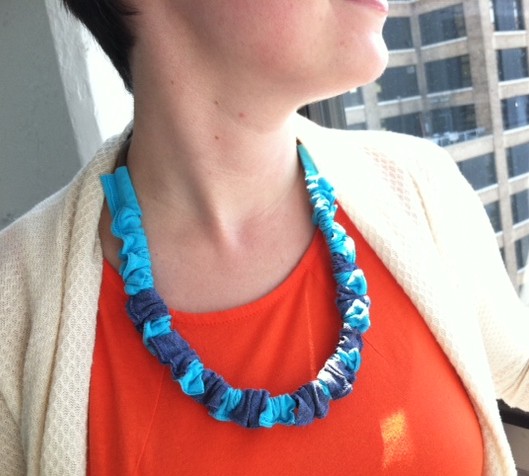
Last week, I posted a tutorial for making a statement necklace using T-shirt scraps. This week, we’re making a necklace using the scraps leftover from that necklace. It’s worth keeping in mind that you can construct and wear this necklace in about two minutes — seriously! Now that is a statement.

Materials:
-Scrap hems (or scrap sleeve seams) from 2-3 T-shirts
-Safety pin or paperclip
-Fabric scissors

Make it:
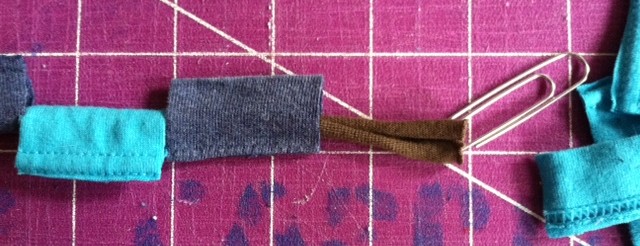
1. Trim the stitching off one of the T-shirt hems and stretch it out to create a long T-shirt cord. Attach a safety pin (all I had on hand was a paperclip, which worked fine!) to one end. Collect all the hem pieces left over from cutting the rectangles needed to make the T-shirt Confetti Necklace (a byproduct of step 1, the hem pieces should be about 1 1/2″ long, with the stitching still in place). There should be a hollow space through the center, making it, essentially, a soft bead.

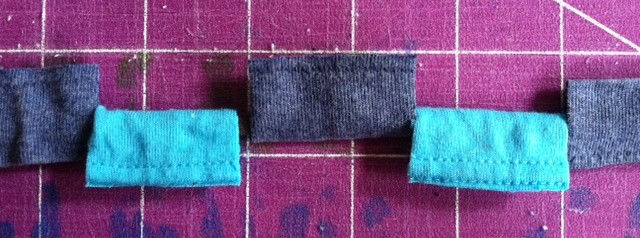
2. Thread the T-shirt cord through the T-shirt beads, arranging them in any desired pattern.

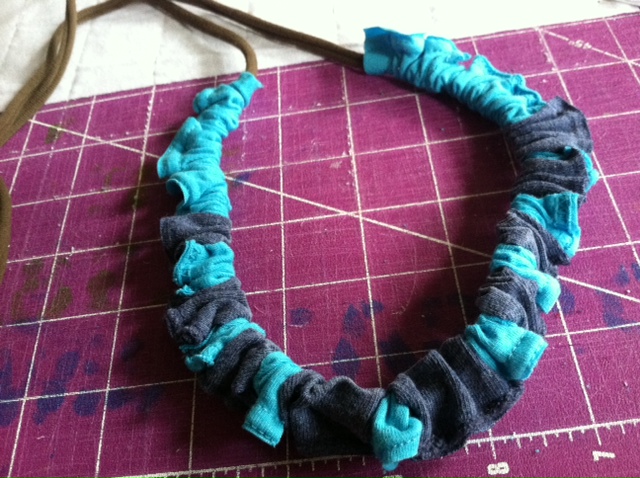
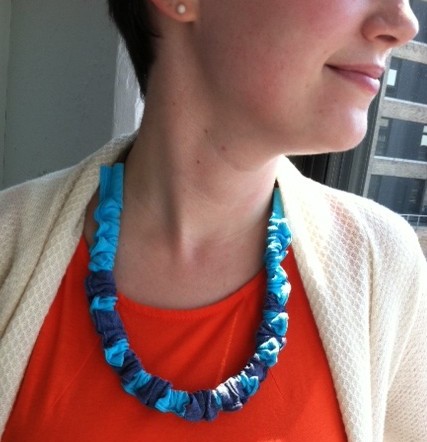
3. Rotate the beads so the stitching appears on the “outside” of the necklace and scrunch them together, creating a ruffled look. Then tie the two ends of the T-shirt cord in a bow at the desired length at the back of your neck.

Ta-da! Almost exciting as fireworks. Happy 4th, everybody!


[ 5 Comments | Posted on July 4th, 2012 ]

I Love To Create: T-shirt Confetti Necklace!

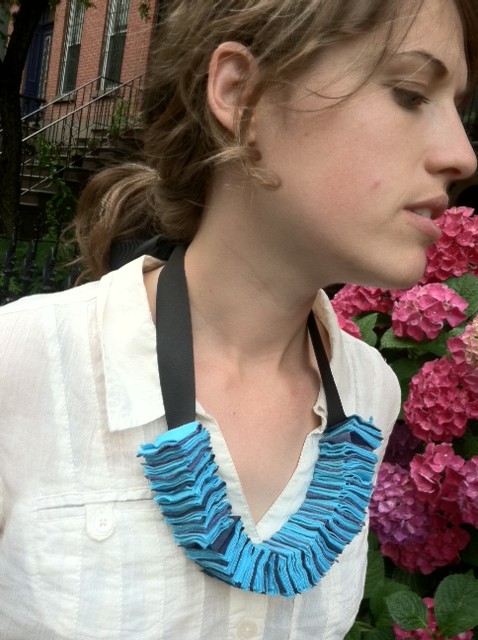
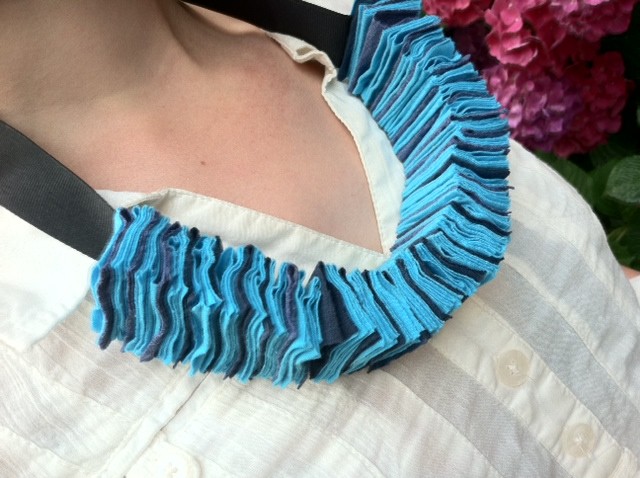
Interestingly, the inspiration for this festive, soft Fourth of July necklace came from south of the border — while I was on vacation in Oaxaca, Mexico, we happened upon a small gallery where I spotted an orange folded paper bracelet made by women in a local artist collective. The paper was so soft and fibrous, it reminded me of fabric. So when I set to re-imagining that bracelet stateside in my Generation T workshop (as a necklace of fabric and glue!), I was pleased that the results are even cozier — a wonderfully celebratory accessory fit for a summer barbecue! (I was intentionally playing it subtle with the shades-of-blue color palette, but a bold red, white, and blue color scheme would really pop.) And it’s comfy, too, when the sun goes down and it’s time to snuggle up and watch the fireworks.
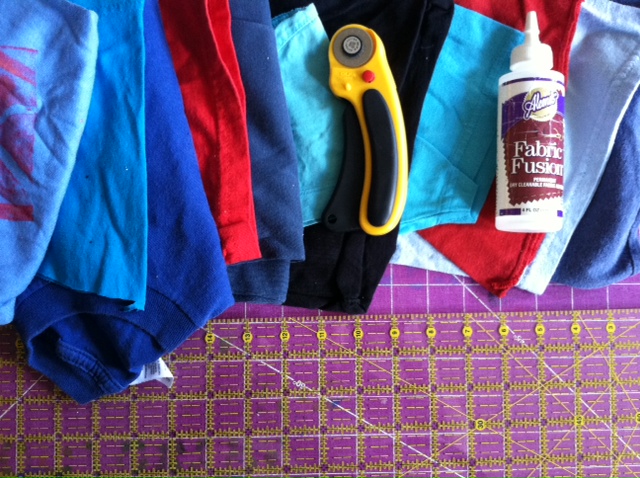
Materials:
-T-shirt scraps (sleeves work well!), including one long one to use as the fastener
-Rotary cutter and cutting mat
-Quilting ruler
Aleene’s Fabric Fusion glue
-Ribbon (optional, in place of the long piece of T-shirt scrap to fasten the necklace)
Make it:
1.
Cut 1 1/2″-wide strips from the T-shirt scraps.
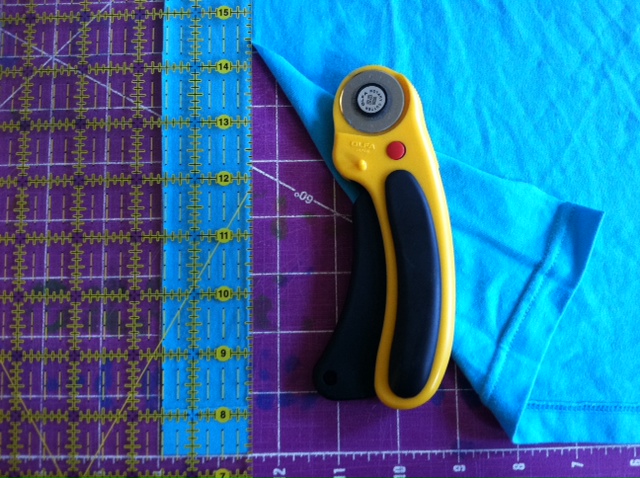
2. Cut the strips into 2″ pieces to make rectangles that are 1 1/2″ x 2″. (I cut about 124 rectangles in two different colors to make an approximately 9″-long necklace segment.)

3. Lay one of the rectangles flat, wrong side up, and spread a thin line of glue slightly off-center and parallel to the short ends. Fold it in half so that the glue line retains the crease. Let the glue dry and repeat for the remaining rectangles.
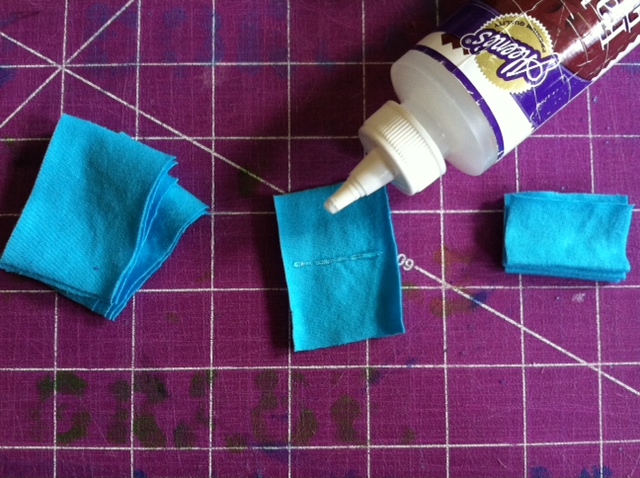
4. Squeeze a thin line of glue close to the folded edge of one of the rectangles and press another folded rectangle over it.
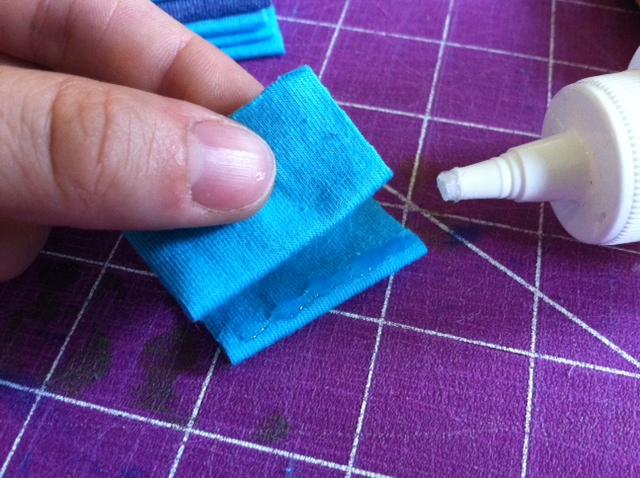
5. Repeat step 4 as many times as needed, to attach more rectangles together and create the necklace piece. (Arrange different colors to create a pattern!) Reserve two folded rectangles to use in step 7.
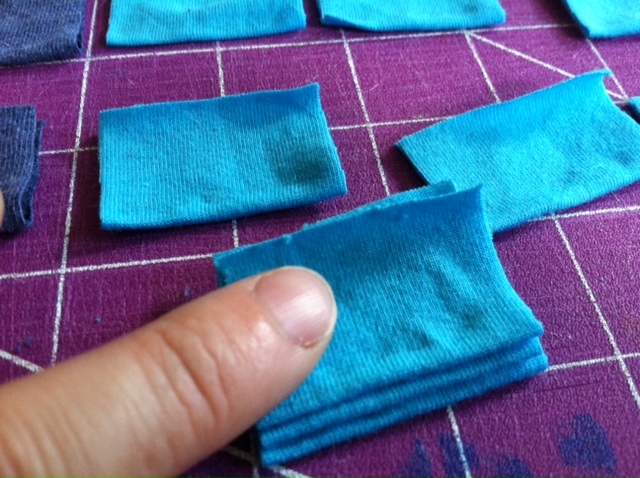
6. Let the necklace piece dry, then touch up any gaps as desired.
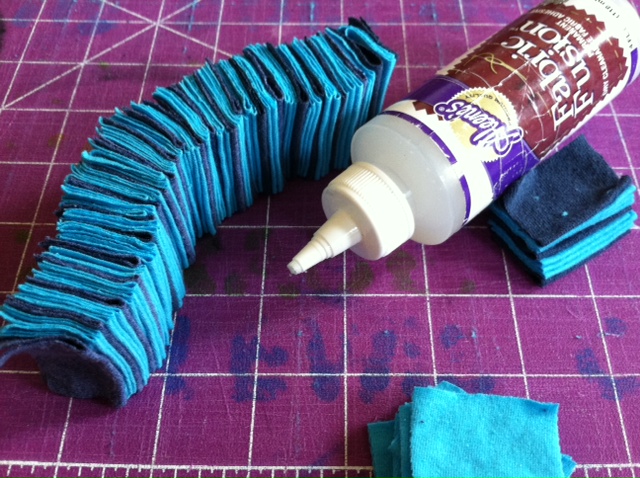
7. Spread glue along the end of a long T-shirt strip or ribbon (shown here), and center and press it along one of the spare rectangles from step 5.
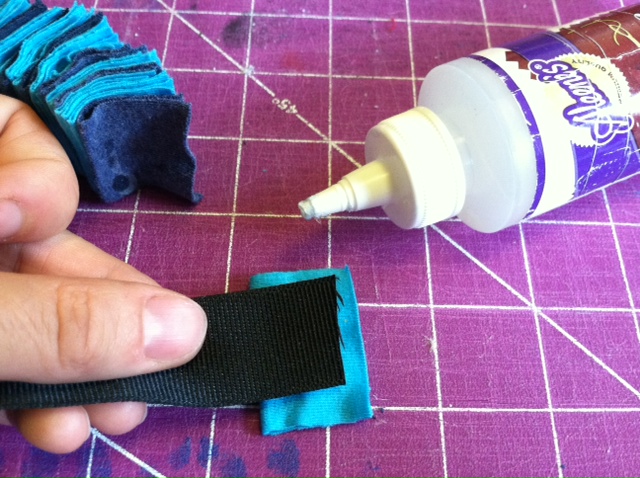
8. Then add more glue to the ribbon and press it against one end of the necklace piece, aligning the T-shirt rectangles (the ribbon end should be sandwiched in between T-shirt material). Repeat on the opposite end of the necklace piece. Let dry completely. Then snip the T-shirt strip or ribbon in the middle so you have two ends for tying.

9. Tie the ends in a bow at the back of your neck.
Variations:
Experiment by making smaller rectangles for a more delicate piece (you can make a necklace this way, or, I made an accompanying bracelet using 1″ x 1 1/2″ rectangles).
Use chain in place of the fabric fastener. (I like the idea of an all-white necklace piece with a gold tone chain.)
Try wearing it as a headpiece! (My sister’s boyfriend tied the necklace around his head
as a joke, bonnet-style, but with the right messy up-do, it could be quite the statement piece.)
Play with color: Make the red-white-blue version mentioned above, use the color scheme from your favorite sports team to wear to the next game, or craft a rainbow to brighten your day!

Tune in later this week to see the second necklace I made using the scraps left over from this one–super easy, super fast, and also no-sew (no-glue, even!).


[ 6 Comments | Posted on June 26th, 2012 ]

I Love to Create: T-shirt Baby Book!

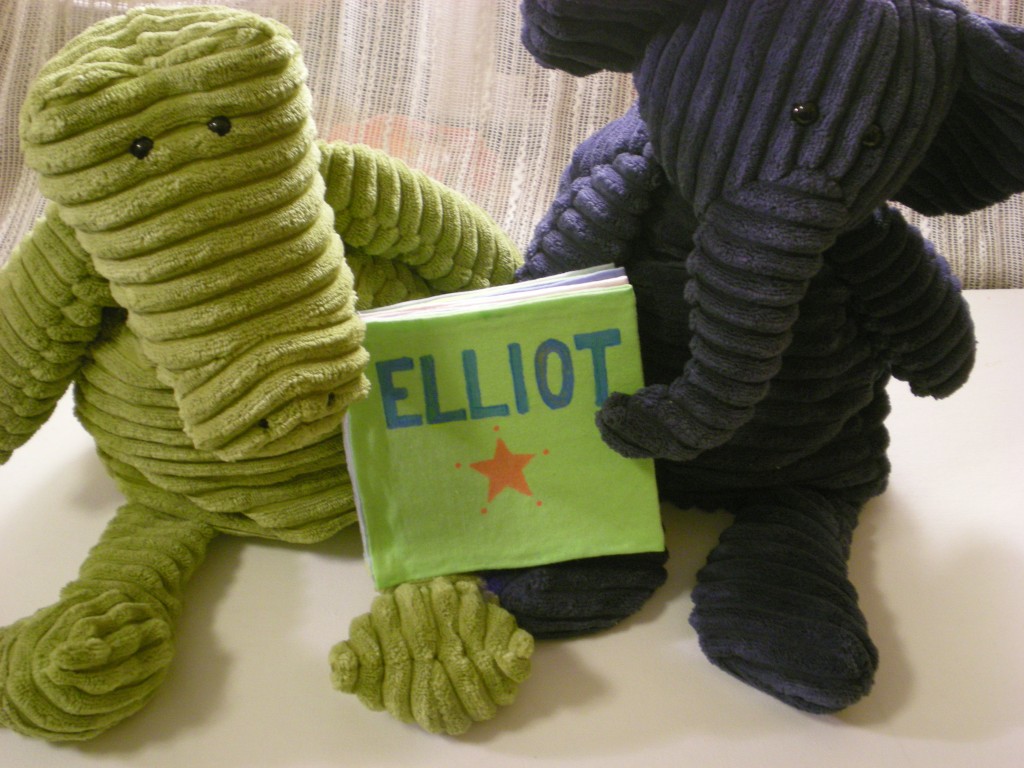
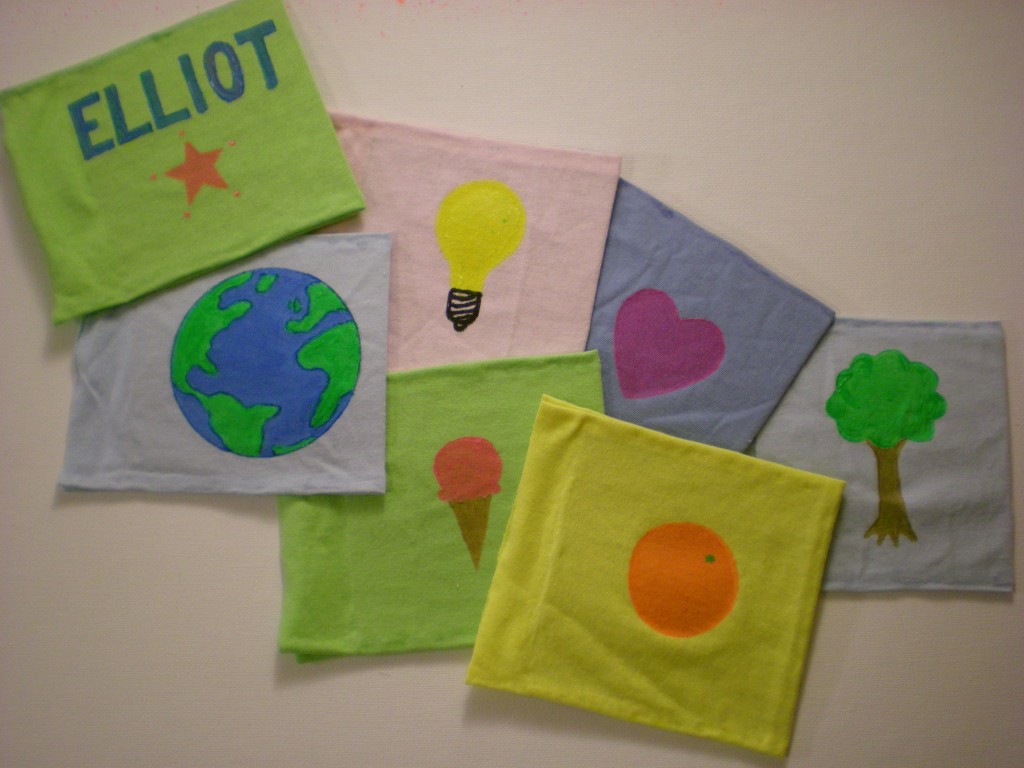
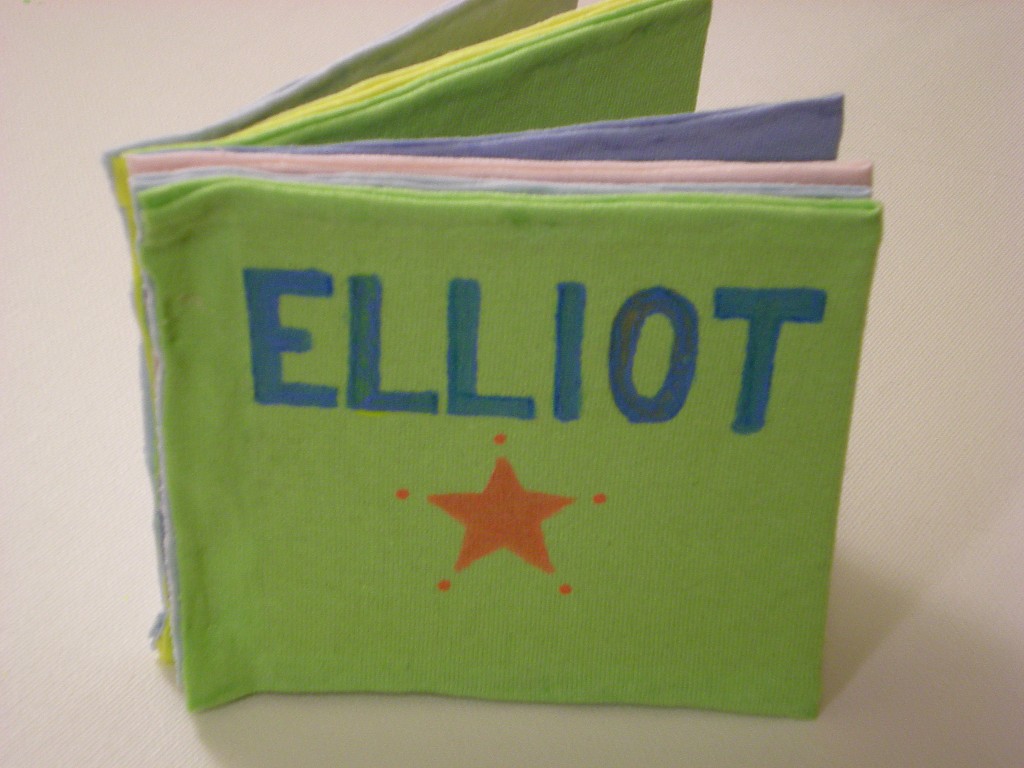
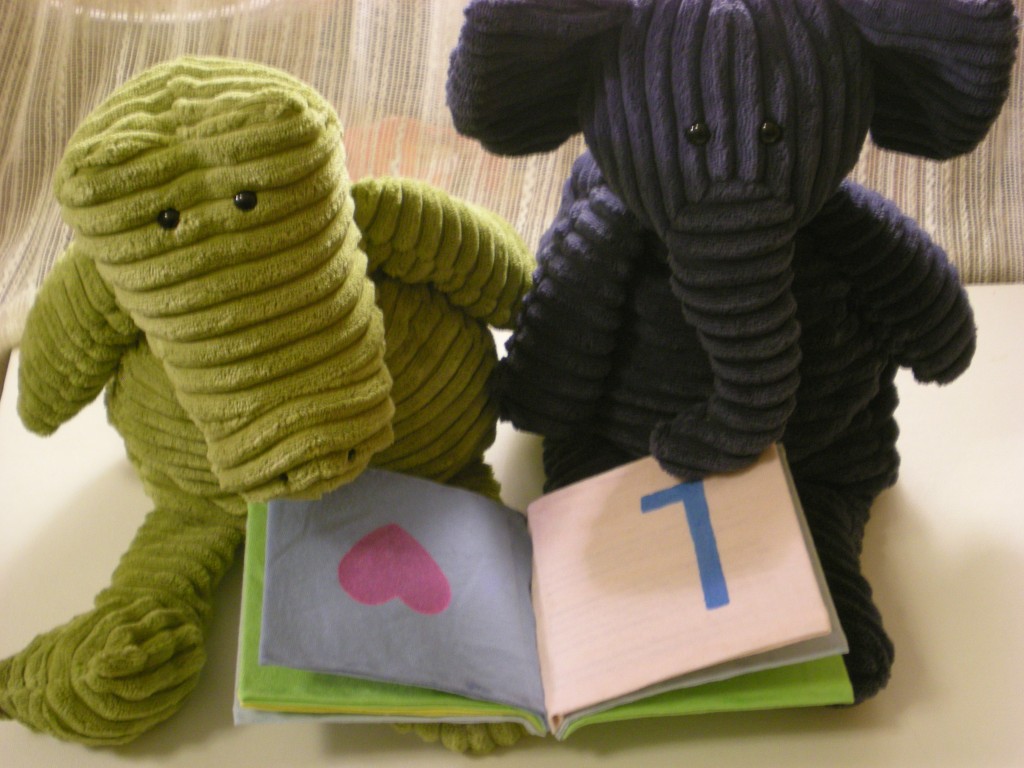
I like projects that help me use up the scraps that threaten to overwhelm my craft space. I also like projects that can be gifted. So this one’s a win-win: The T-shirt Baby Book is perfect for using the T-shirt sleeves that have been cut from another project (like a tank top) and it makes a great personalized baby gift. Once I picked the recipient (my friend’s new baby, Elliot), I had a lot of fun figuring out what words each letter of his name would represent (in other words, what could I illustrate easily?). I settled on: E = earth, L = light, L = love, I = ice cream, O = orange, and T = tree. Sorry, no pictures of baby Elliot and his new book just yet, so the book is presented by these two cute corduroy pals.

Materials:

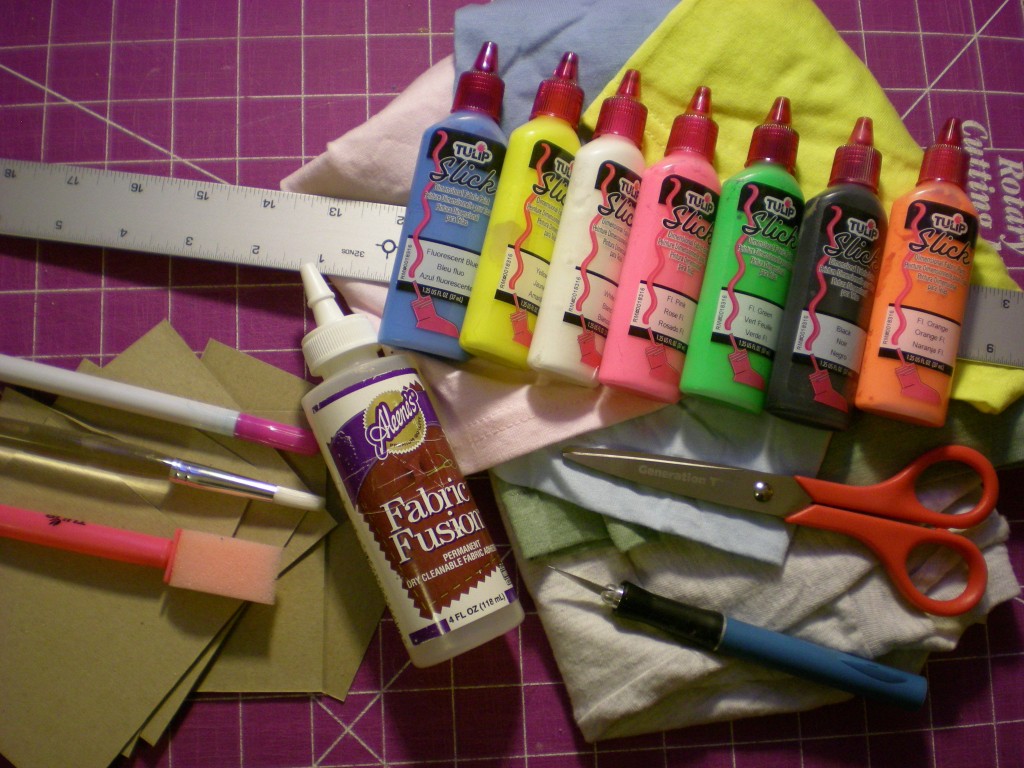
-T-shirts or T-shirt scraps (in multiple colors)

-Scissors

-Ruler

-Craft knife

-Cutting mat

-Lightweight cardboard (cereal, snack, or tissue boxes work great!)

Aleeneā€™s Fabric Fusion Permanent Dry Cleanable Fabric Adhesive

Tulip Disappearing Ink Pen

Fabric paintbrushes

Tulip 3D Fashion Paint Blazin’ Brights (variety of colors)

-Clothespins (optional, for clipping in place while gluing/drying)

Make it:

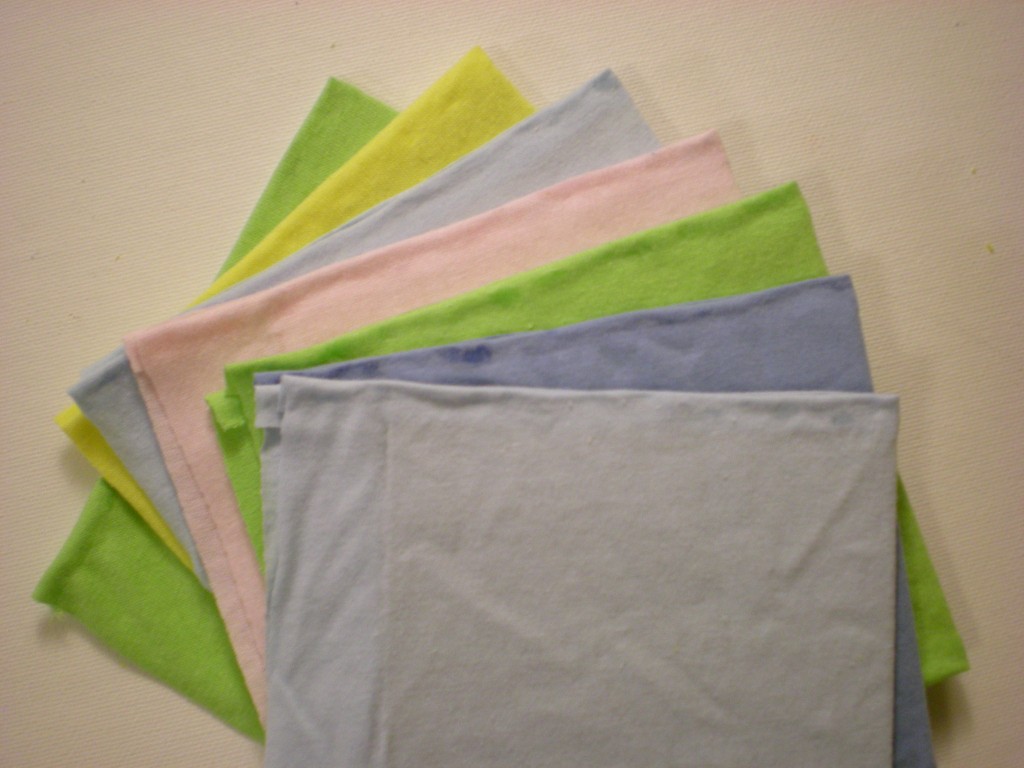
1. Measure and cut one more 4″ x 4″ square of cardboard than there are letters in the baby’s name. (Example: Elliot has 6 letters, so I cut 7 squares.) Then cut as many 5″ x 10″ rectangles from the T-shirts as there are cardboard squares.

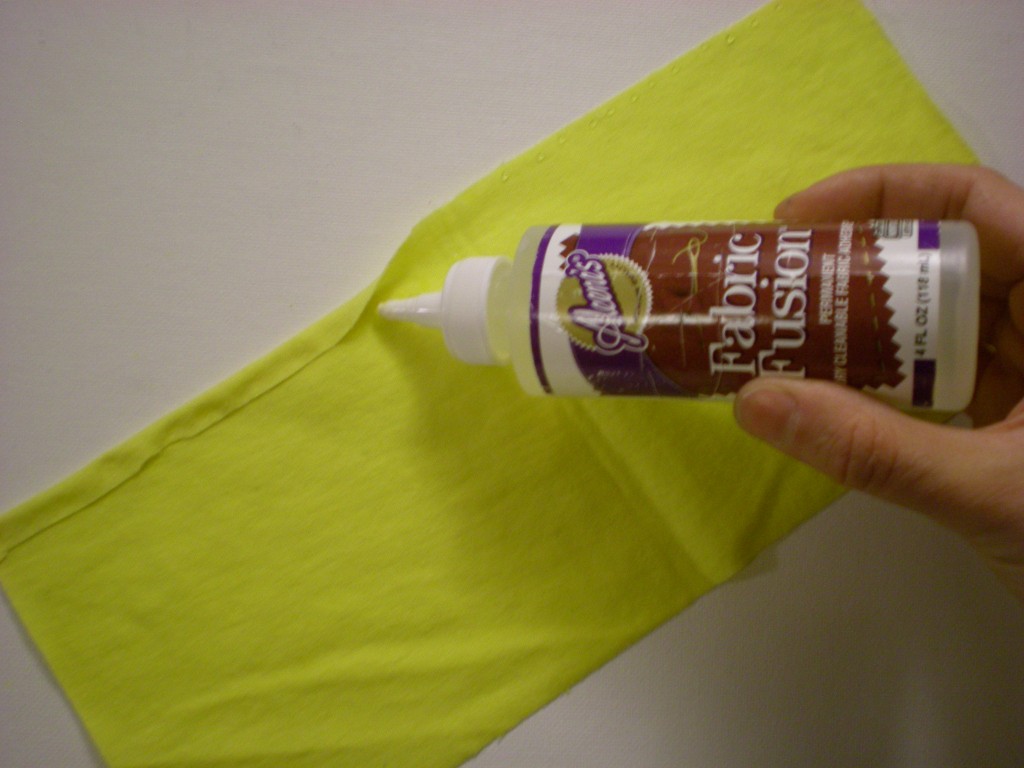
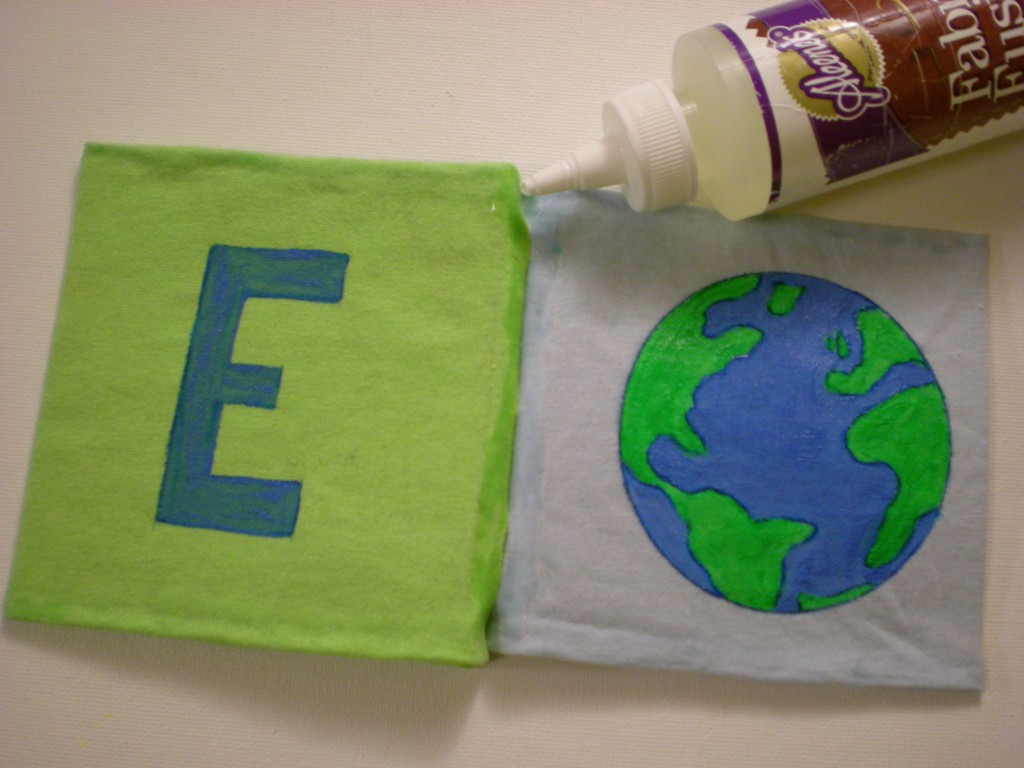
2. Squeeze a small ribbon of glue along one long side of one of the fabric rectangles. Then fold over the edge about 3/8″ and press. Repeat on the other long side.

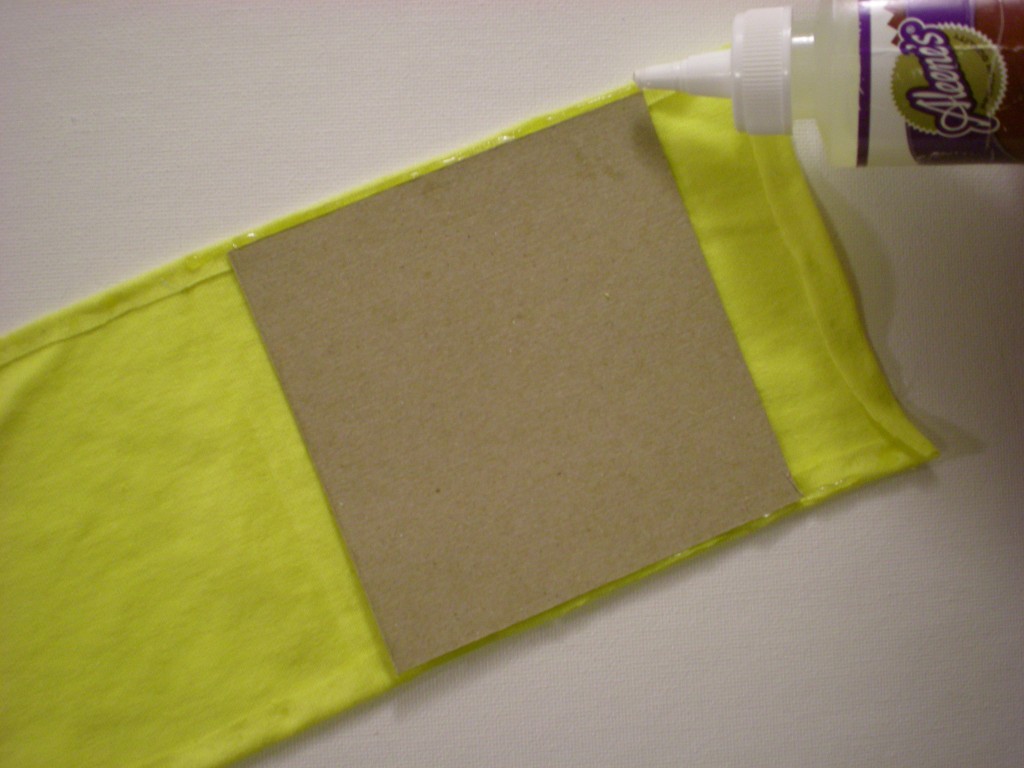
3. Find the center of the rectangle and line up one edge of one of the cardboard squares. Squeeze a small ribbon of glue along the fabric at the top and bottom edge of the cardboard.

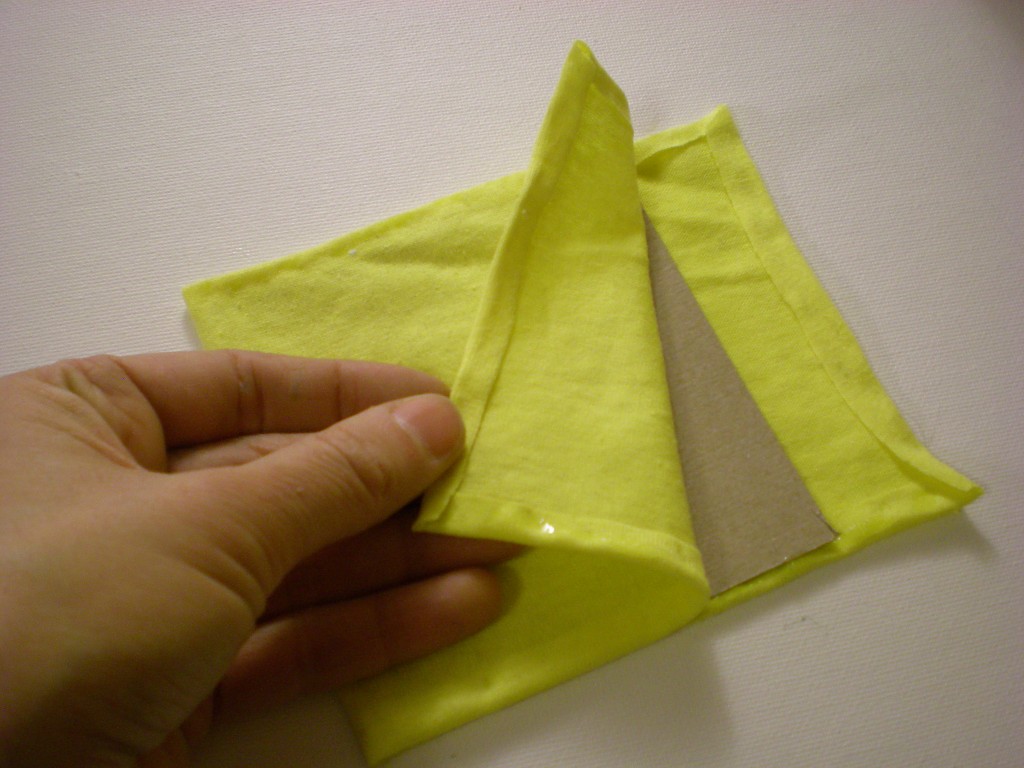
4. Fold the fabric in half, sandwiching the cardboard in between the layers. Press the glue into the edges to seal it. Squeeze another ribbon of glue against the cardboard and between the fabric layers on the open side. Press it closed.

5. Repeat steps 2 through 4 until all of the cardboard squares are covered. These are the pages of the book.

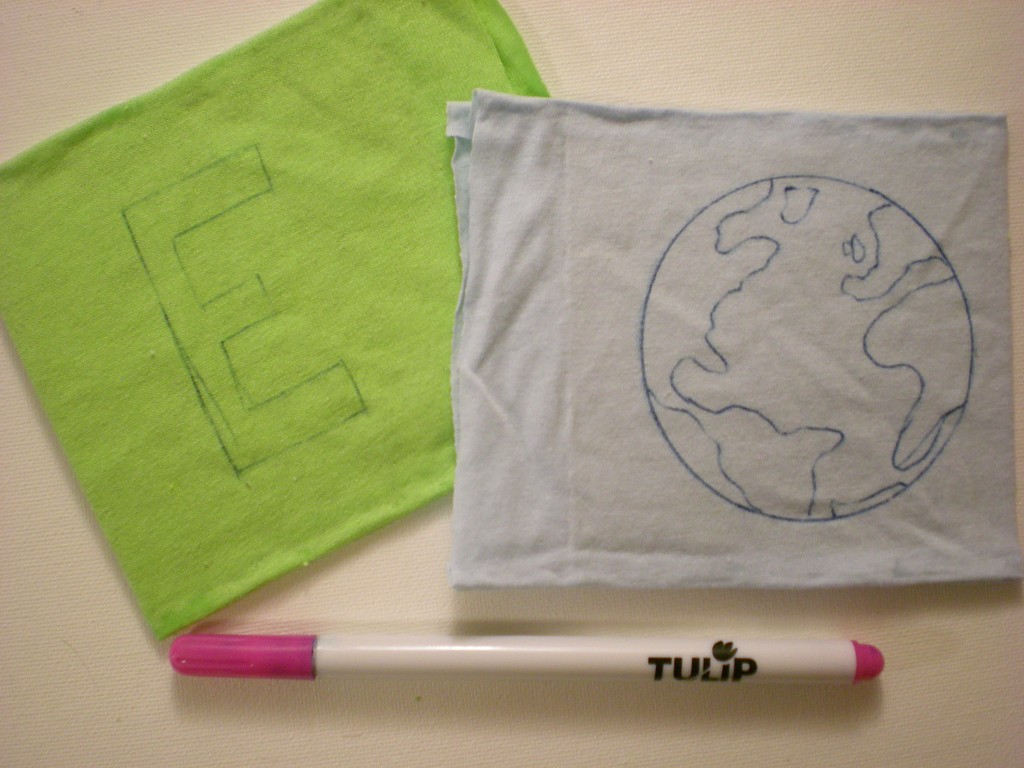
6. Use the air-soluble ink pen to begin outlining the letters and images on the book pages.

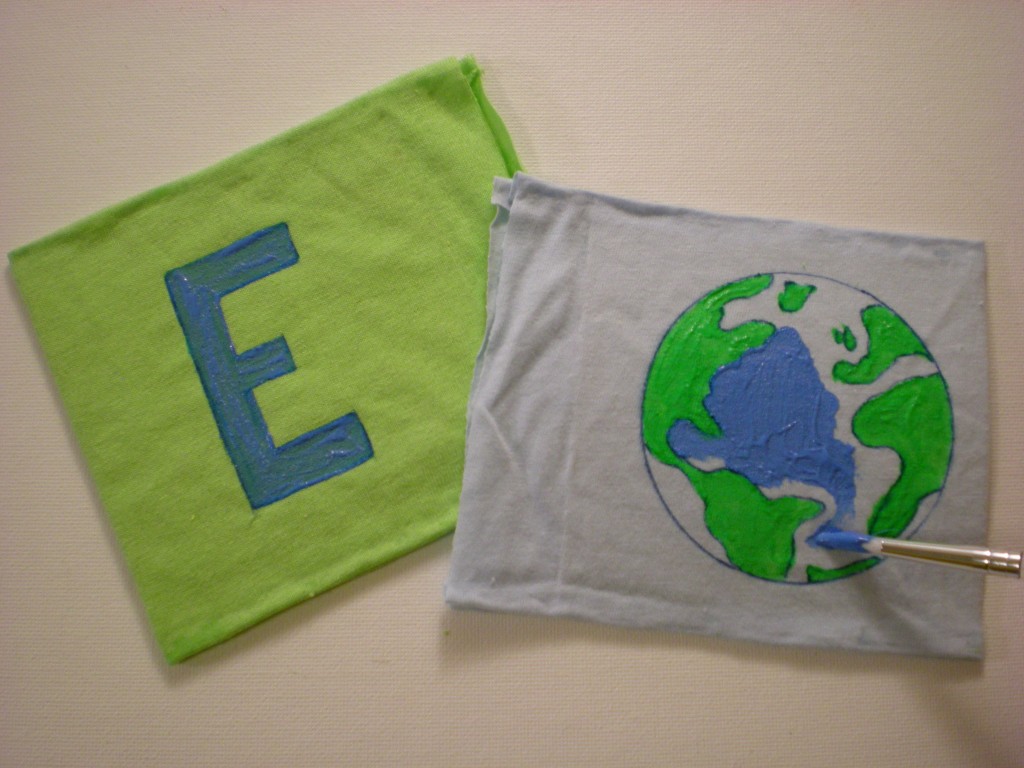
7. Color in the lines with fabric paint!

8. Paint all the right-folio pages first (including the front cover), let them dry, then paint all the left-folio pages, making sure you match up all the letters and images.

9. Trim the raw edges (the side of the pages that will go into the binding) down to 1/2″. Then squeeze a line of glue along one of the edges you just trimmed and press it against the adjacent page. Keep gluing and adding pages (in the correct order!) until the book is complete.

10. Let dry completely. Optional: Clip the binding closed with clothespins while it dries.

11. Then it’s story time! E is for earth. L is for light. L is also for love. I is for yummy ice cream. O is also for a delicious orange. T is for Tree (and Totally Terrific and….T-shirt book!).


[ 7 Comments | Posted on January 25th, 2011 ]