Posts Tagged ‘T-shirt accessories’

I Love to Create: Flower Power Picture Frame!

So often these days a photo album is an online click, and a frame may simply be the outer edges of a smart phone as you flick through those saved photos. Having just returned from vacation, I was inspired to make something a little less fleeting to display my memories of beach, sand, and snorkeling. And what better material to use to celebrate summer vacation than scraps from that all-time summer favorite: the T-shirt.

Materials:
-T-shirt scraps (in various colors)
-Circular object (about 2.5″ in diameter to use as a cutting template)
Aleene’s Fabric Fusion fabric glue
-Fabric scissors
-Blank picture frame
Aleene’s Tacky Line Runner (double-sided adhesive dispenser)
-Printed vacation photos to fit in the blank picture frame

1. Cut a series of circles from the T-shirt scraps. (I cut about 55 circles in order to cover a 4″ x 6″ frame.) Cut them all the same color or mix it up to add vibrant highlights to the frame — I was inspired by the colors of the corals (yellow, salmon, and raspberry hued) that we snorkeled near in Vieques.

2. Select one circle, fold it in half, then fold it in half again. Cut a scalloped edge into the open (arced) edge so the piece of folded fabric becomes heart-shaped.

3. Unfold the piece of fabric (it should slightly resemble a four-leaf clover) and squeeze a small amount of fabric glue into the center. Fold it in half, with the edges slightly askew (so the petals don’t line up exactly) and pinch.

4. Then apply a small dab of glue along the folded edge and fold it in half again to create a blossom.

5. Pinch the end and separate the petals and let dry. Repeat steps 2-4 for the remaining circles then set the blossoms aside.

6. Apply the double-stick adhesive liberally to the front of the frame. Be careful not to press your fingers into it since the oils will deplete the sticky qualities!

7. One by one, press the blossoms into the adhesive on the frame, angling and overlapping them to cover the frame and create a pleasing pattern.

8. Layer the flowers over the entire frame, and don’t hesitate to cut more if you find gaps in the coverage.

9. Now for the hard part! Select a photo to place in the frame.

Variations:
-Use strips of T-shirt scraps to make into coils to decorate the frame.
-Simply cover the photo frame with T-shirt fabric and then embellish with a small cluster of blossoms.
-Use a cluster of these flower power blossoms to embellish a headband, hair tie, or brooch!


[ 5 Comments | Posted on August 23rd, 2011 ]

I Love to Create: Superhero Arm Warmers!

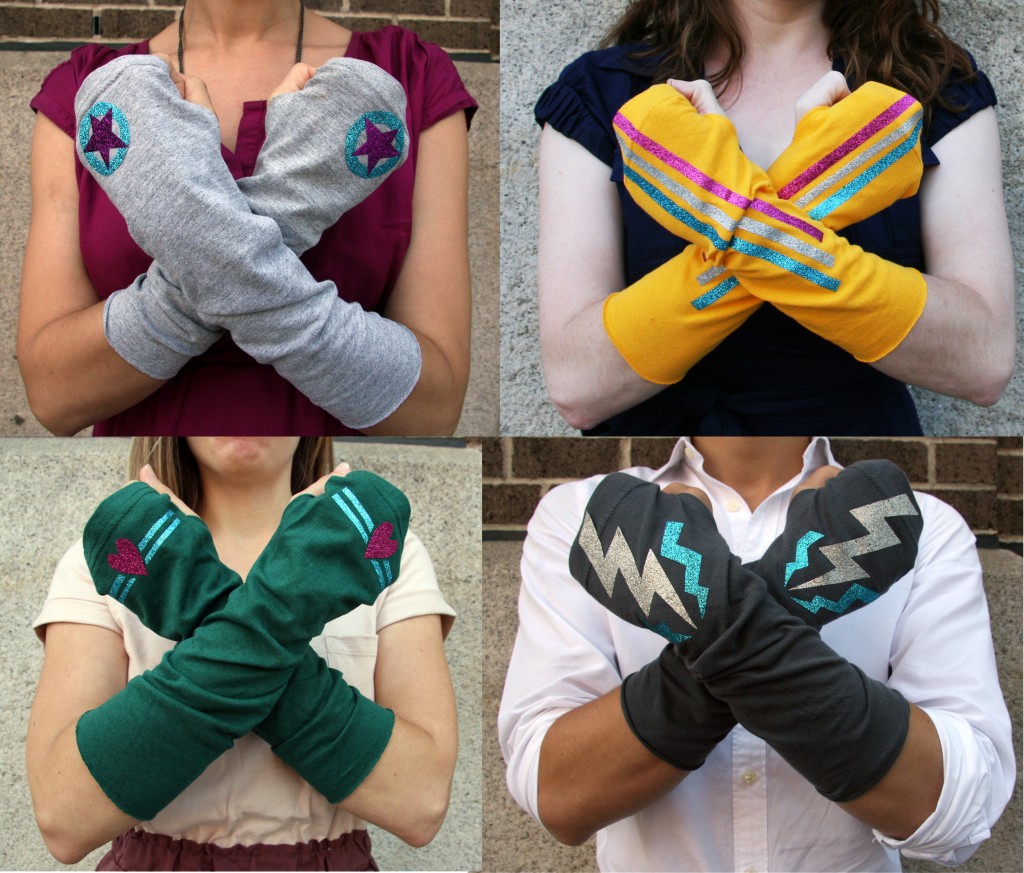
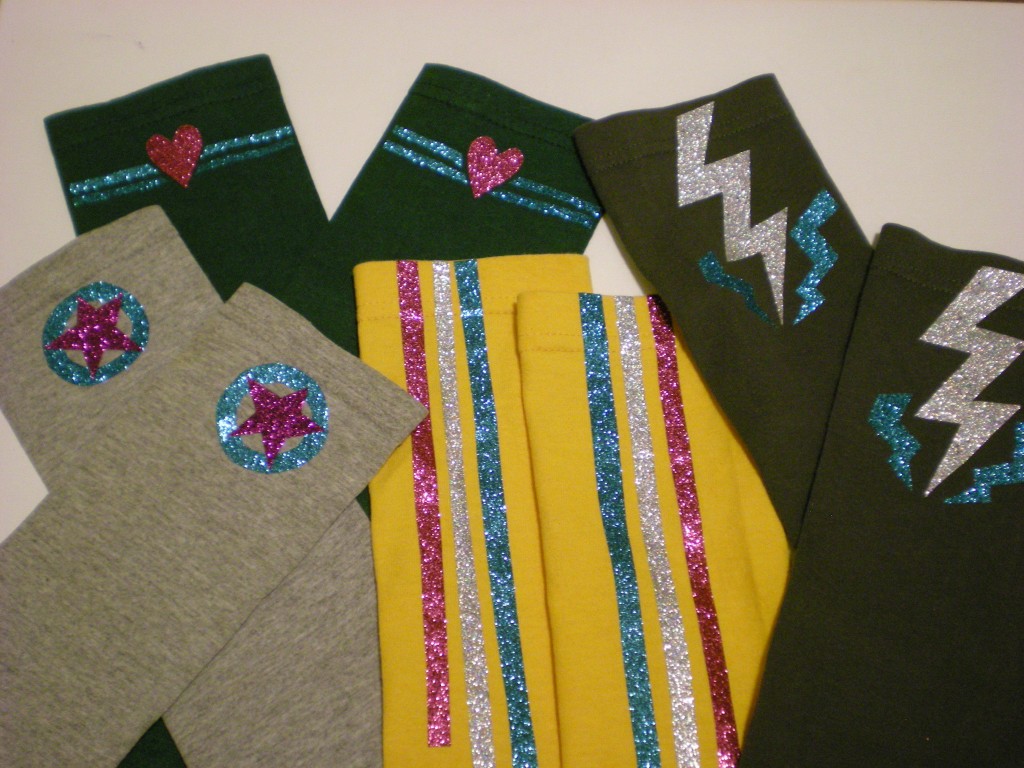
This T-shirt transformation project is my favorite of the accessories in my first book. They’re the Go-go Gauntlets (project #73) from Generation T: 108 Ways to Transform a T-shirt. They’re super easy to stitch up in an afternoon, and even easier to embellish with iron-on glitter sheets–which seriously increase the superhero factor.

These arm warmers are especially good for:
1) Completing late night deadlines (reports, papers, presentations, tax filing, etc.).
2) Healing goose-bumped flesh in the over-air-conditioned spaces of warm-weather climates.
3) Protecting long-armed folks from that pesky draft caused by the gap between the glove and sleeve in cold weather climates.
4) Shielding the knuckles of bicyclists from biting winds when they ride really fast.
5) Executing superhero power stances.

Materials:
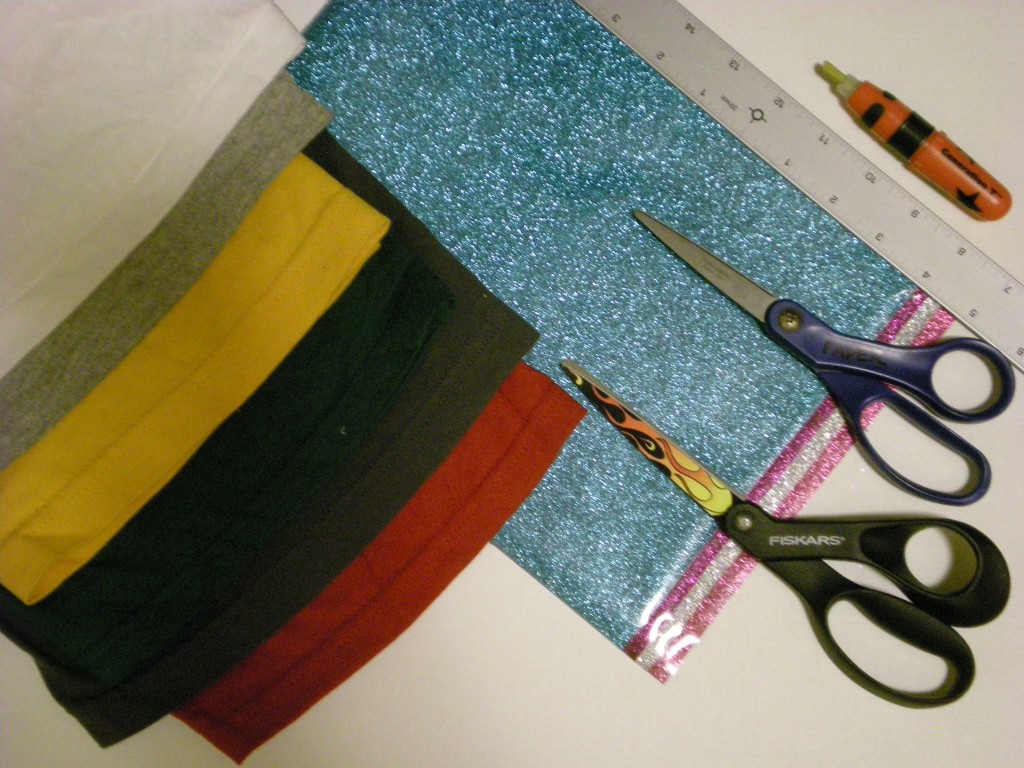
-1 or more old T-shirts (with the bottom hem intact)
-Fabric marking tool
-Ruler
-All-purpose scissors
-Fabric scissors
-Needle and thread (or sewing machine)
Tulip Fashion Glitter Shimmer Transfer Sheets
-Pressing cloth
-Iron

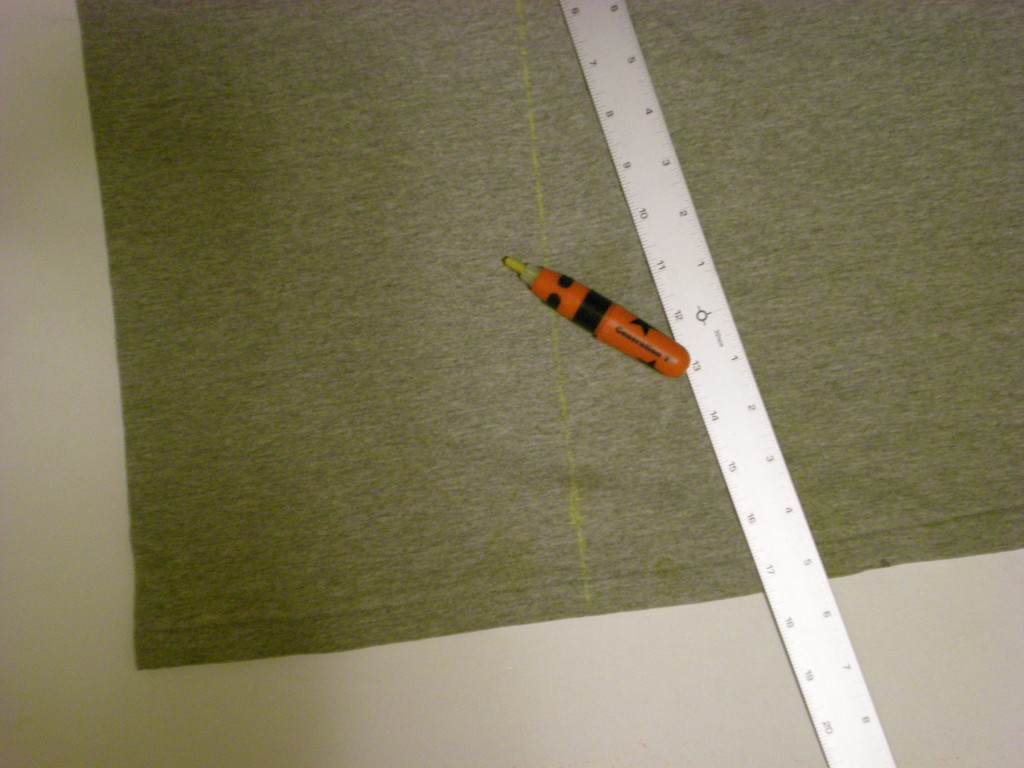
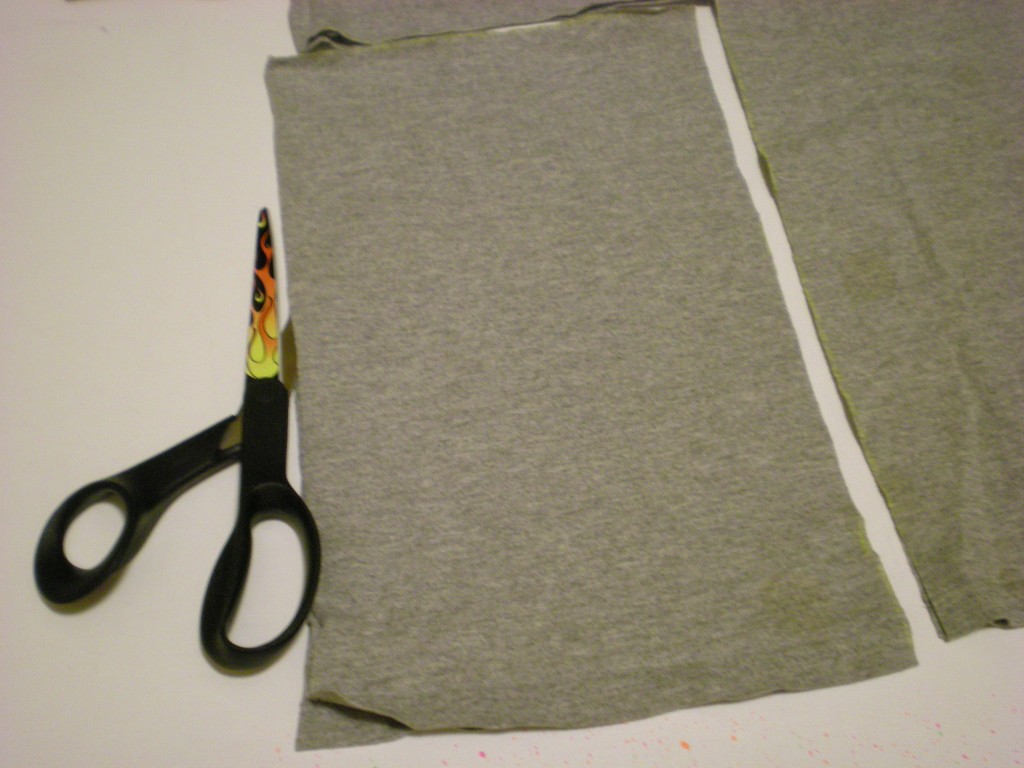
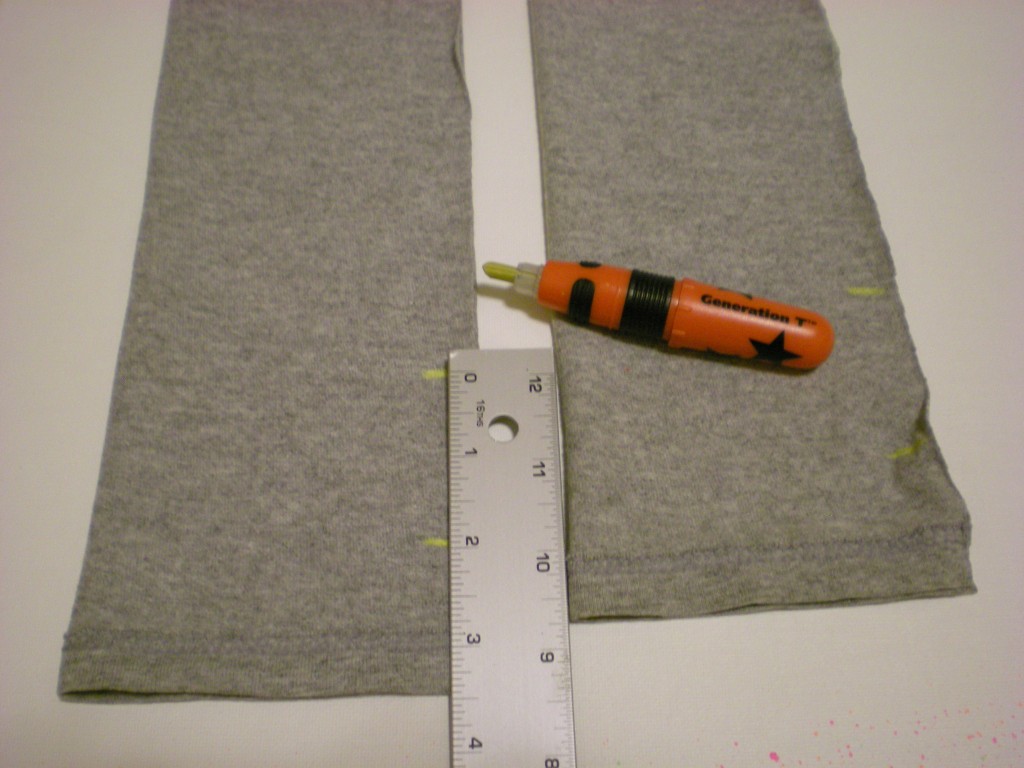
1. Measure the distance around the middle of your forearm (x). Mark a rectangle x” wide and between 11″ and 14″ tall that lines up along one of the side folds of the T-shirt and extends up from the bottom hem.

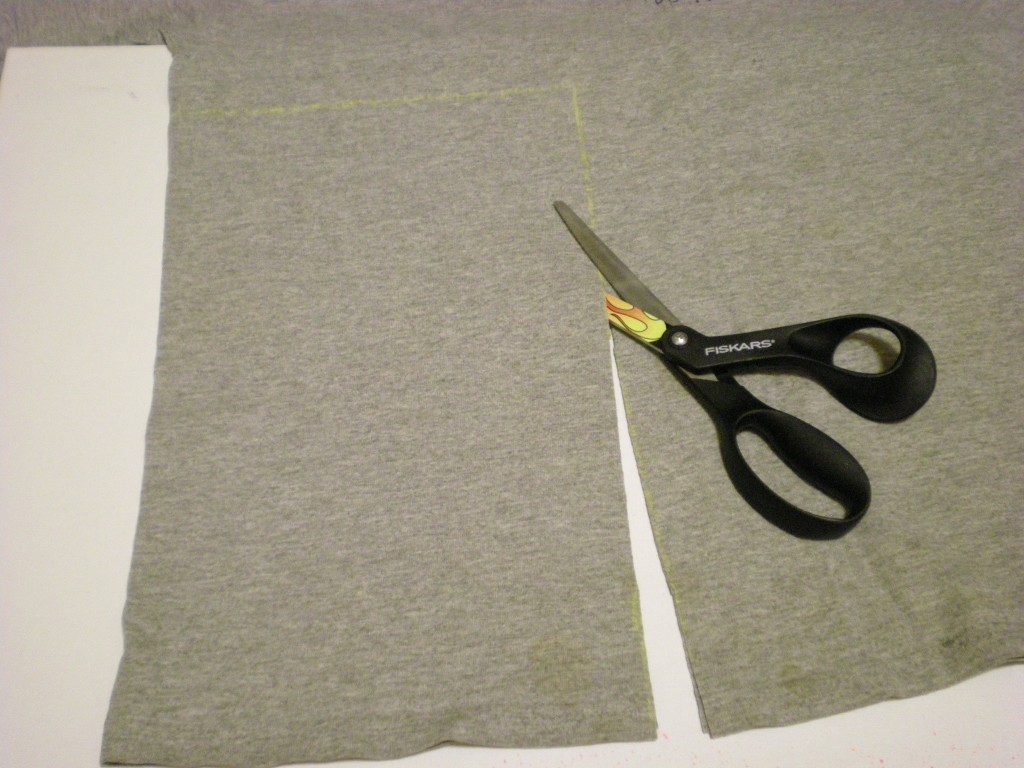
2. Use the fabric scissors to cut out the rectangle through both layers.

3. Cut open the side, along the fold of the shirt.

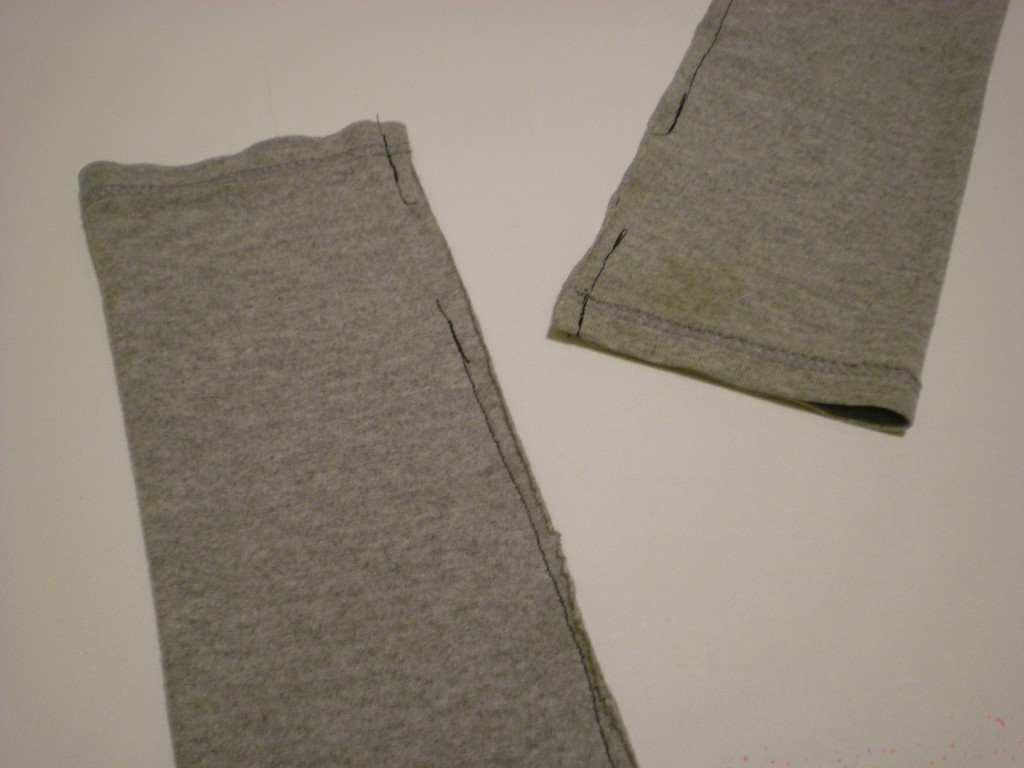
4. Fold each rectangle, right sides in, and make two marks along each of the open edges that measure 1 1/2″ and 3 1/2″ from the hem.

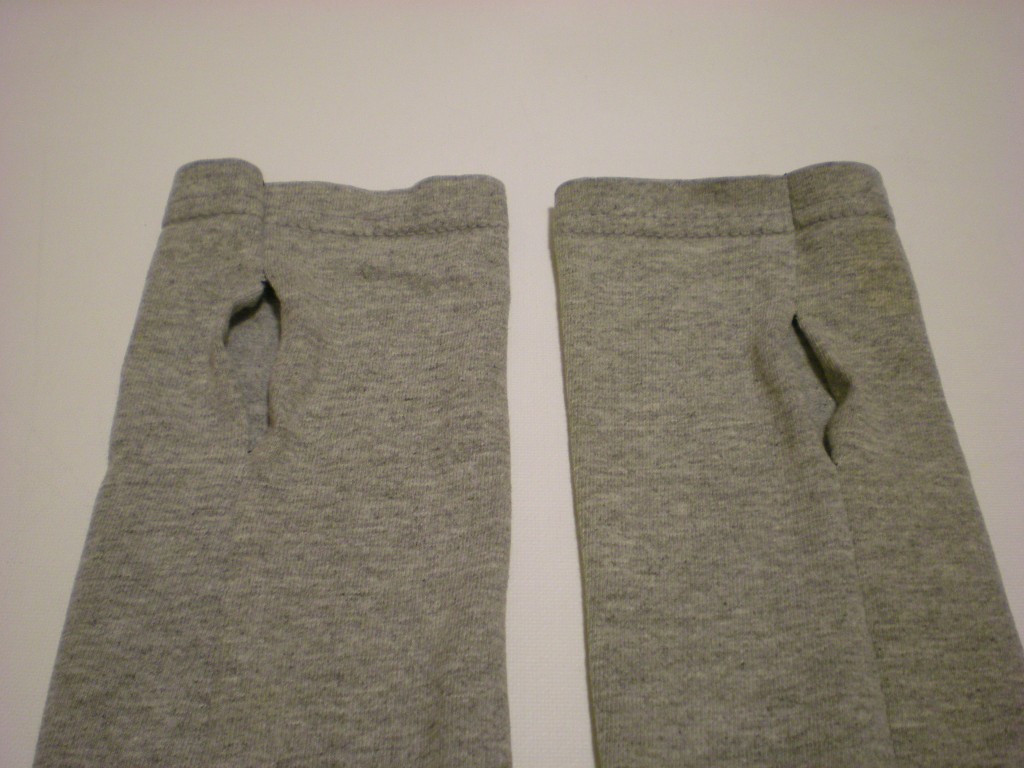
5. Stitch along the open edge, about 1/4″ from edge, leaving an opening (for the thumbs!) between the two marks.

6. Turn the arm warmers right side out and orient the thumb holes about one-third from the edge.

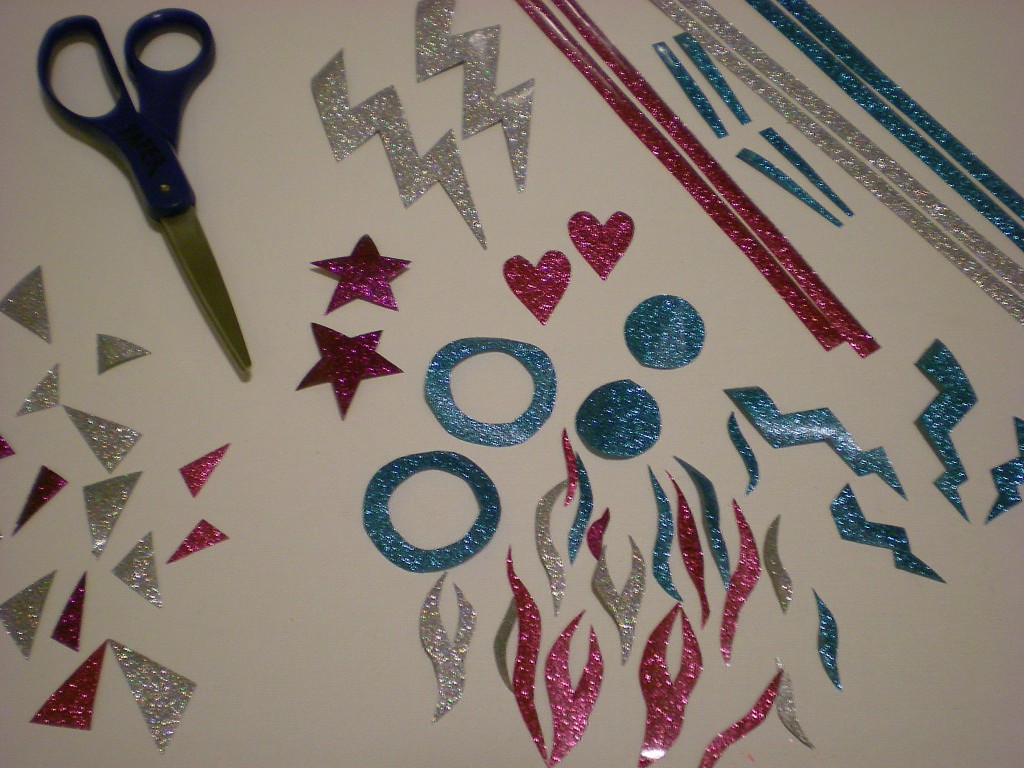
7. Use all-purpose scissors to cut out fun shapes from the iron-on glitter sheets (in pairs, if you want your arm warmers to match).

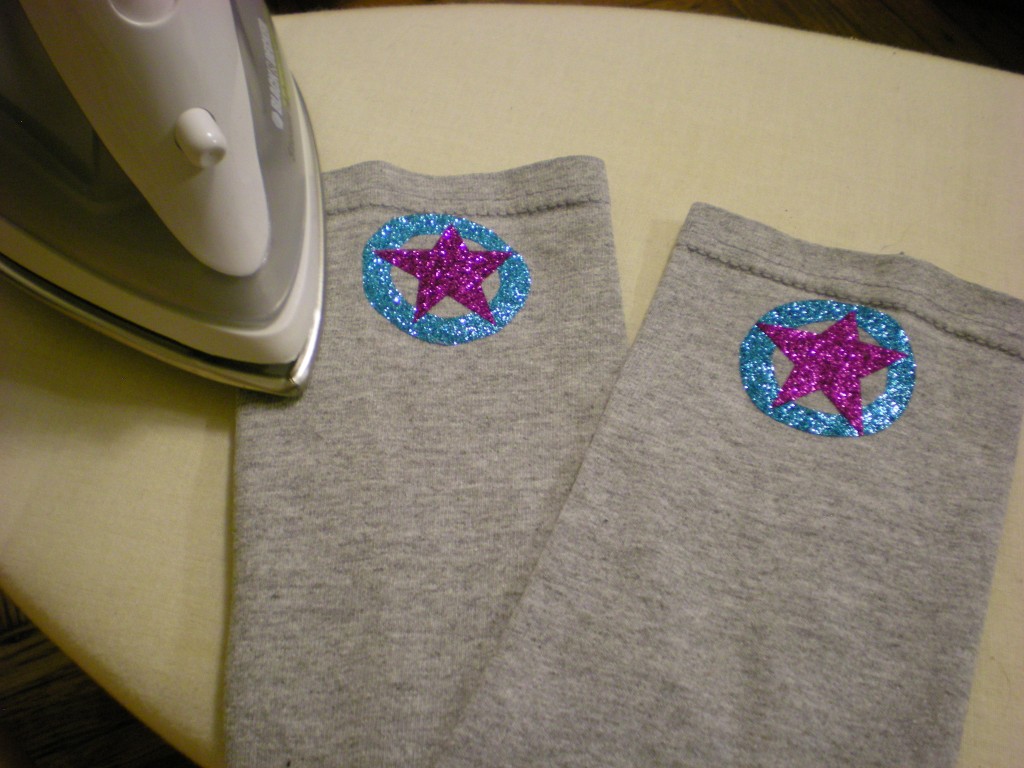
8. Keeping the arm warmers oriented as they were in Step 6, flip them over and arrange the glitter shapes near the hem. Peel away the shiny surface layer from the shapes, lay a pressing cloth over the arm warmers (being careful not to disturb the placement of the shapes), and press firmly with the iron for about 40 seconds. Repeat if necessary to set the glitter transfer.

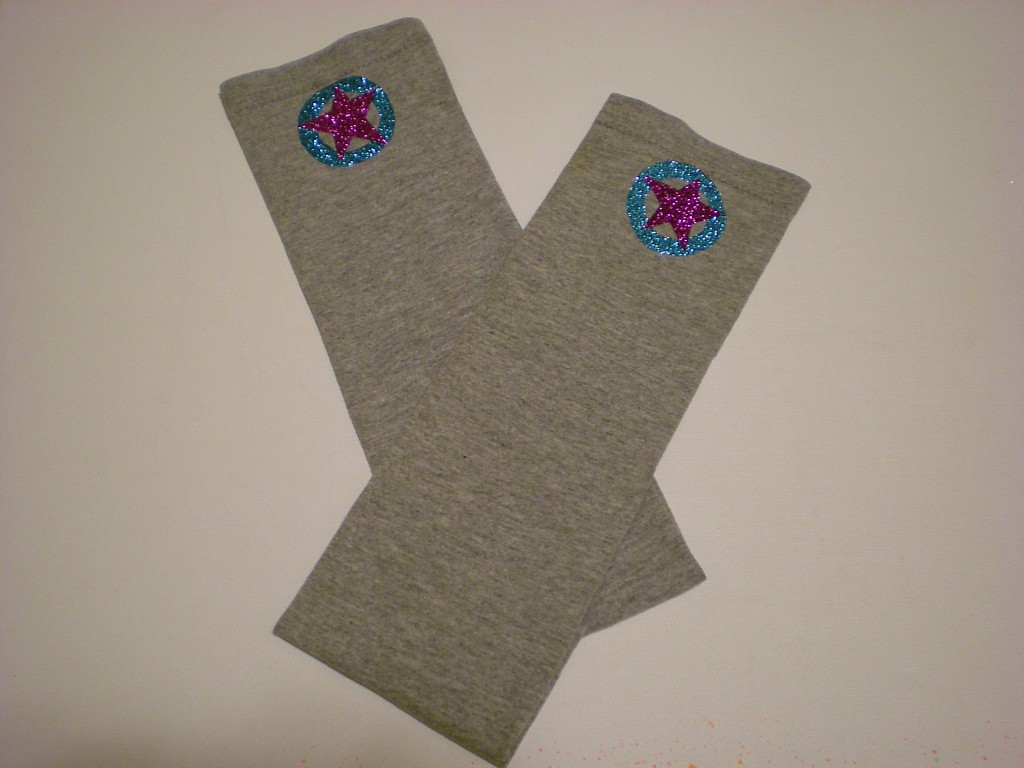
9. Turn off and unplug the iron. Try on your new pair of superhero arm warmers!

10. Use all the shapes you cut out in Step 7 to make more!

Optional: Use remaining T-shirt scraps to make a matching superhero mask or headband!


[ Comments Off on I Love to Create: Superhero Arm Warmers! | Posted on July 26th, 2011 ]