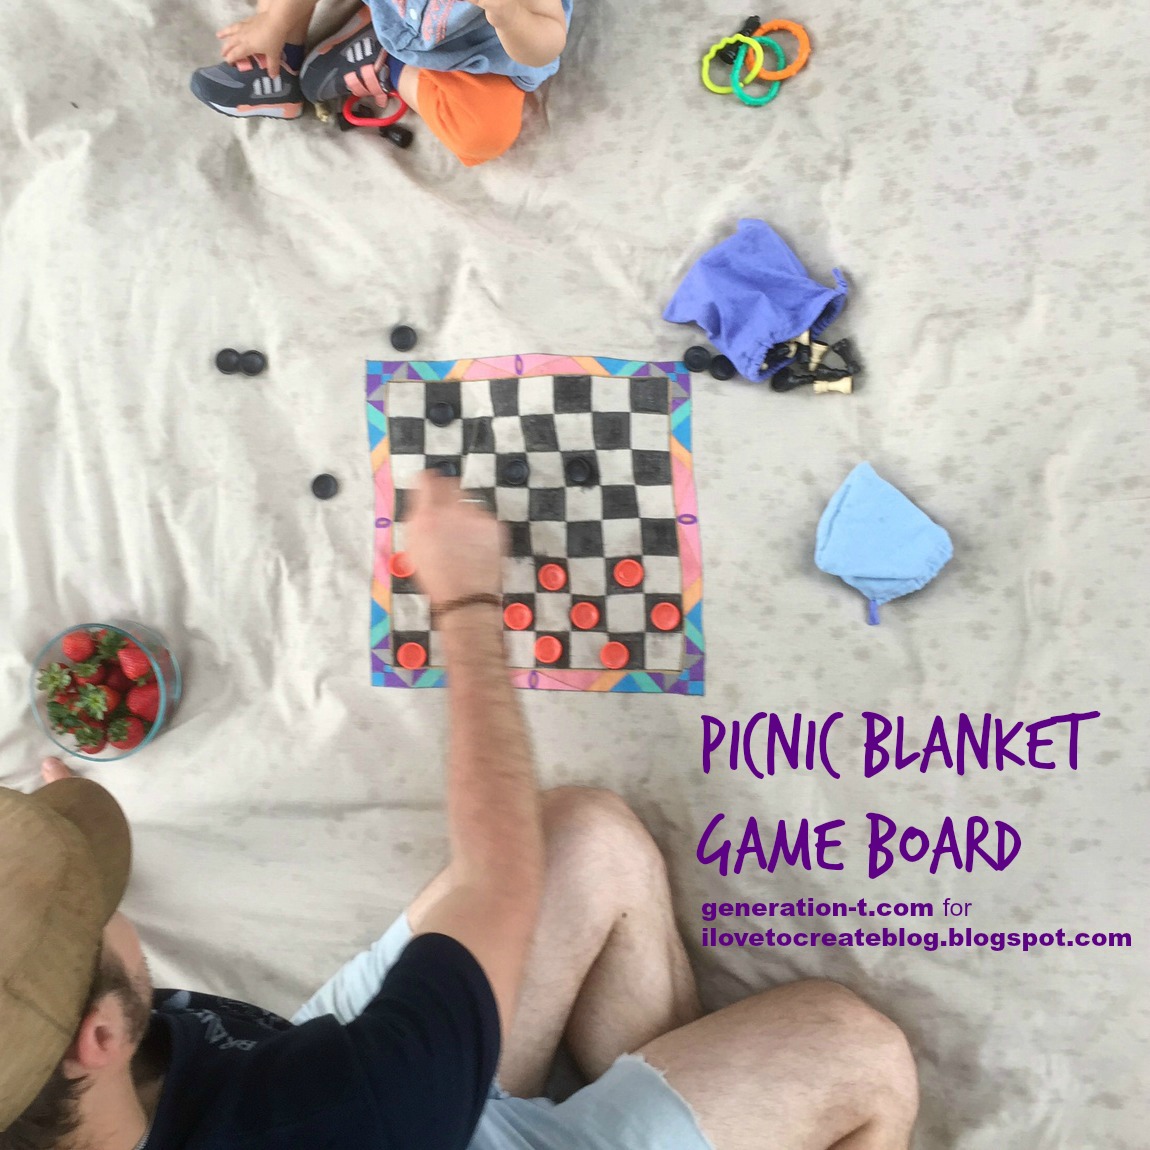
The only thing better than playing board games, in my opinion, is playing them al fresco (even if you find yourself caught in a passing shower!). And, though it’s hard to improve on a picnic, here’s my attempt. Grab an old flat sheet or a plain tablecloth and draw a checker/chess board, a tic-tac-toe grid, a Chinese checkers star, or a backgammon board.
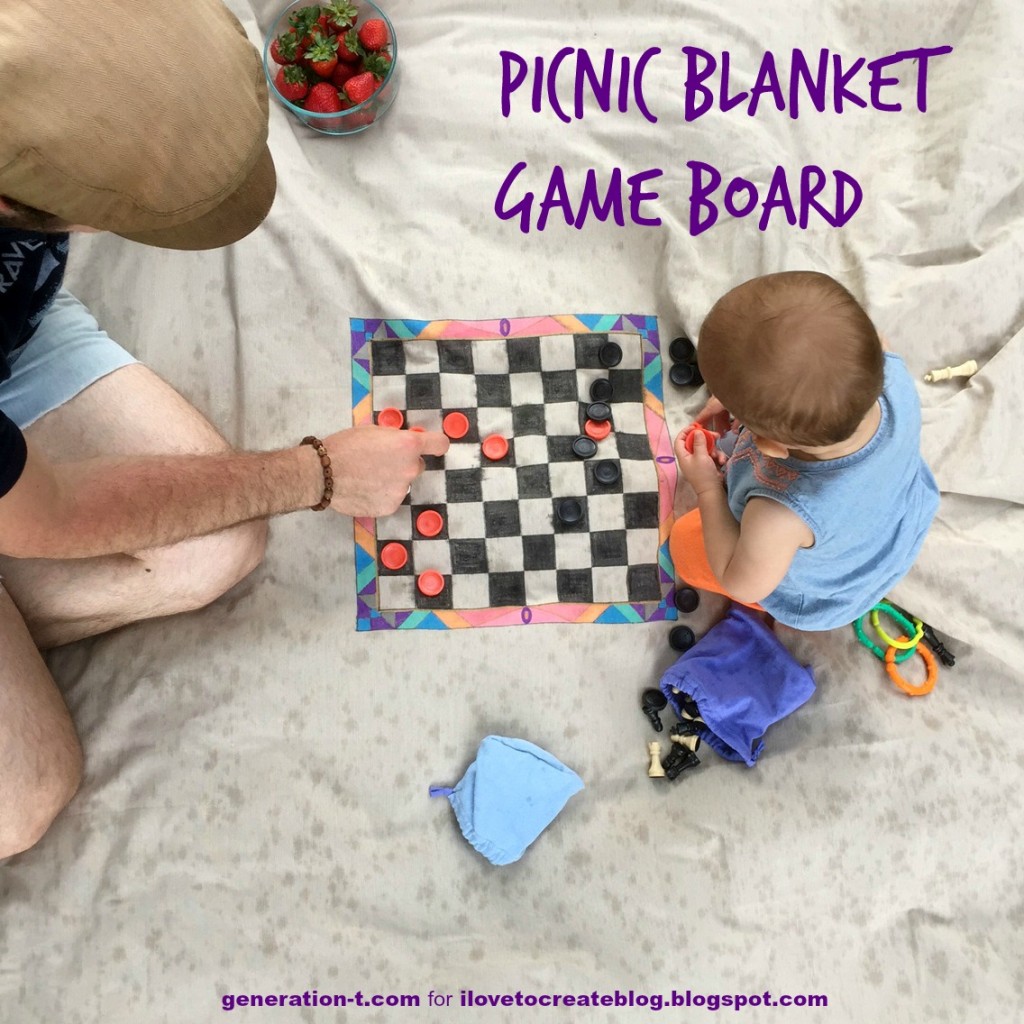
Then, when it’s time to picnic, grab the sandwiches and the game pieces and hit the park. Roll out the blanket (it works on the grass or on the picnic table), and it’s game on. Psst! Drawstring pouches for game pieces made from scrap T-shirt sleeves!

Materials:
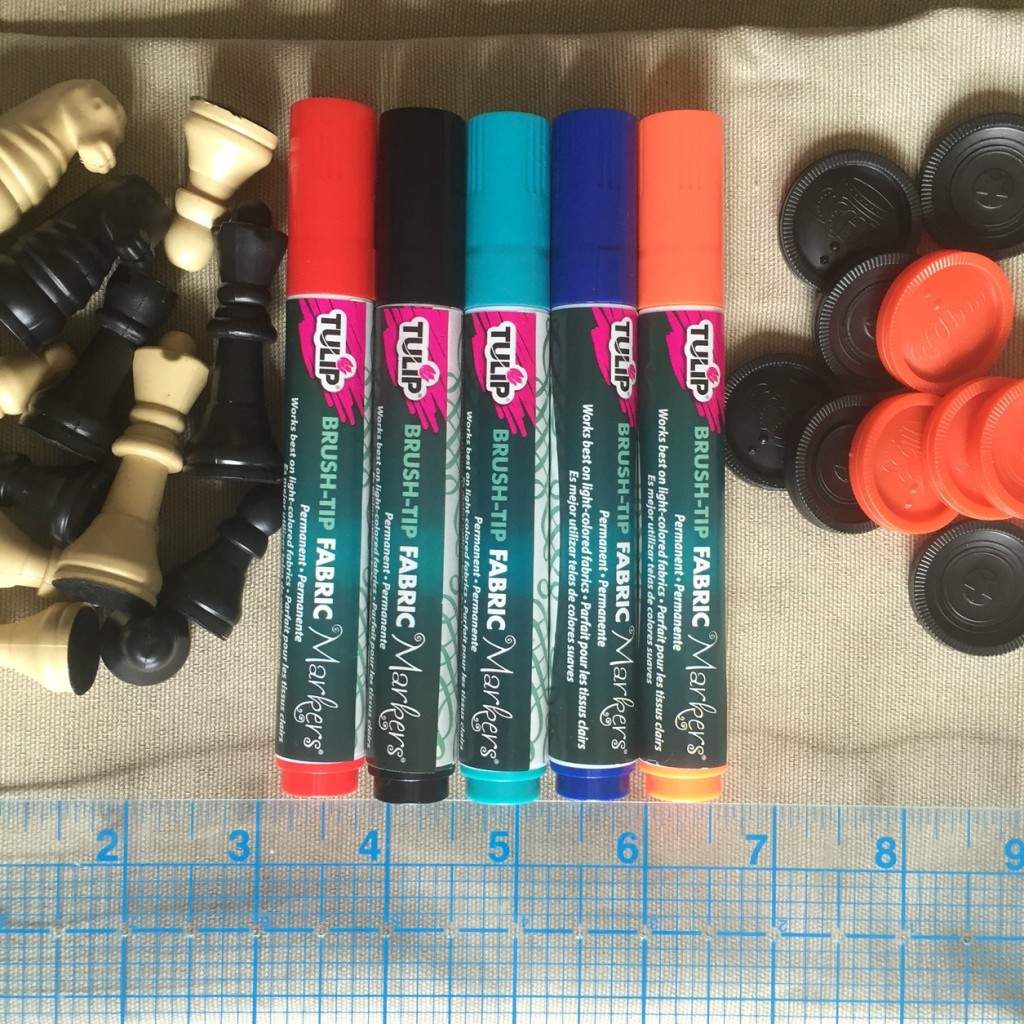
–Tulip Fabric Markers in a variety of colors and tips
-plain table cloth or flat sheet
-ruler
-checkers and/or chess pieces
-iron and ironing surface (optional)
Make it:
Click through to the iLoveToCreate Blog to get the full step-by-step tutorial!

*Note the T-shirt sleeve drawstring pouches for game pieces! (Use the hem of the shirt sleeve as the drawstring casing.)


")


")


