Well, I’ve started a tradition, serving all of you would-be Halloween revelers who are down to the wire when it comes to your costume. For the third year running (see year 1 and year 2 here), we have another 10 quick-and-easy T-shirt-based Halloween costumes. From the literary to the painterly, nerdy to the nostalgic, from pop culture to popcorn. In most cases, all you need is a blank T-shirt and some fabric paint or markers. First up, make a masterpiece in just a couple of hours — grab a frame and hit the trick-or-treating circuit!

MONDRIAN MASTERPIECE T-SHIRT
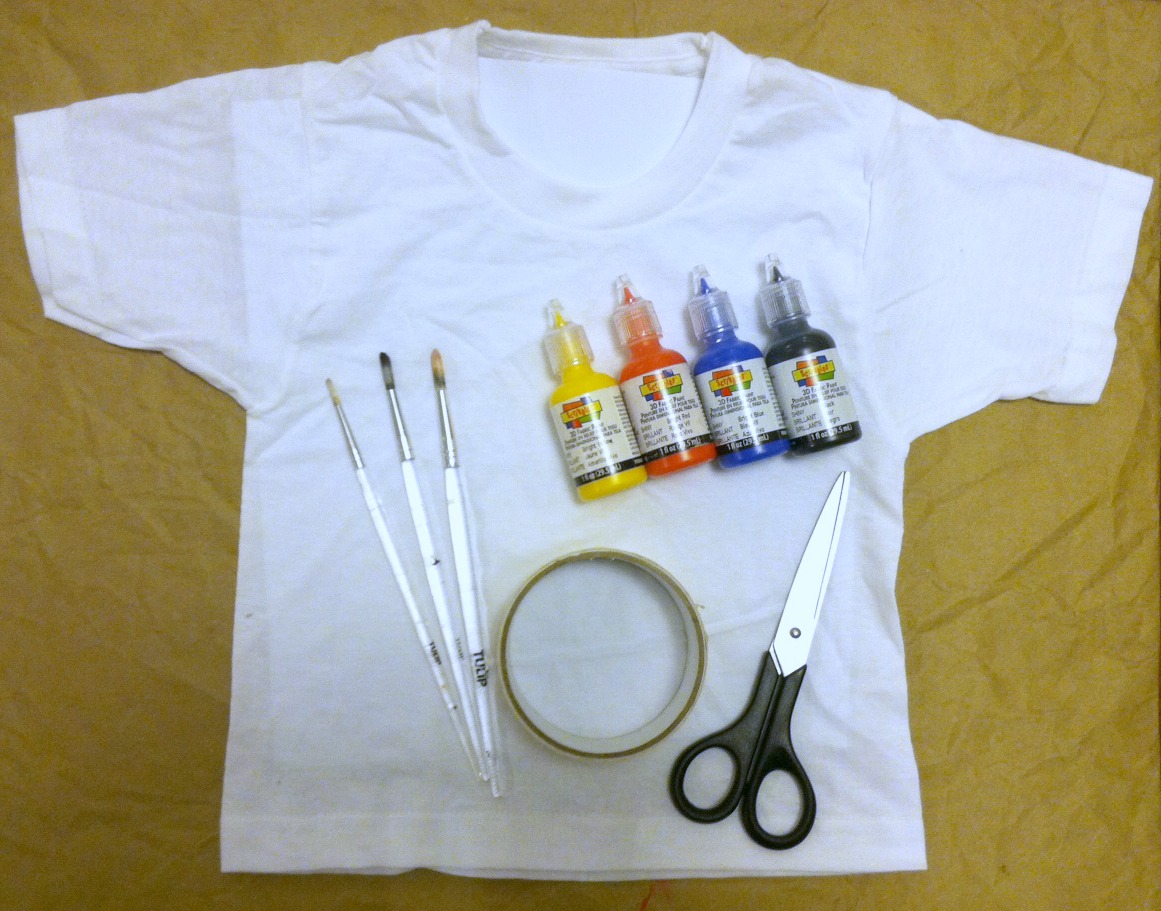
Materials:
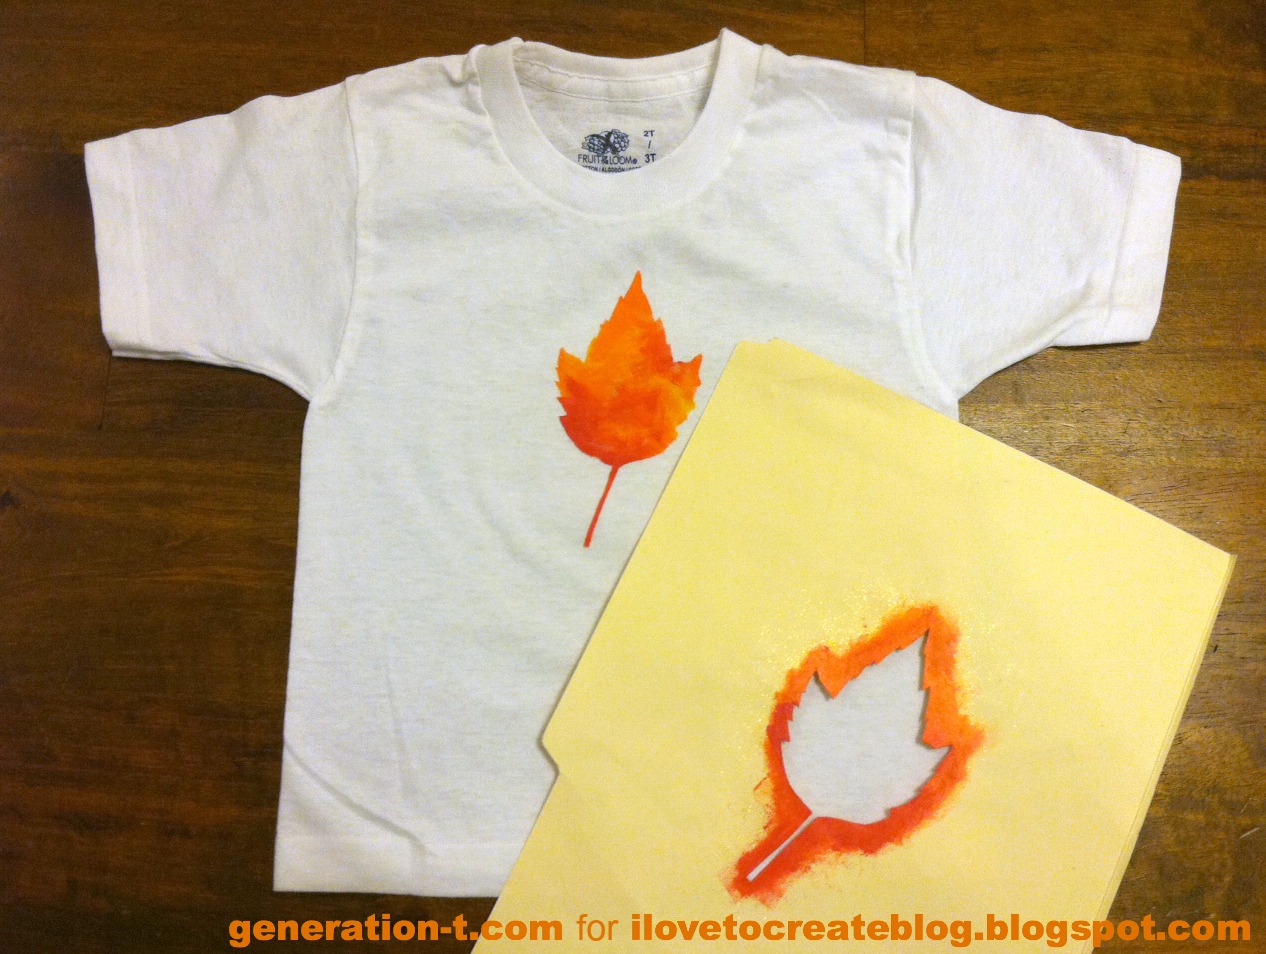
-Plain white T-shirt (since I’m making a Mini Mondrian, it’s size 2T)
–Scribbles 3D Fabric Paint (in black, red, blue, and yellow)
–Tulip Fabric Paintbrushes
-Scissors
-Masking tape
-Scrap paper (to insert between the layers of the T-shirt in order to prevent the paint from seeping through)
-Newsprint paper or similar (to protect your work surface)

Make it:
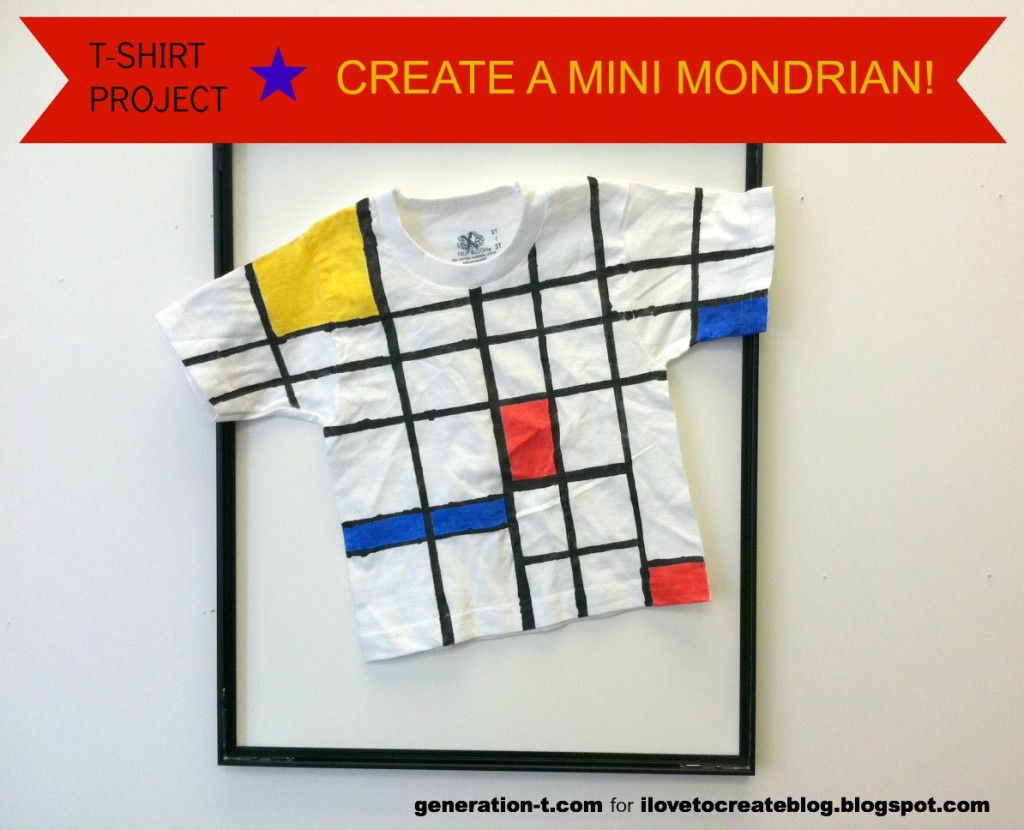
1. Visit the iLoveToCreate blog for the the full Mondrian Masterpiece Tutorial. See below for 9 more ideas for quick costumes!
—
AND NOW, WITHOUT FURTHER ADO, HERE ARE 10 COSTUMES TO MAKE WITH T-SHIRTS (starting with the MONDRIAN MASTERPIECE)
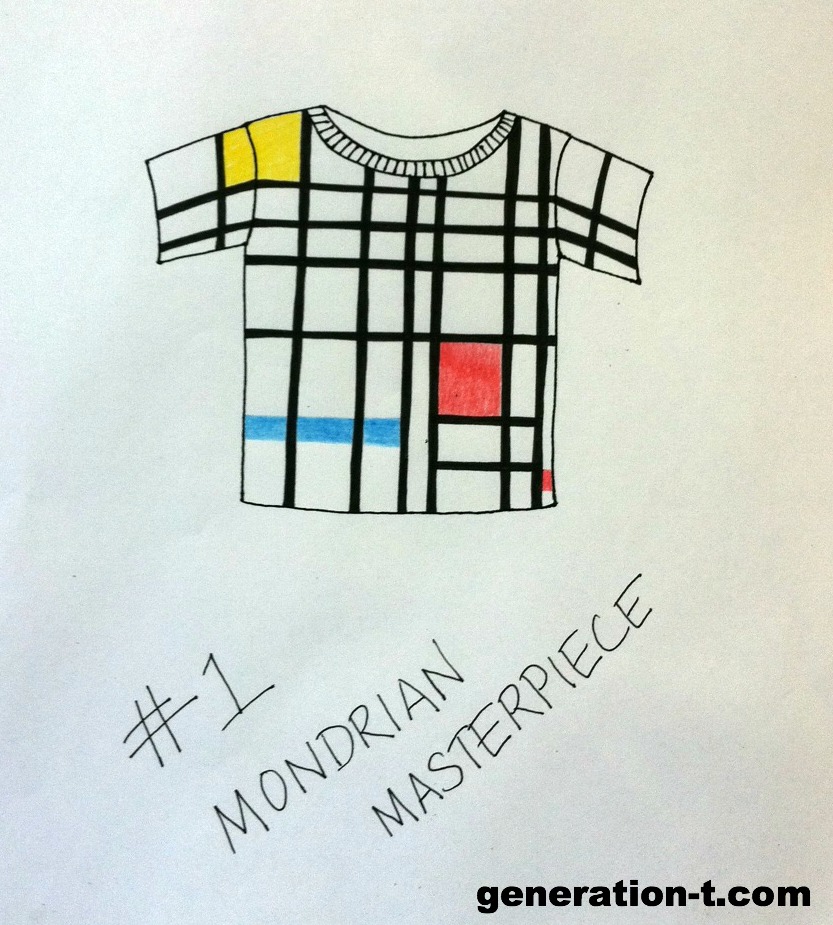
#1 Mondrian Masterpiece. Create a masterpiece! Or wear one inspired by the works of Piet Mondrian.
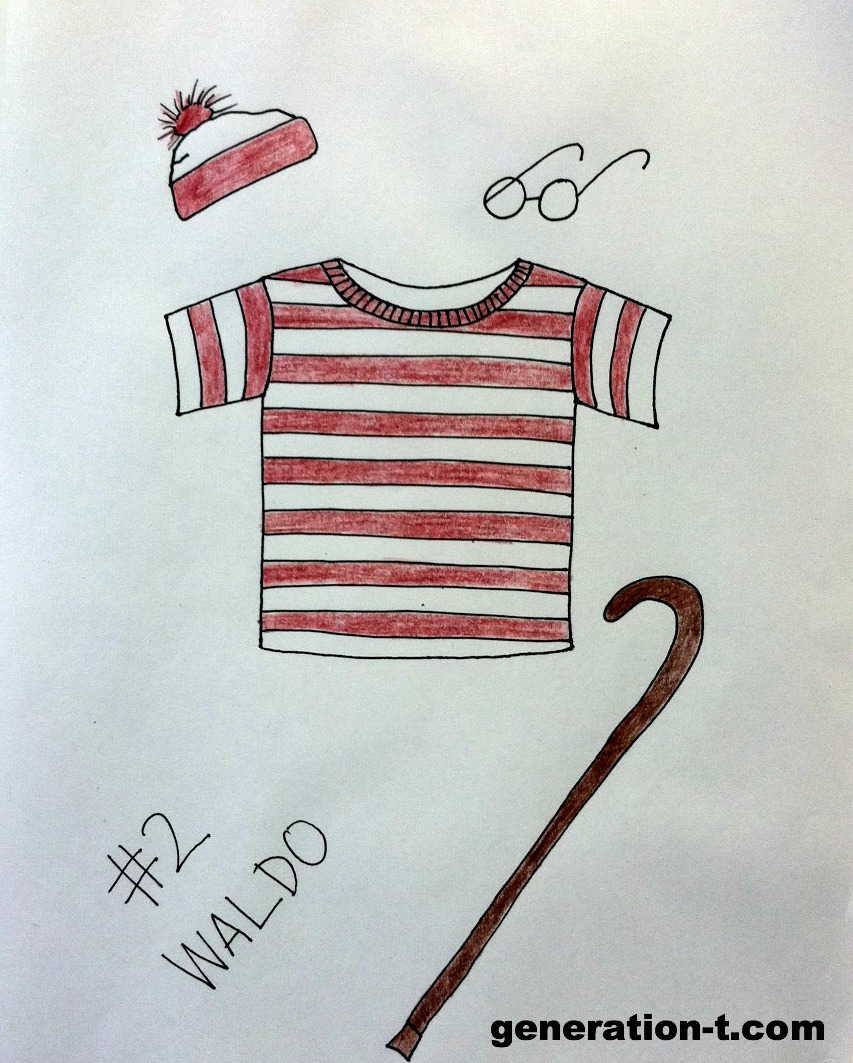
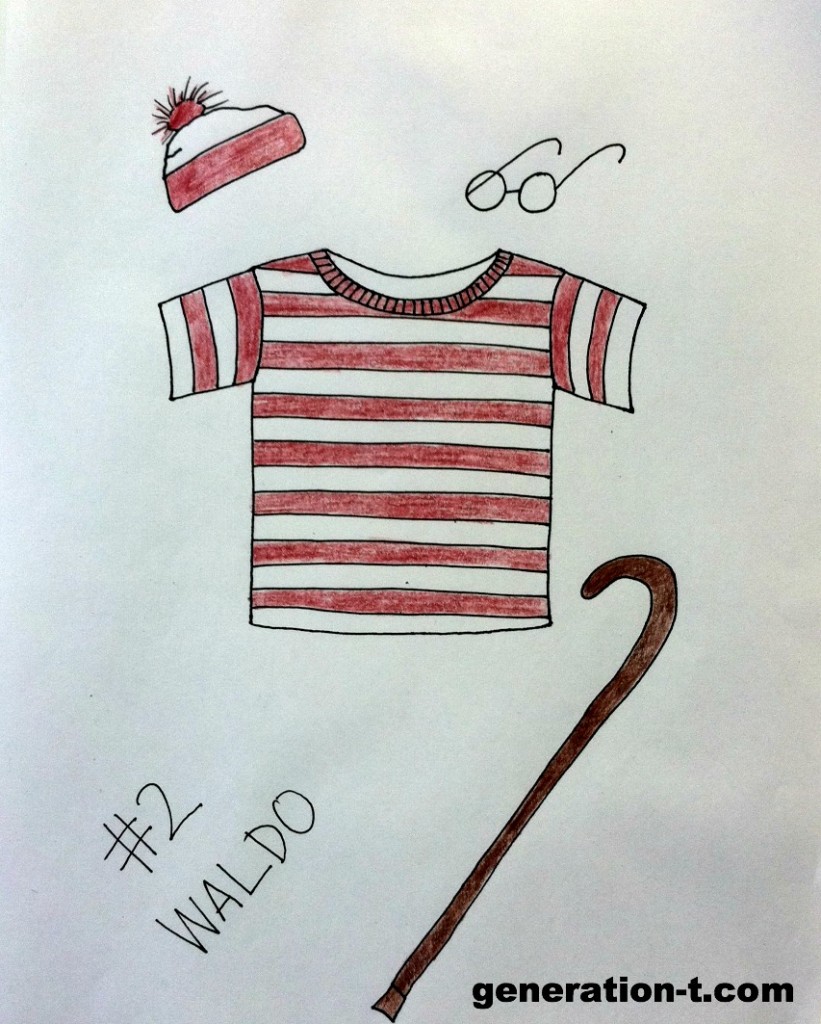
#2 Waldo. Dress in stripes to be the title character (or his pal Wanda) from the children’s classic Where’s Waldo? (You know, before Harry Potter came along to claim those round specs). Just pair with denim.
#3 Popcorn. There are plenty of a baby costumes for freshly popped popcorn (parents as popcorn vendors), but this T-shirt rendition is limited only by the size of your T-shirt.

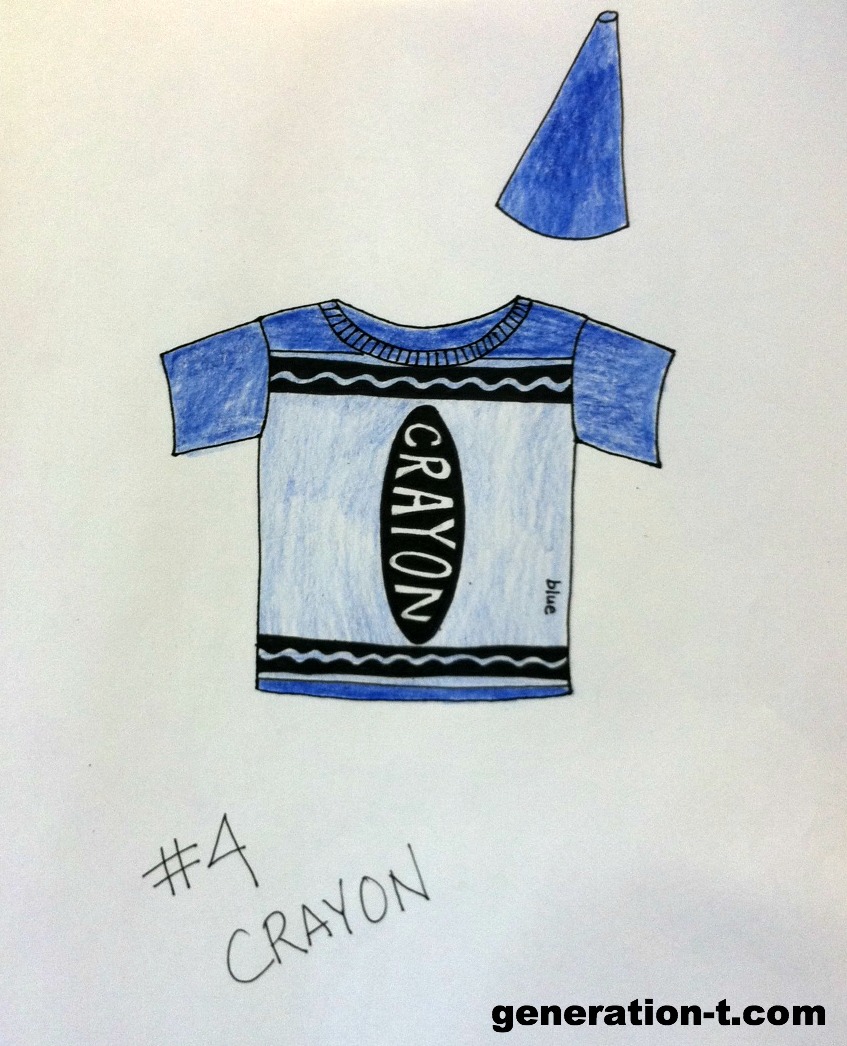
#4 Crayon. Go solo as a blue crayon (don’t forget the sharpened top of the crayon!) or grab your friends and make a whole box of crayons.

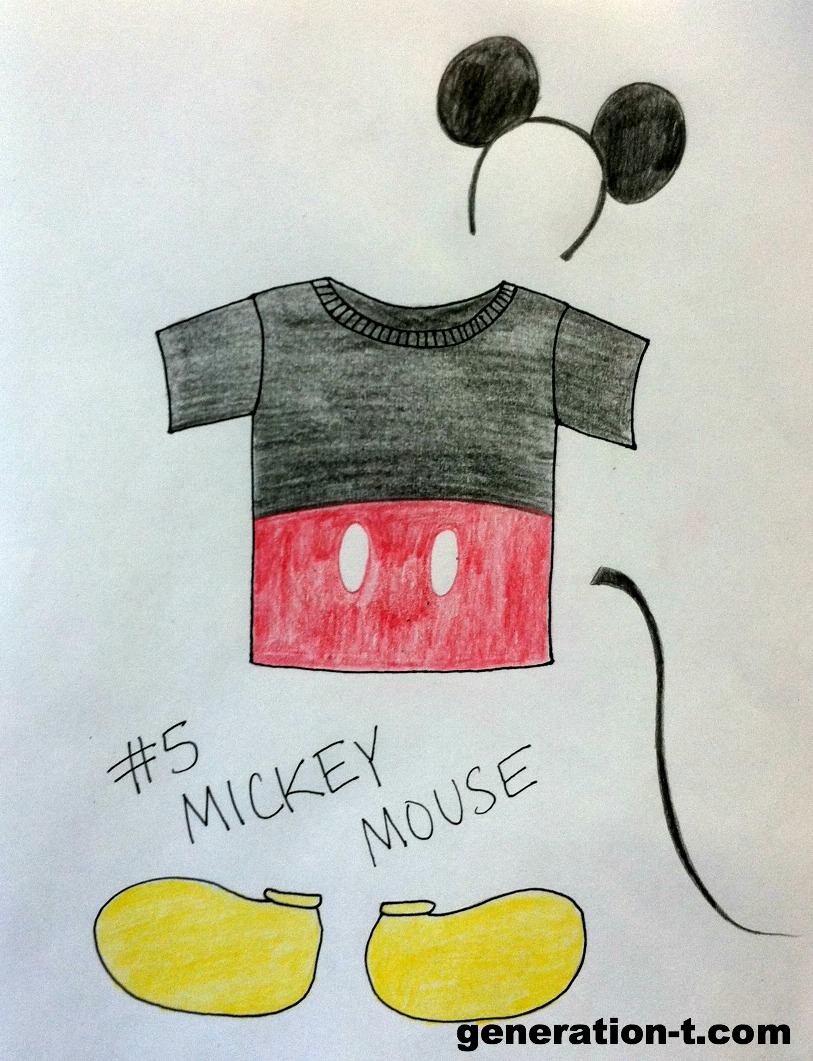
#5 Mickey Mouse. Recognizable a mile away, add a pair of ears to top off this costume (and some yellow sneakers wouldn’t hurt either!). Swap out the bottom of the T-shirt for red with white polka dots for Mickey’s main squeeze, Minnie. 
#6 Ketchup and Mustard. For couples, roommates, or other easily paired people, it’s everyone’s favorite condiments!

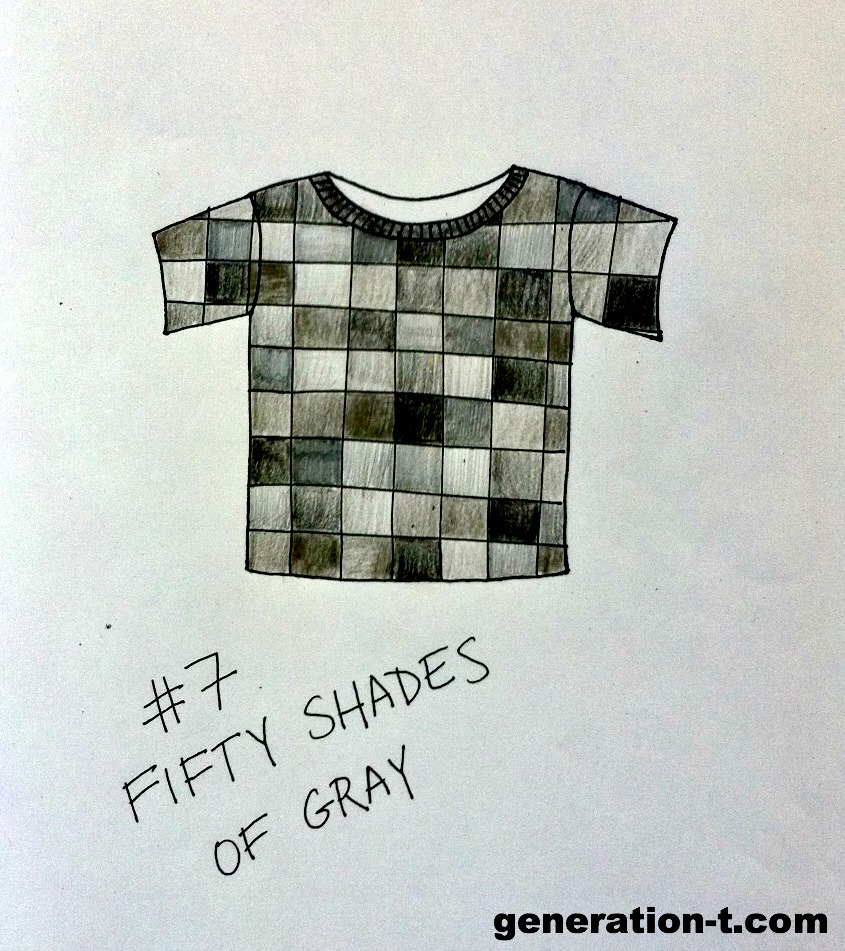
#7 Fifty Shades of Gray. A tame version of Fifty Shades of Gray that you could wear around the office. Alternatively, attach the actual Pantone color swatches all over the surface of the T-shirt.
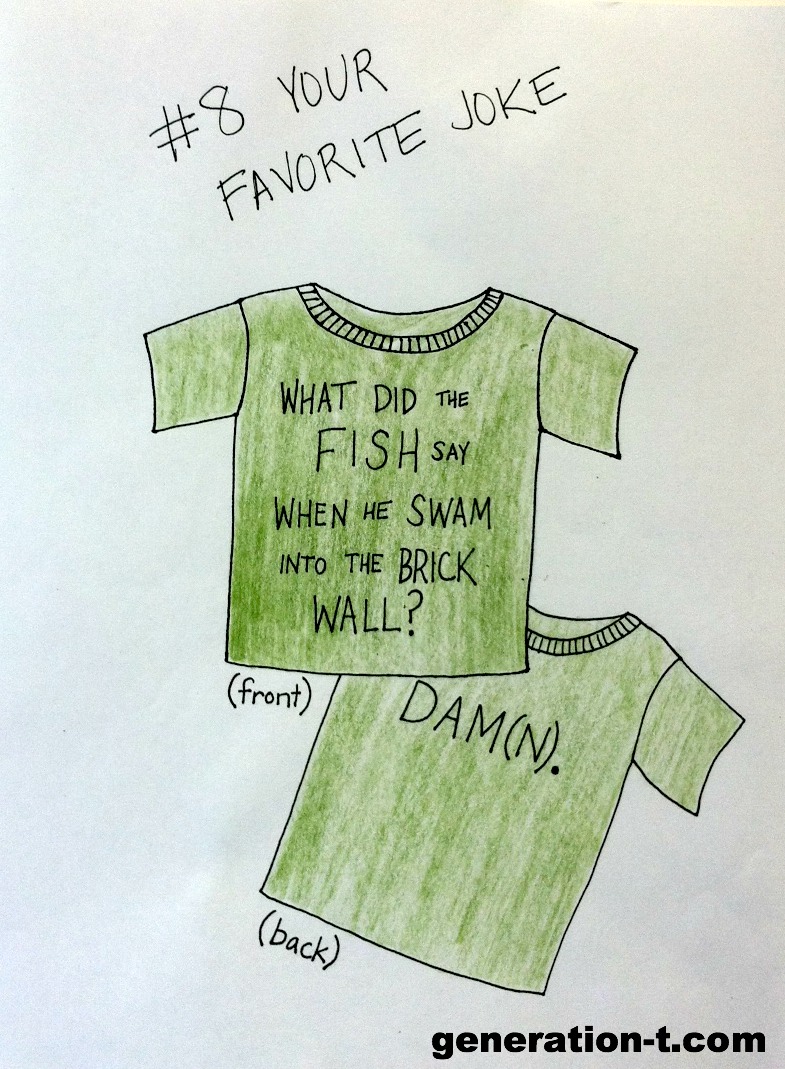
#8 Your Favorite Joke. I used my all-time favorite joke. But you should insert your own: Setup on the front, punchline in back!
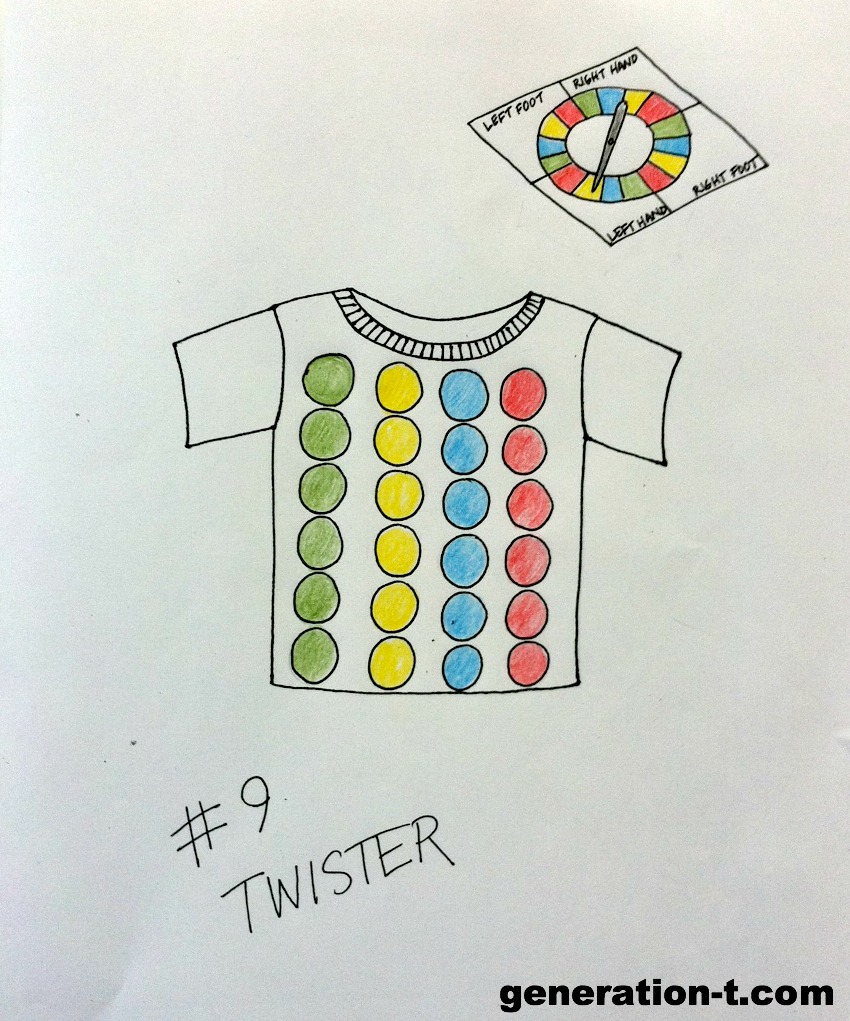
#9 Twister. Twister falls into that beloved classic family game category with the likes of Sorry!, Scrabble, and Pictionary. Fashion the spinner into a headpiece to complete the look!
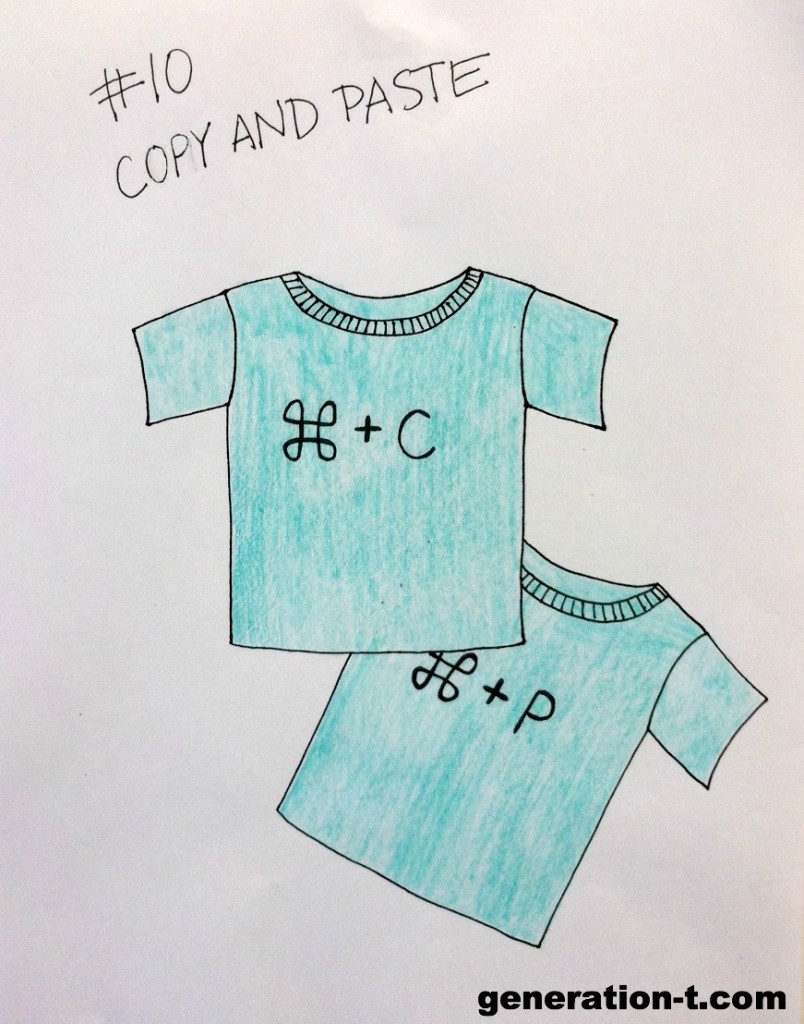
#10 Copy and Paste. Nerd alert! Perfect for twins (or bestie lookalikes), “Copy” and “Paste” (for Macs). Slight modifications (Ctrl + C and Ctrl + V) should be made for PCs.
Safe and happy haunting!