Last month, in preparation for the holiday party circuit, I shared the tutorial for the Softie Spiral Headband. This month, I’m making headgear for the younger generation. 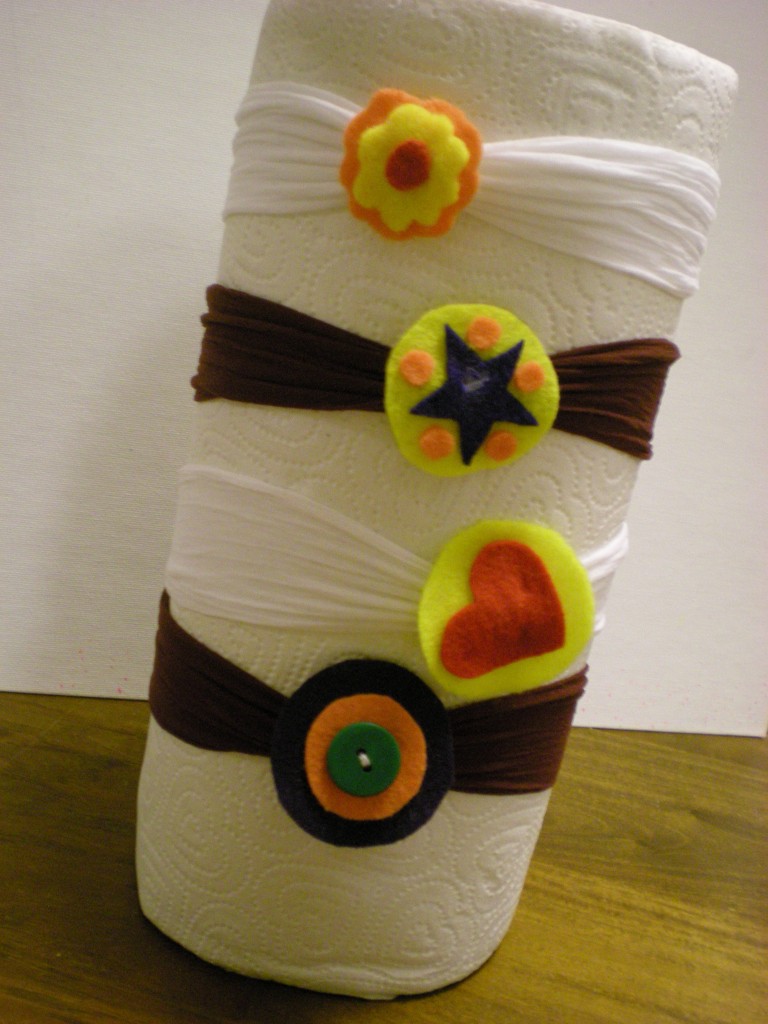 These headbands, inspired by a project from one of my favorite books, Crafty Mama, are for my four-year-old niece (though I’m not a Crafty Mama, the Crafty Auntie title is one I take very seriously).
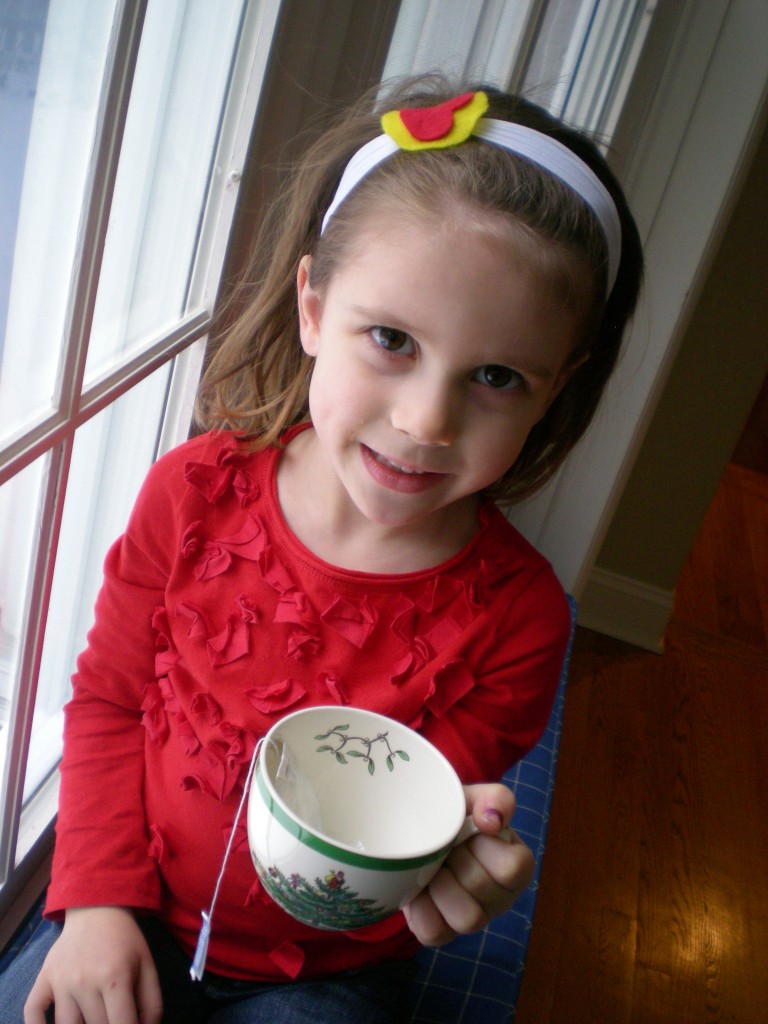
The back story is that my niece is attempting to out her bangs (I tried it, too, at her age — until I had that perfectly disastrous alignment of mom-on-the-phone, scissors-in-hand, and an oh-so-brilliant scheme to rid myself of my bangs far more quickly: I cut them off completely). My niece is more patient than I, but the available solutions to bangs-in-the-face either poke (plastic or metal-based headbands), prod, or pull (barrettes), or are too tight or too loose. In other words, the classic Goldilocks situation. But these stretchy soft headbands are just right. (A Christmas morning photo offers up the results — scroll down to the bottom, since the paper towel roll just doesn’t do the headbands justice!)
Materials:
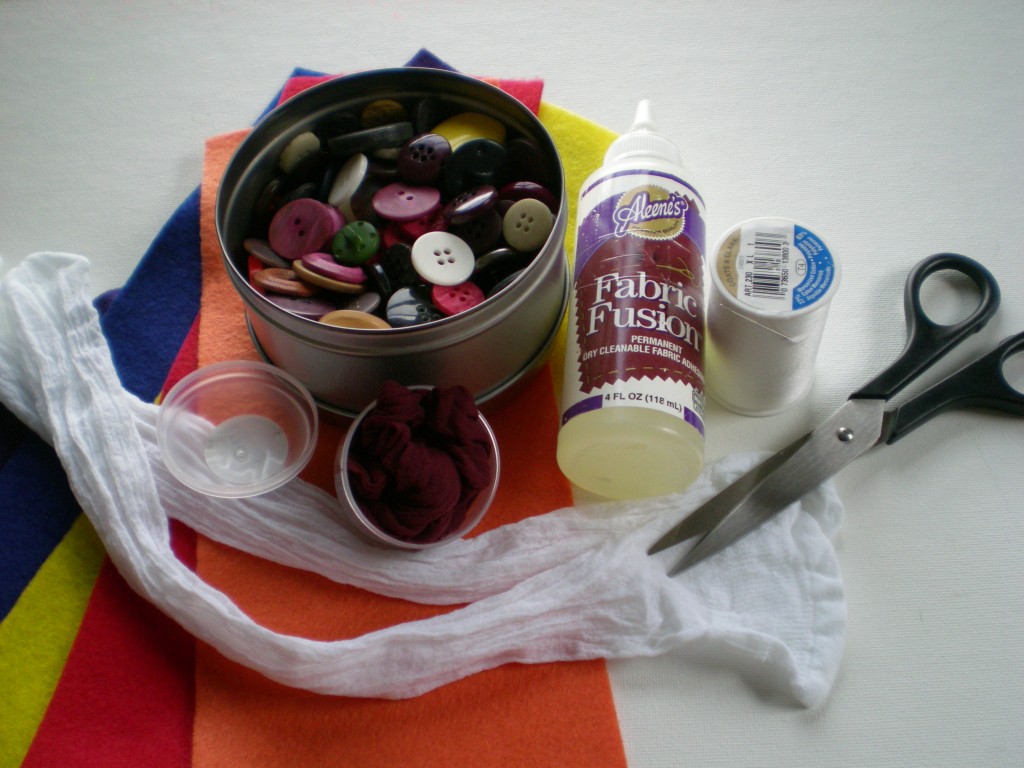
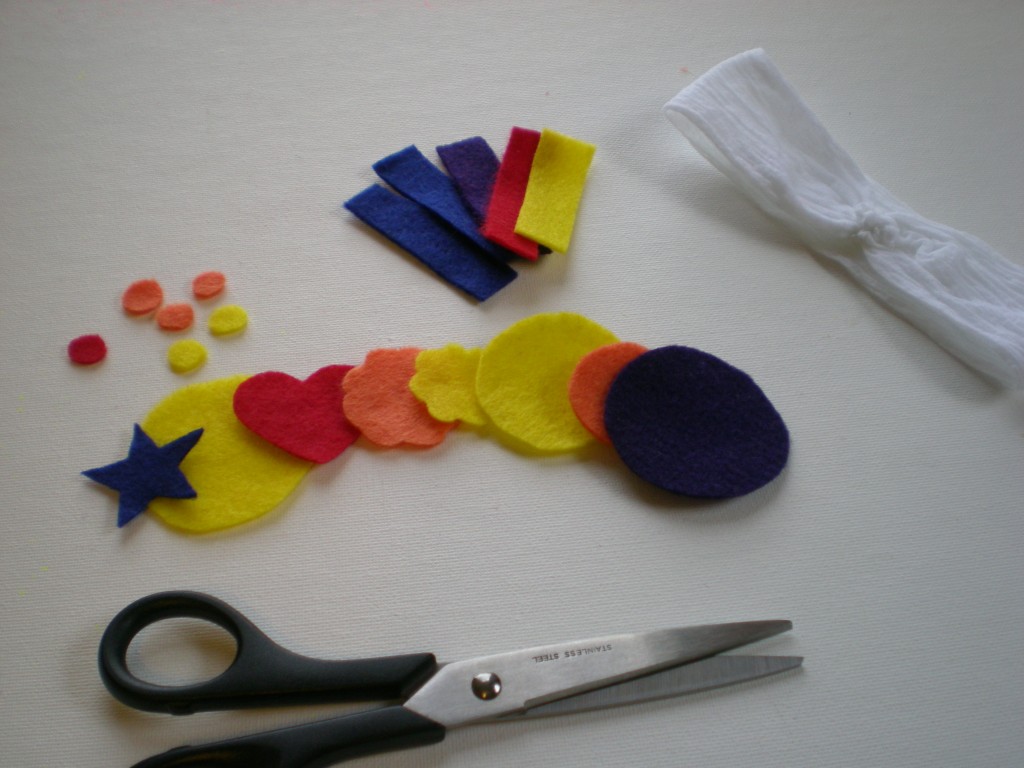
-package knee-high stockings (1 stocking makes 1 headband)
-scissors
-needle and thread (color to match the stockings)
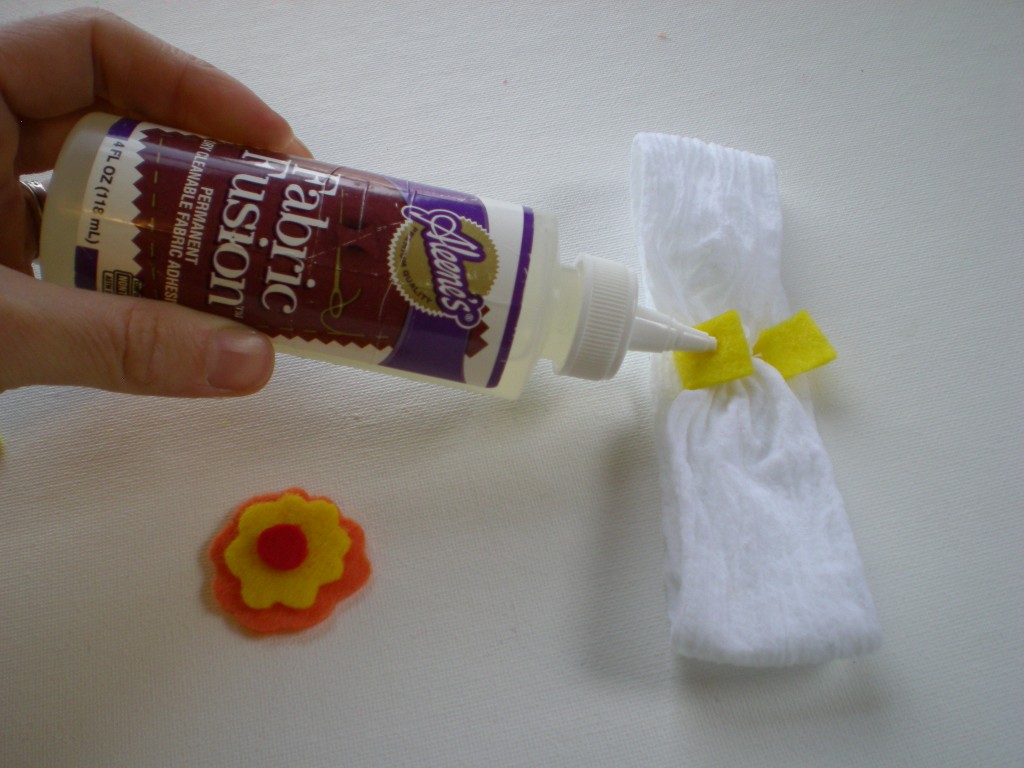
–Aleene’s Fabric Fusion Permanent Dry Cleanable Fabric Adhesive
-colorful felt pieces
-buttons (optional, for embellishment)
-clothespins (optional, for clipping in place while gluing/drying)
Make it:
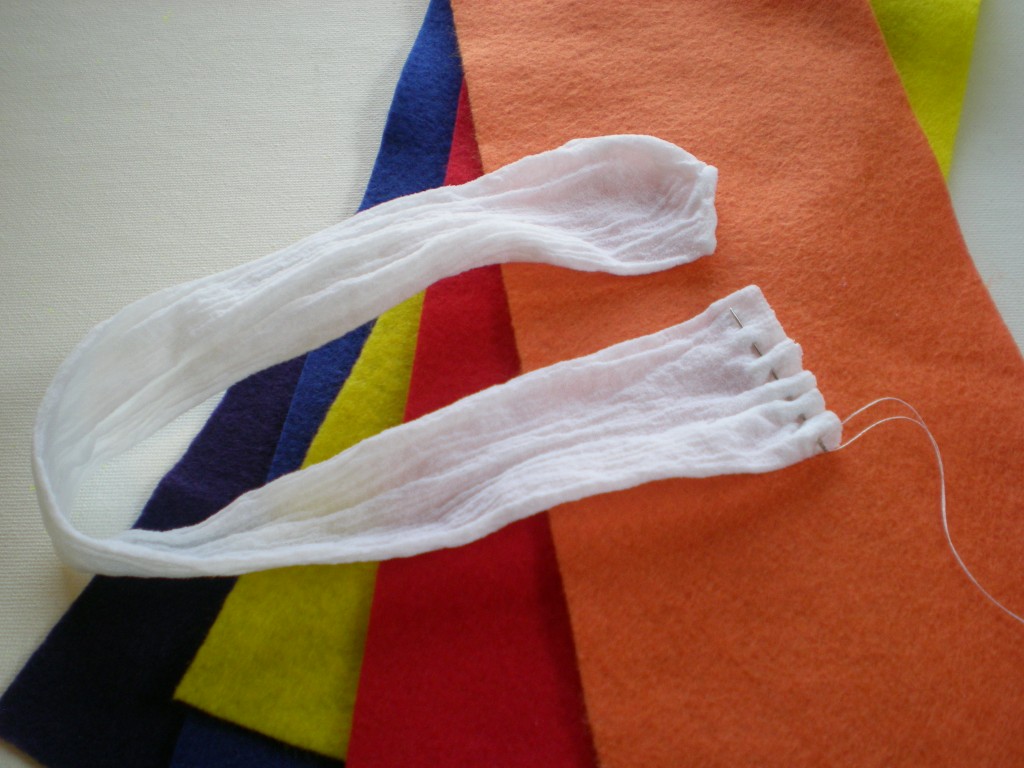
1. Remove the stockings from the packaging and stretch them out. Cut about 1″ off the top of one stocking and set it aside. Thread the needle, knot the end, and make a running stitch about 1/4″ from the cut end of the stocking.
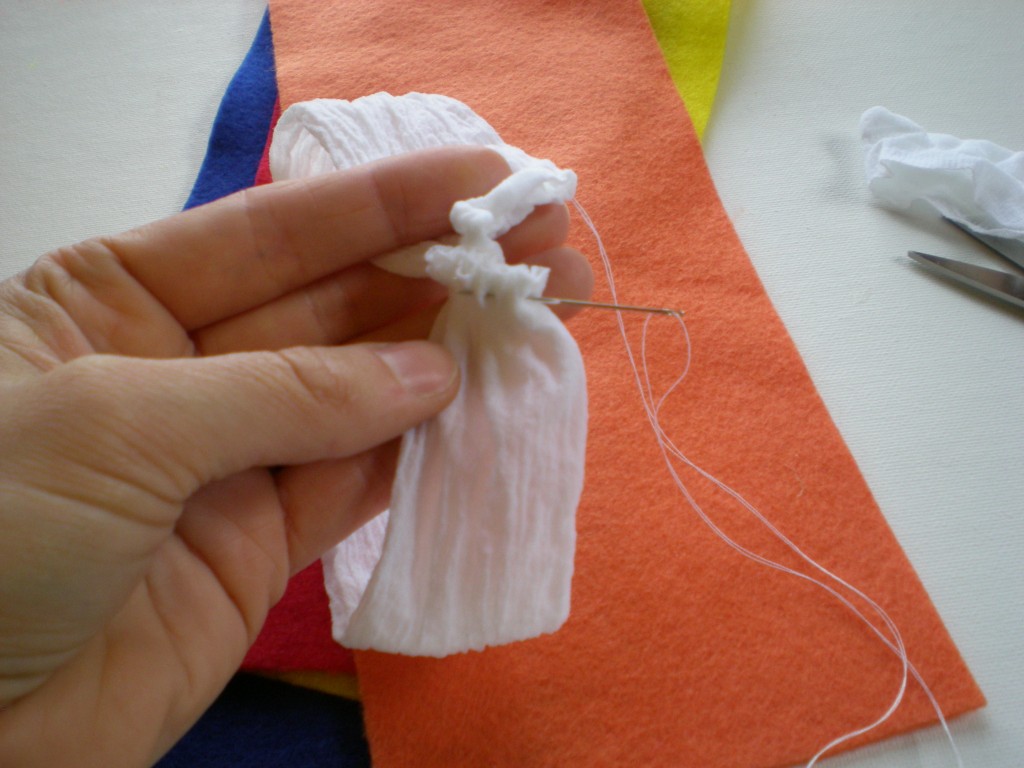
2. Sew a running stitch along the toe end of the stocking and gently pull the thread to gather the two ends of the stocking together, forming a loop. Make a few more stitches to secure the ends, and knot.
3. Set the loop (the headband) aside, and cut decorative shapes from the felt pieces. Cut several felt strips about 1/2″ by 3″.
4. Wrap one felt strip around the gather on the headband (to hid the stitching and provide a base for the embellishment). Apply glue liberally to the ends of the strip and fold them over each other. Let dry, and reapply glue as needed. (Felt is a very porous fabric, so the glue gets absorbed easily.) While the glue dries on the headband, mix and match felt shapes to make embellishments. Optional: Add buttons, glitter, ribbon, even fabric scrapbook embellishments to personalize the headband.
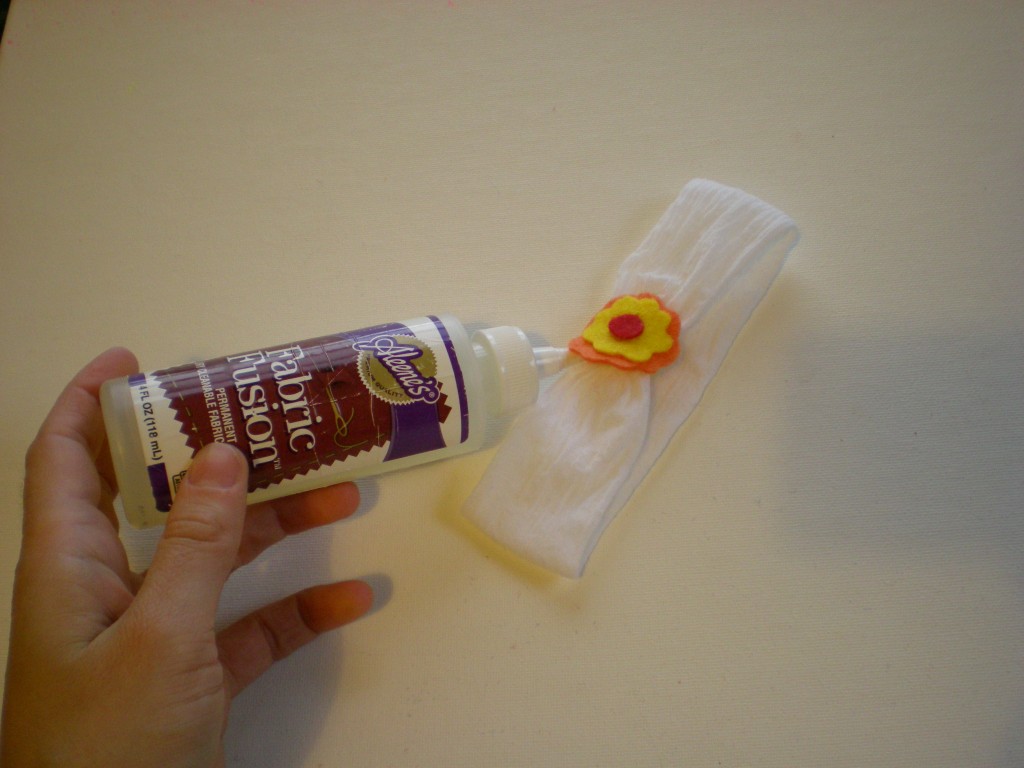
5. Glue the felt embellishment over the felt seam and let dry. (Again, apply that glue liberally!)
6. You’re done! The stocking headband now becomes the perfect stocking stuffer! Or skip straight to the wearing part — with no complaints of pulled hair, and no shaggy bangs covering up her sweet little face! Tea party, anyone?
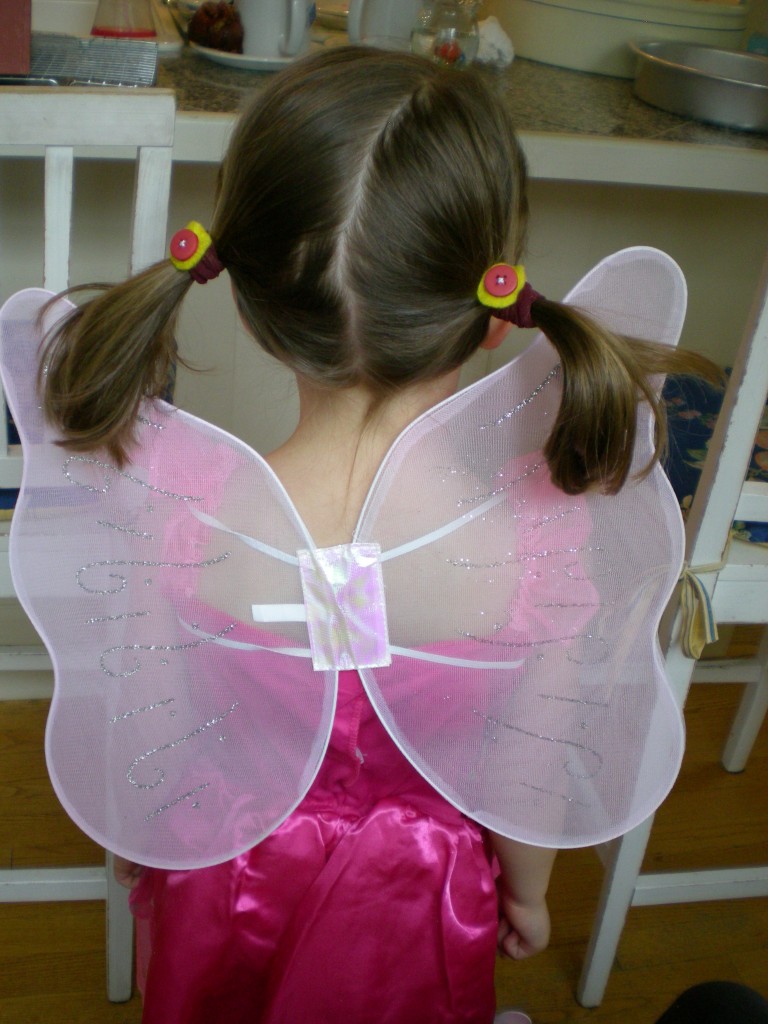
Bonus: Remember the 1″ bit of fabric you cut off the top of the stocking in step 1? Follow steps 4 and 5 to make No-tug Hair Ties! Perfect for taming pigtails, ponies, and braids. (Fairy wings come separately!)
Double bonus: If you buy your stockings at the pharmacy or the dollar store, they often come in little round plastic containers that can easily be converted into a simple cat toy — drop a button inside, snap it tightly closed, and roll it across the floor.
Tags: crafty aunt, crafty mama, DIY gifts, DIY hair accessories, felt, headband, iLoveToCreate, nylon stockings
[ Posted on December 28th, 2010 ]



Wow, Megan!!! That’s one adorable headband….I wish you could have posted that tutorial when I grew my bangs out in grade six–I had to use this awful, sticky mousse that made my hair rock-solid, lol. Anyway, that’s all over, I haven’t had bangs for more than half my life now, so what’s done is done, but…..do you think you could post a tutorial on how to make fairy wings?
Hi Megan,
I took 2 knee highs and made a headband with a bow. I left the end on which is the bow. How was your nieces shirt made? I have both of your books.
Thanks
@Emily I don’t have a fairy wings tute to share just yet, but in the meantime, here’s a great one! http://www.instructables.com/id/DIY-Fairy-Wings-HOW-TO-and-BONUS-Costume-Essential/
@A Moms Choice: Your version of the headband sounds very cute! My niece’s shirt was store-bought, but it could be easily made with a plain shirt and stitched-on folded T-shirt circle scraps…perhaps for a future tutorial, too!
Megan….it’s Random Acts of Kindness week over at International House, and I made one of these headbands for my “secret friend.” The only thing I did differently was, instead of gluing on shapes cut out of felt, I made a “Flower Power” blossom from your first book, and sewed it onto the headband. Then I made a matching headband for myself, to wear to the big reveal before evening snack on Tuesday night (it’s a “small gifts each day until the reveal” kind of deal). Anyway, the headbands look pretty cute, they’re black with pink flowers on them–I used the scrap pantyhose from my spider costume I made for Halloween, and a scrap sleeve from the pink drawstring tank top that I made for one of my old housemates as an early Christmas gift. I can’t post a picture on Facebook right now, because my “secret friend” might see it, but I can show you after the reveal.
Hope the headband went over well!