Posts Tagged ‘tie-dye T-shirts’

DIY No-Sew Laced Up Tank Top

Mark your calendars: October is National Breast Cancer Awareness Month. Whether you walk, run, or responsibly conduct a breast self exam for the cause (do it once a month!) here’s a T-shirt transformation tutorial (plus a bonus throwback at the end!) to honor all of you making a difference and supporting those affected by breast cancer.

OuterLace Tank Top finish

Just set aside an old baggy T-shirt, a pair of scissors, and in 10 minutes you’ve got yourself a fitted tank top (inspired by the Outer Lace tank top in Generation T: 108 Ways to Transform a T-shirt). Get the team together and tie-dye and snip your way to its completion, then wear it for yourself, or wear it for a loved one–I know I will be!

megan-nicolay-blog-footer-1

Materials:
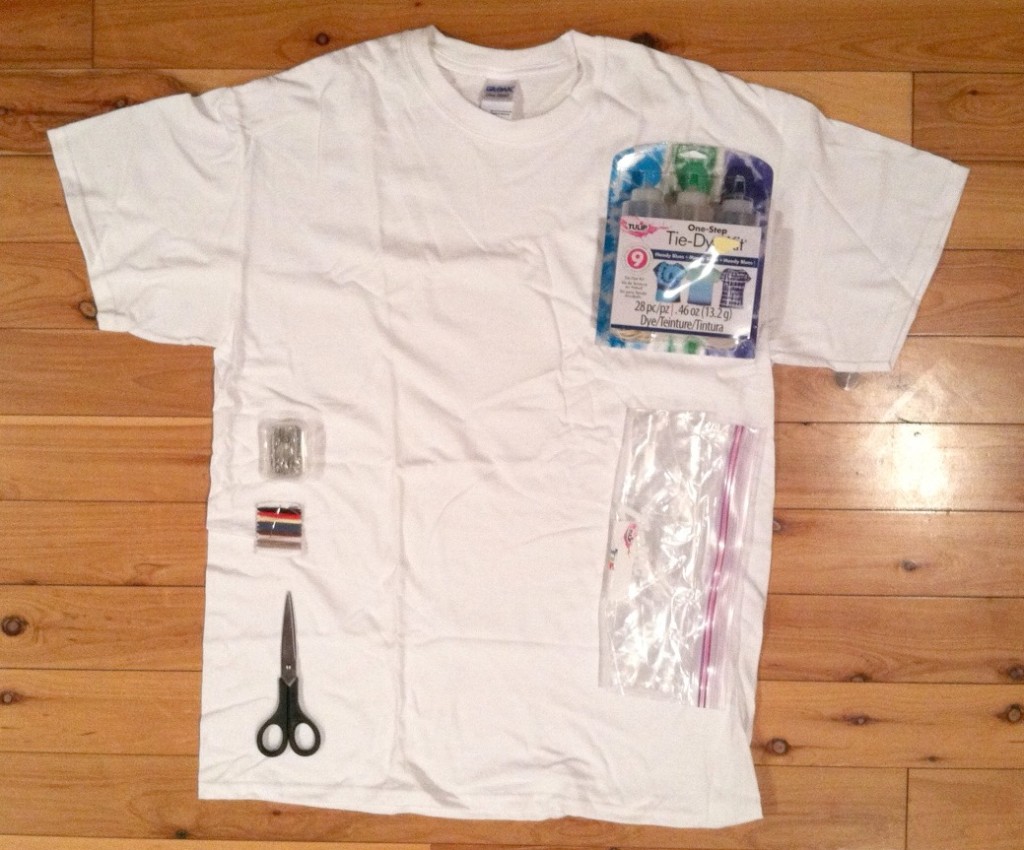
-plain white T-shirt
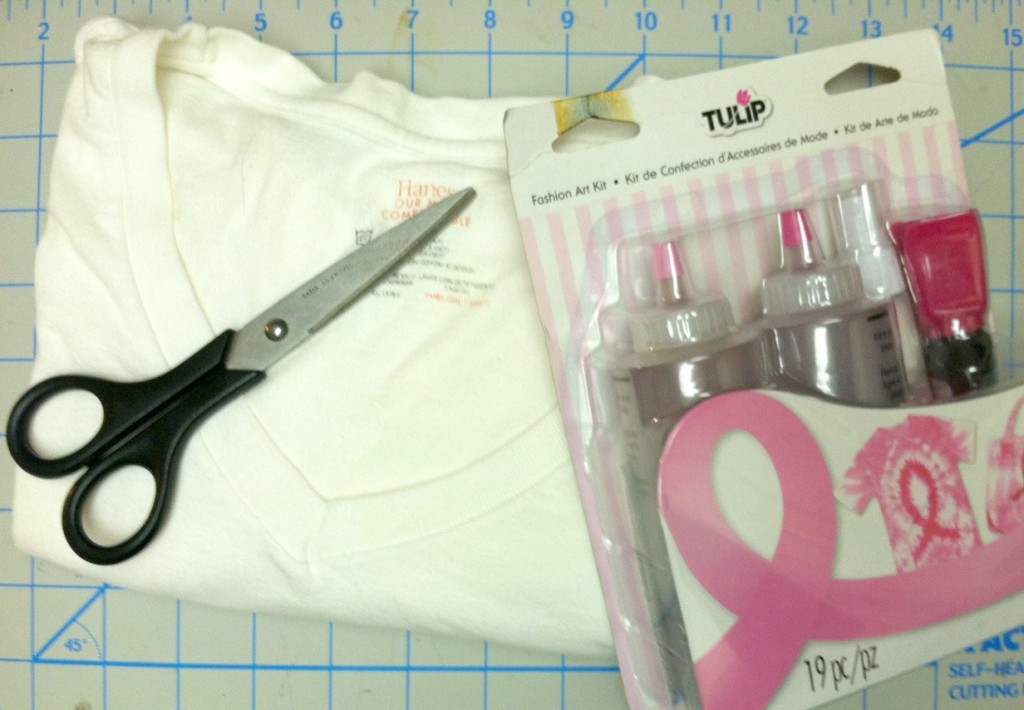
Tulip One-Step Tie-Dye Fashion Art Kit (includes 2 shades of dye plus gloves and rubber bands, black dimensional fabric paint, glitter spray)
-sharp scissors
-2 safety pins

shirt materials generation-t.com

Make it:
1.
Follow the kit instructions to tie-dye the T-shirt.
2. Click through to the step-by-step illustrated tutorial at the iLoveToCreate blog.

Outer Lace finish2 generation-t.com

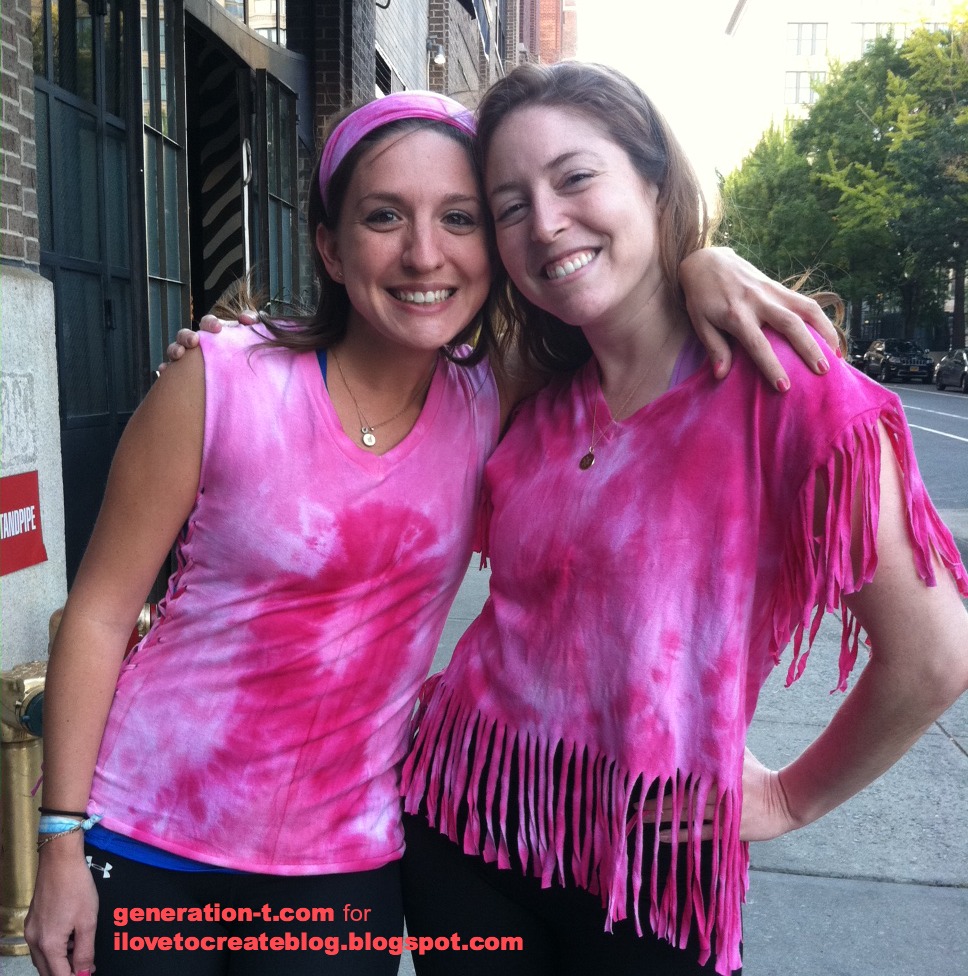
Wear it with all your (ahem) breast friend! Shirt #2, below, is a variation of the Fringe Benefits shirt from Generation T and the Fringe Fabulous shirt from generation-t.com.

OuterLace finiah3 generation-t.com


[ Comments Off on DIY No-Sew Laced Up Tank Top | Posted on September 24th, 2014 ]

How to: Side-Fringe Tie-Dye T-shirt

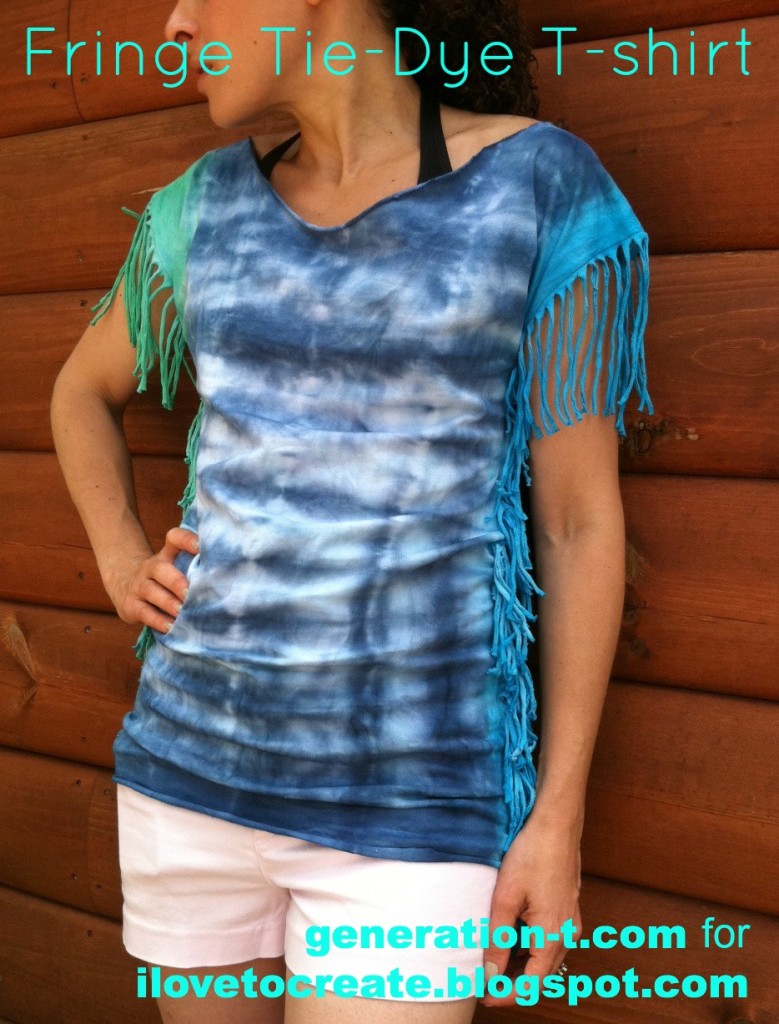
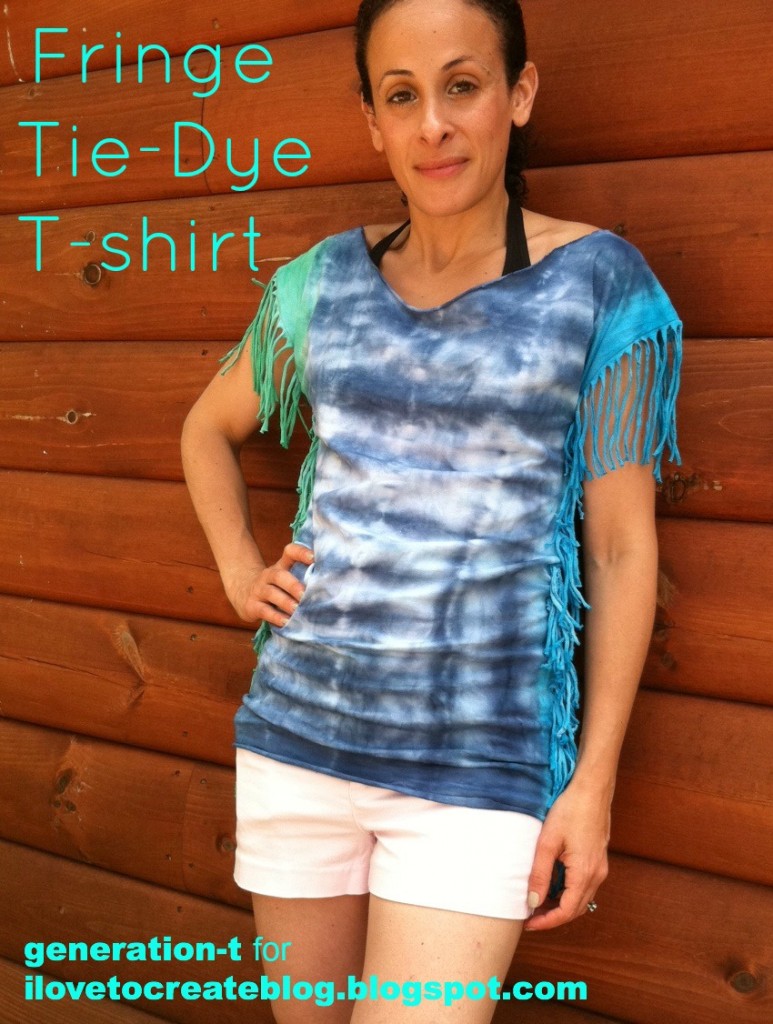
While most fringe T-shirts have the fringe tailing off the bottom, I went with horizontal fringe on this one. The side fringe gives nice movement and flow to the tee, and it’s a great project for making a slightly-too-big T-shirt into a just-right T-shirt. Add a touch of ombre tie-dye, and it’s a perfect summertime staple. Throw it over your bathing suit, and head beachward!

Materials:
-Plain T-shirt (one to two sizes larger than you’d ordinarily wear)
Tulip One-Step Tie-Dye Kit (includes rubber bands, bottles, dyes, two pairs of plastic gloves, and an instruction/inspiration sheet)
-Plastic table cloth or plastic garbage bag to cover your work surface
-Paper towels
-Plastic cling wrap or zip-lock bags
-Scissors
-Sewing machine with thread or needle and thread
-Safety pins (optional)

Note: If you’re working with new T-shirts, pre-wash and dry them to make sure any shrinking that’s going to happen has happened!

Make it:
Head over to my post at the iLoveToCreate blog for the step-by-step photo tutorial.

Note: You can make a no-sew version of this shirt by cutting the fringe first and then knotting the front fringe piece with the corresponding back fringe all the way up and down both sides (the shoulder fringe remains unknotted). I like this version because it’s quick (particularly if you are using a sewing machine), and the fringe fall nicely without the bulk of the knots.


[ Comments Off on How to: Side-Fringe Tie-Dye T-shirt | Posted on July 8th, 2013 ]

How to: Tie-Dye Your Life! (via Your Wardrobe)

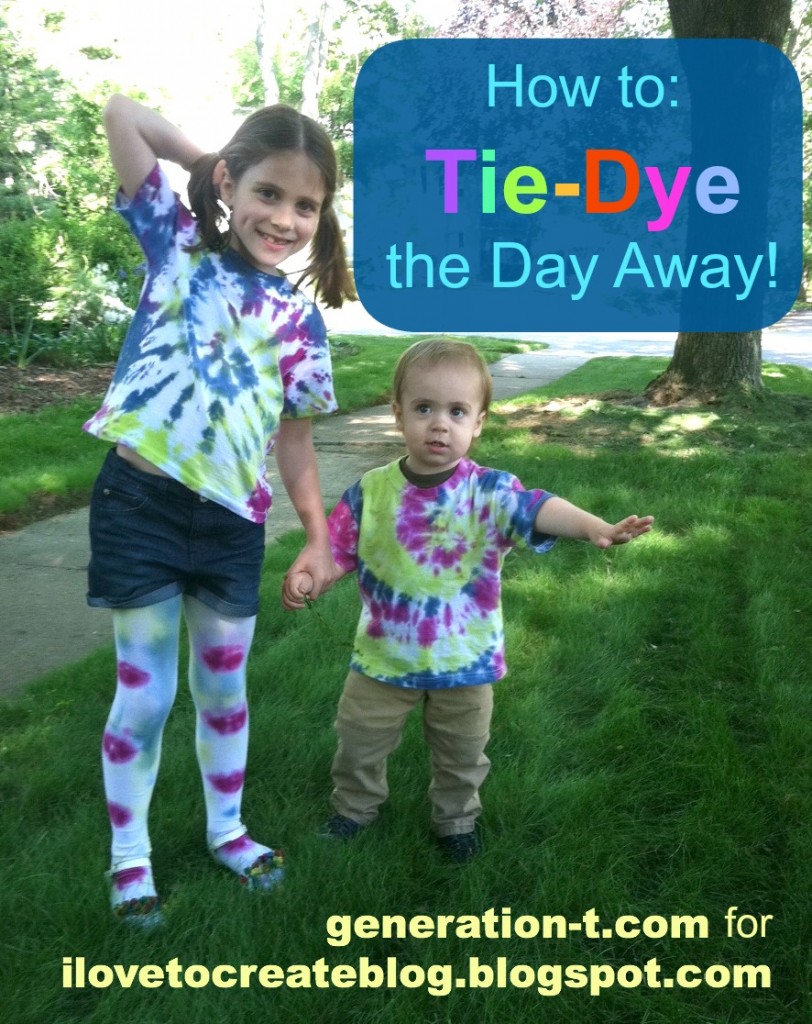
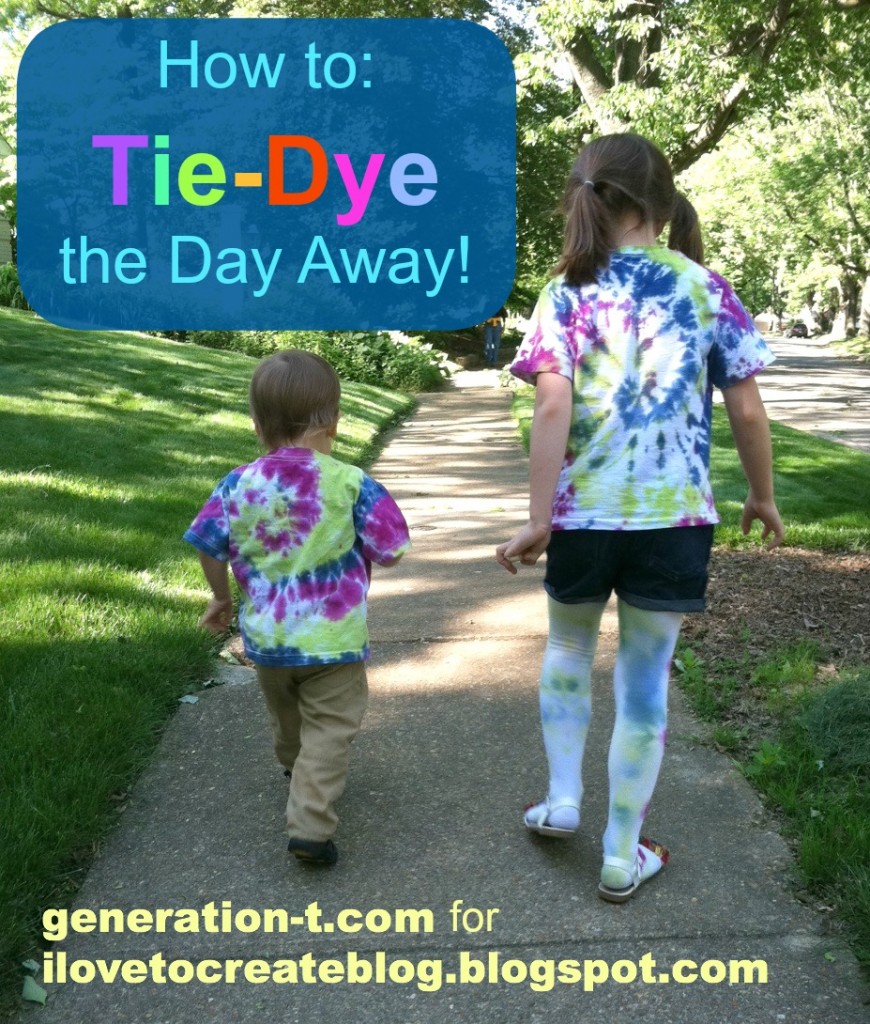
I always bring a craft project when I visit my niece, Dorothy. One time it was Embroidery Day, another it was Felt Cat Ear Day…this time it was Tie-Day Day! Our goal, which we nobly chose to accept: to tie-dye an entire wardrobe. As you can see, we got pretty darn close…

So, despite all my T-shirt proclivities, I have to confess I actually have never tie-dyed in my adult life. I don’t know what made me think that it would be so hard, but honestly, the only thing that could have made this easier was a nice picnic table outside to craft on (and that’s just me asking for a luxurious upgrade).

The takeway: Tie-dye. Is. So. Easy.

I would go so far as to say it’s foolproof! Next time you have a family reunion, skip ordering the printed T-shirts: Set up a tie-dye station for all the siblings and cousins–by morning, you’ll have a full set of T-shirts perfect for a very colorful family portrait!

Materials:
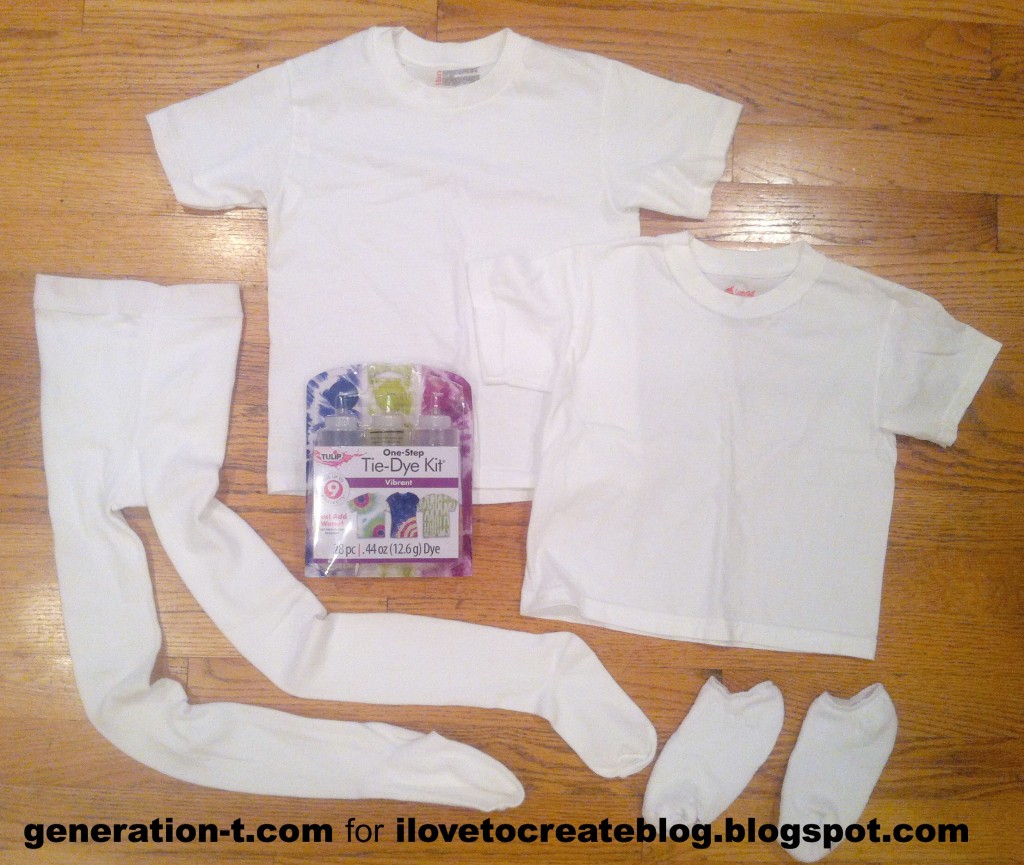
Tulip One-Step Tie-Dye Kit (color: “Vibrant” — includes rubber bands, bottles, dyes, two pairs of plastic gloves, and an instruction/inspiration sheet)
-Cotton things to dye: We picked T-shirts (in two sizes, for the two cousins), tights, and socks!
-plastic table cloth or plastic garbage bag to cover your work surface
-paper towels
-plastic cling wrap or zip-lock bags

Note: If you’re working with new T-shirts, pre-wash and dry them to make sure any shrinking that’s going to happen has happened!

Make it:
Hop on over for the how-to at the I Love to Create Blog! (Plus a cute photo-bomb by my niece.) We tie-dyed spirals onto T-shirts, sunbursts onto tights, diagonal stripes onto another T-shirt, horizontal stripes onto socks, and a bullseye design onto yet another T-shirt.

After her cousin, Niko, woke up from his nap, it was time to try on the matching Swirl design tie-dye T-shirts!

Did I mention tie-dye is also great for obscuring grass stains? An added bonus, for sure! There’s definitely more tie-dye to come this summer — and quite likely in my size this time.

[ 2 Comments | Posted on May 28th, 2013 ]

I Love to Create: A is for Animal Wall Decor

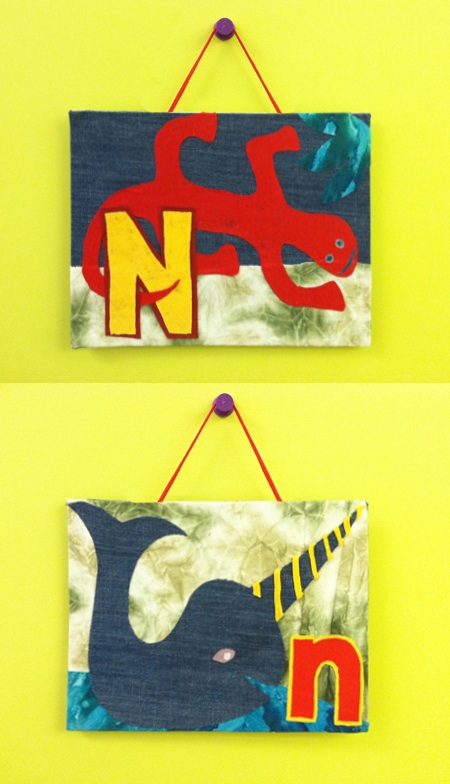
A is for Ant, B is for Beetle, C is for Cat…. Here’s an easy way to turn old clothing scraps (in this case, T-shirts and jeans) into personalized decoration for a young (or young at heart) friend’s bedroom wall or door. Whether you stick with the animal theme, or go with fruits and veggies (A is for Apple, B is for Broccoli, C is for Carrot), geography (A is for Australia, B is for Belgium, C is for China), or a more random selection of words (A is for Astronaut, B is for Bubbles, C is for Castle), part of the fun is brainstorming the image that will represent the recipient’s initial. For my son, N is for Narwhal was a shoo-in. N is for Newt came second. What animal would you choose?
Materials:
-Paper
-Pen
or pencil
-Scissors
-Fabric scraps (old T-shirts and denim pieces)
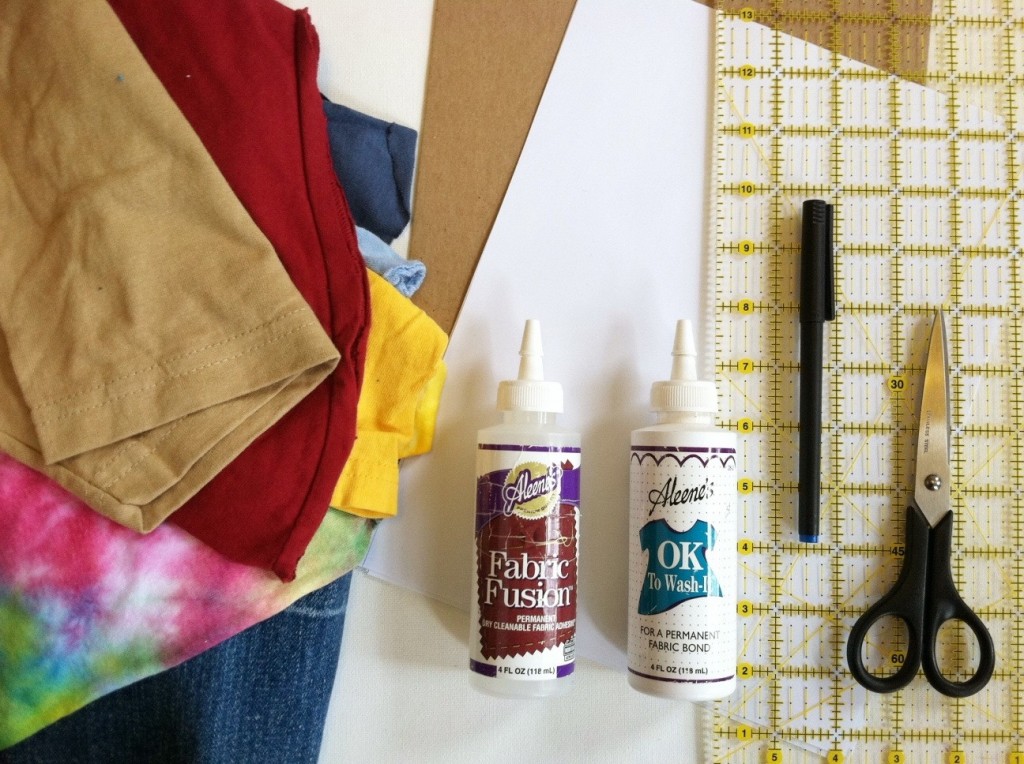
-2 sheets 8 1/2″ x 11″ medium-weight cardboard (often used as stiffener in a flat parcel)
Aleene’s OK to Wash It
or Aleene’s Fabric Fusion permanent fabric adhesive
-Ruler
Fabric paints (optional, for additional embellishment)
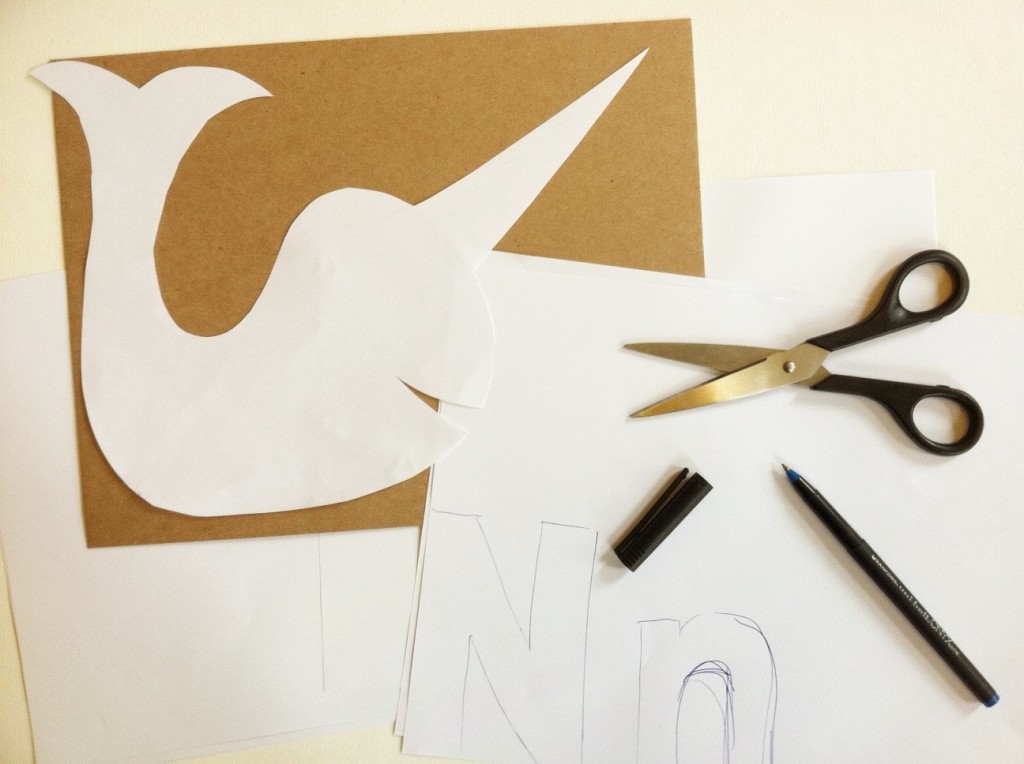
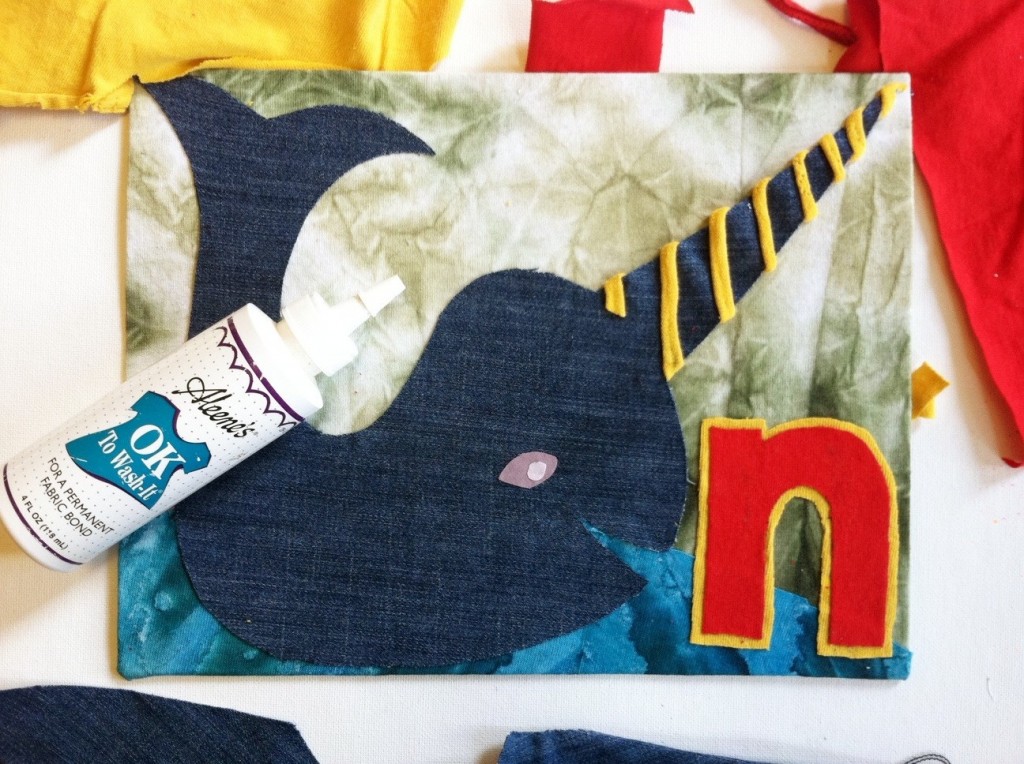
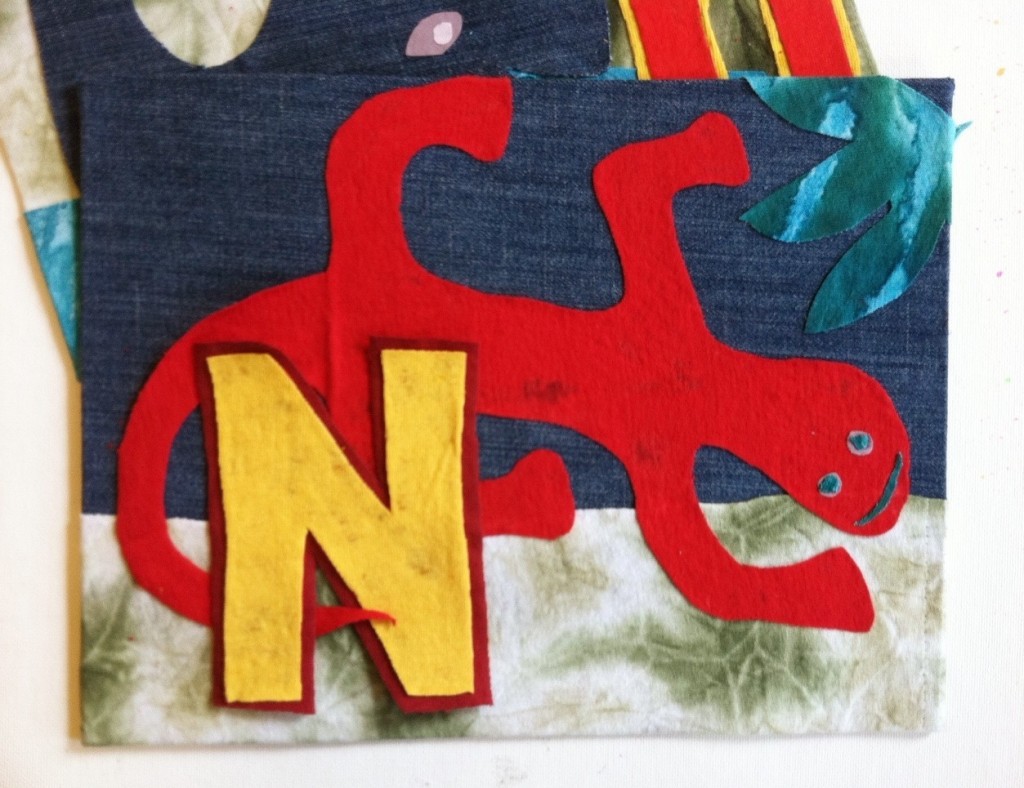
1. Select a friend’s or child’s first initial and then choose an animal (or two) with a name that also begins with the letter: I chose to start with N for Narwhal (that fabulous sea mammal that looks like it was crossed with a unicorn) and N for Newt (an orange salamander. Draw an outline of each animal and the capital and lowercase letter. Cut them out and arrange them on the cardboard to make sure they’ll fit. Set them aside.
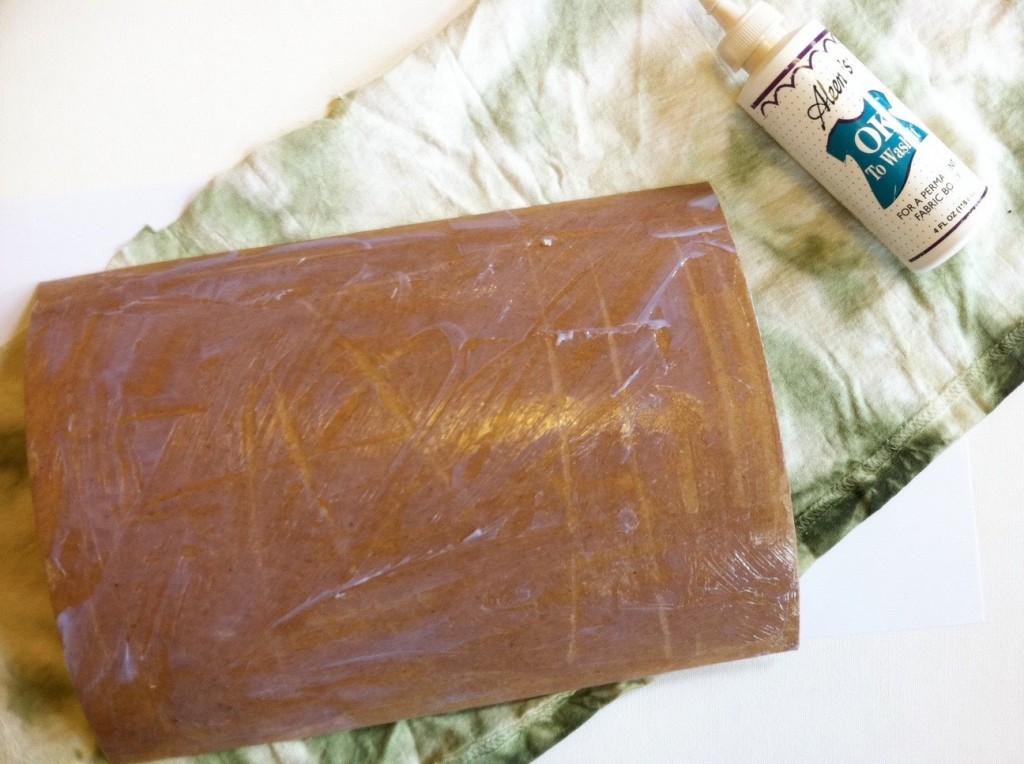
2. Spread fabric glue evenly over one side of one of the sheets of cardboard and press it onto fabric.
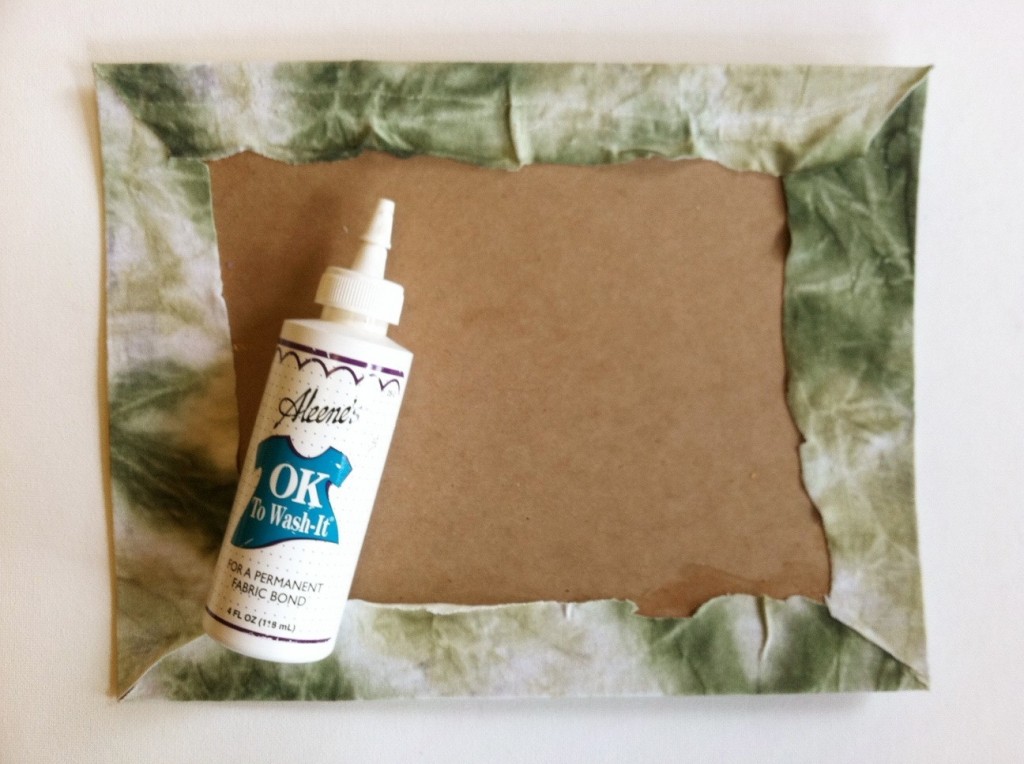
3. Fold and glue the edges to the back of the cardboard. (It’s okay if the edges are messy — they’ll be covered up.)
4. Trace one of the paper animal templates (in reverse) onto the wrong side of one of the fabric scraps. Repeat with different scraps with the letters and second animal.
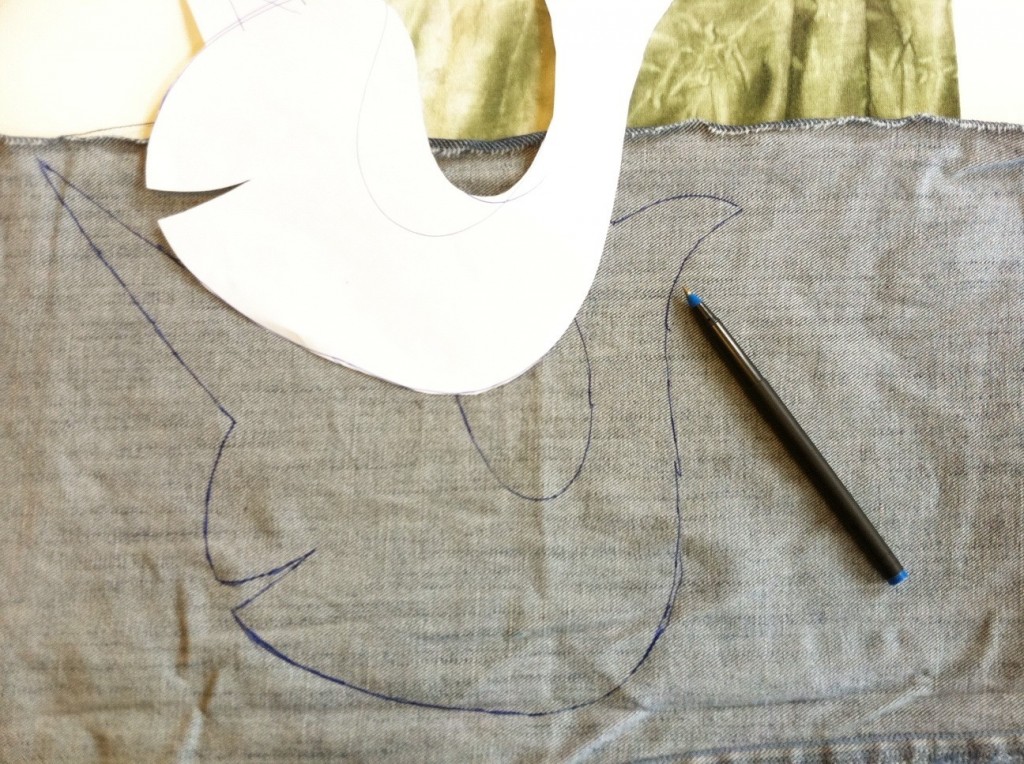
5. Arrange and glue each of the elements onto the fabric-covered cardboard. Add background (like water!) and details (spiral on the horn, eyes!), making sure to layer the pieces appropriately. Let it dry and proceed to decorate the second piece of cardboard!
6. Cover the second piece of cardboard by following steps 1 and 2. Arrange and glue on the embellishments by following steps 4 and 5.
7. Flip one of the panels backside up and measure about 3″ in from each side. Mark each point.

8. Squeeze fabric glue at each mark, and press the length of a T-shirt cord into each line of glue.
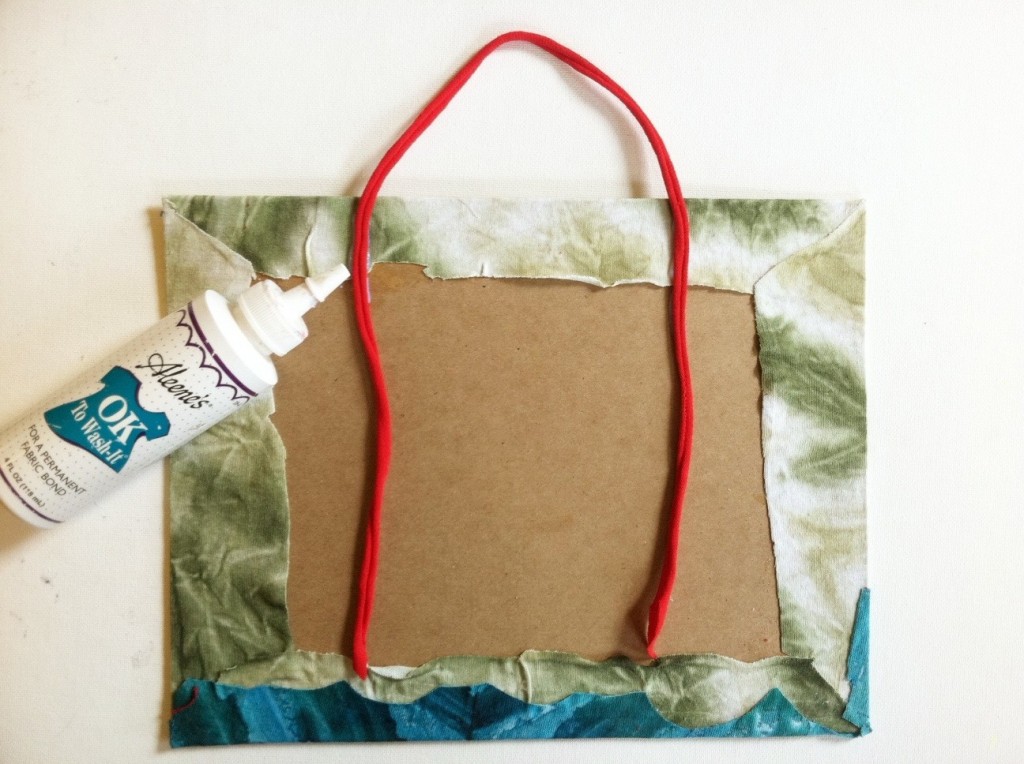
9. Then spread glue across the entire backside of one of the panels and press it firmly to the back of the other, sandwiching the hanging strap ends between them. (This tidily covers any messy work and makes the sign reversible, whether you prefer caps or lowercase — or narwhals or newts.) Let it dry.

10. A, B, C, D, E, F, G…H, I, J, K, L, M, N is for Newt and Narwhal!
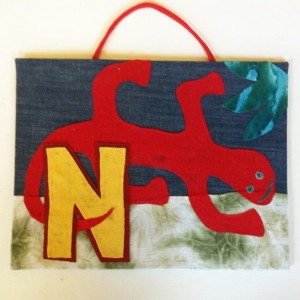
After it’s completely dry, choose a side to display and hang it up!
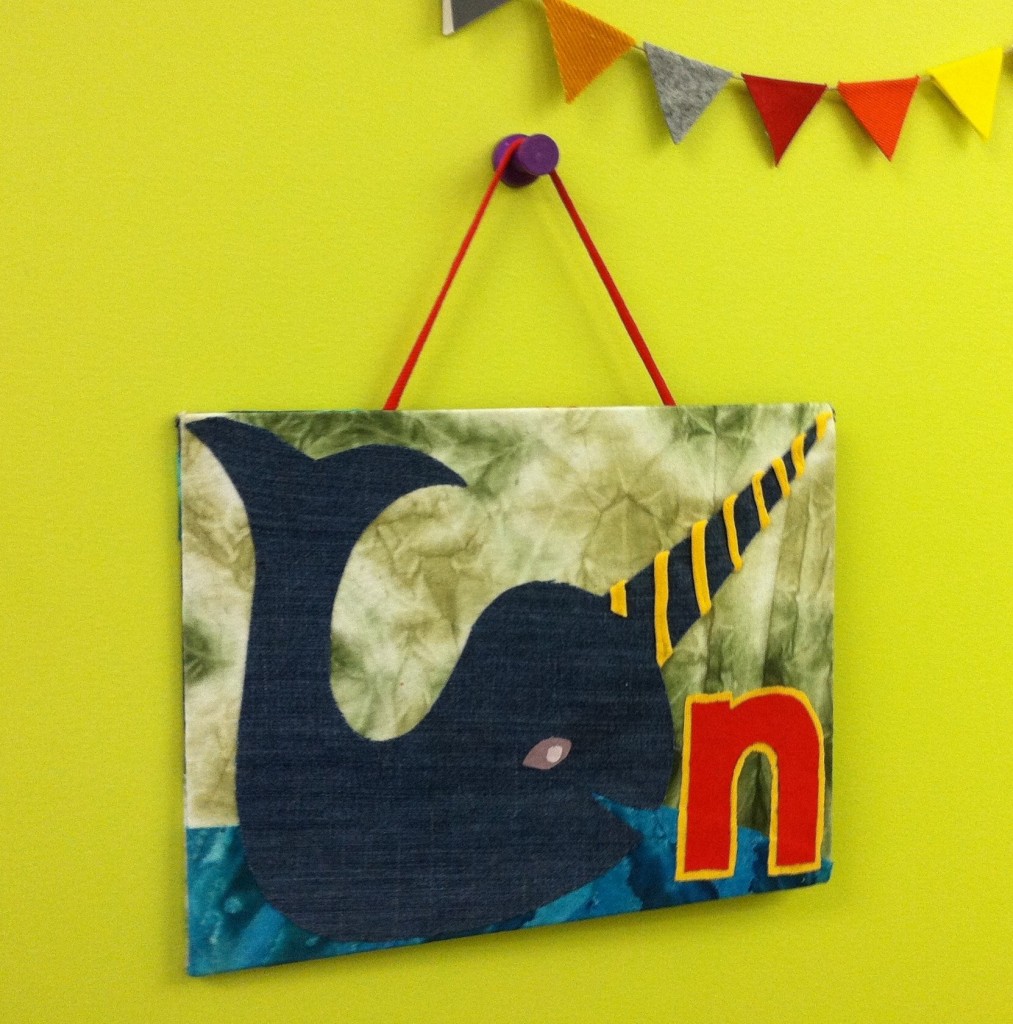
Variations:
-If you’re feeling ambitious, make multiple signs to spell out a person’s name. Arrange them in a row, a column, or rectangle.
-If you’re feeling really ambitious, make the whole alphabet, and line the edges of the room with A through Z animals!

[ 6 Comments | Posted on February 26th, 2013 ]