Posts Tagged ‘Transform a T-shirt’

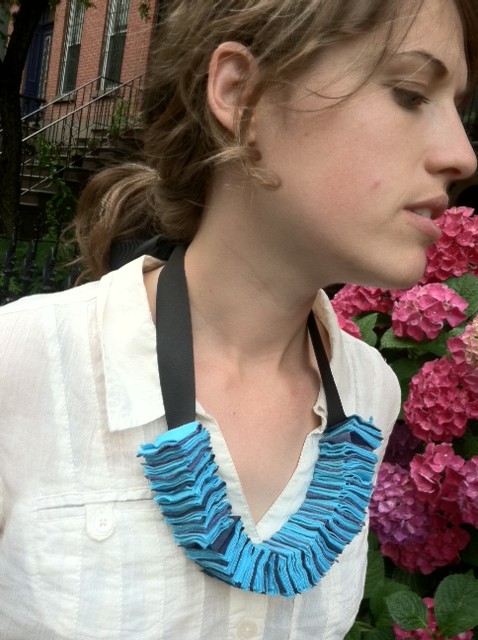
I Love To Create: T-shirt Confetti Necklace!

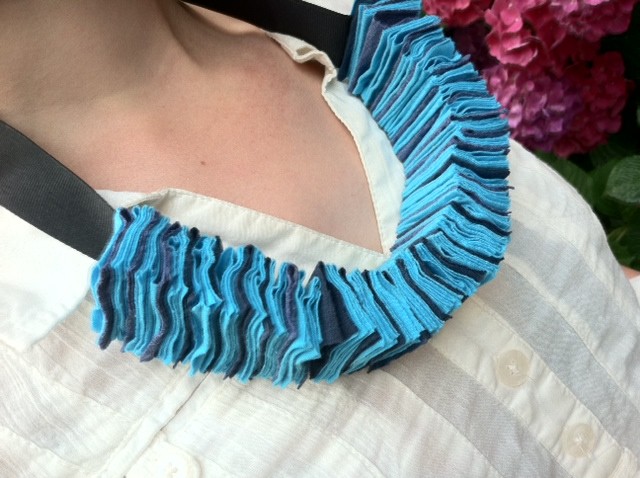
Interestingly, the inspiration for this festive, soft Fourth of July necklace came from south of the border — while I was on vacation in Oaxaca, Mexico, we happened upon a small gallery where I spotted an orange folded paper bracelet made by women in a local artist collective. The paper was so soft and fibrous, it reminded me of fabric. So when I set to re-imagining that bracelet stateside in my Generation T workshop (as a necklace of fabric and glue!), I was pleased that the results are even cozier — a wonderfully celebratory accessory fit for a summer barbecue! (I was intentionally playing it subtle with the shades-of-blue color palette, but a bold red, white, and blue color scheme would really pop.) And it’s comfy, too, when the sun goes down and it’s time to snuggle up and watch the fireworks.

Materials:
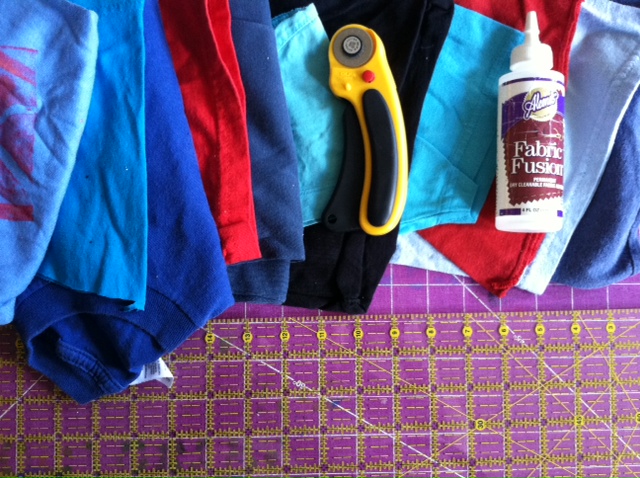
-T-shirt scraps (sleeves work well!), including one long one to use as the fastener
-Rotary cutter and cutting mat
-Quilting ruler
Aleene’s Fabric Fusion glue
-Ribbon (optional, in place of the long piece of T-shirt scrap to fasten the necklace)

Make it:
1.
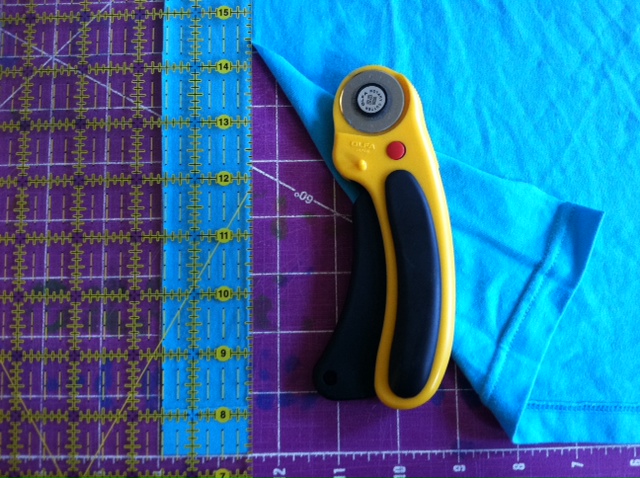
Cut 1 1/2″-wide strips from the T-shirt scraps.

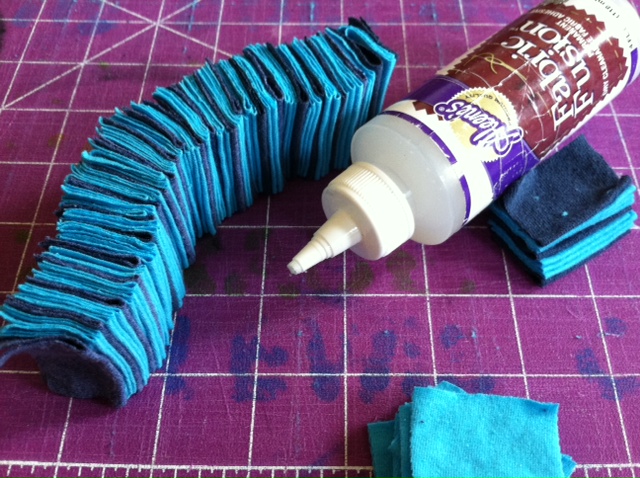
2. Cut the strips into 2″ pieces to make rectangles that are 1 1/2″ x 2″. (I cut about 124 rectangles in two different colors to make an approximately 9″-long necklace segment.)

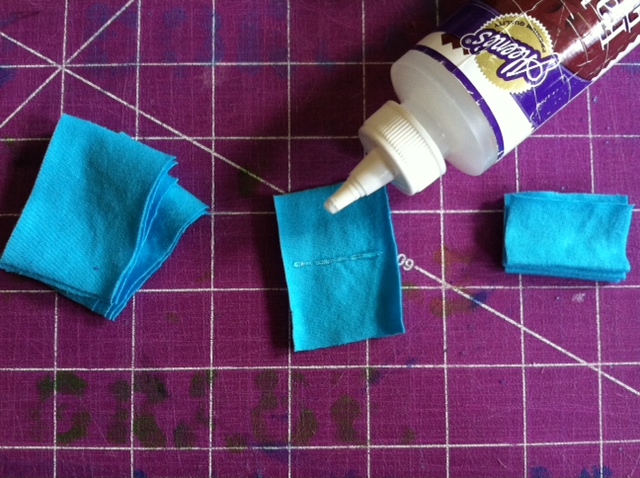
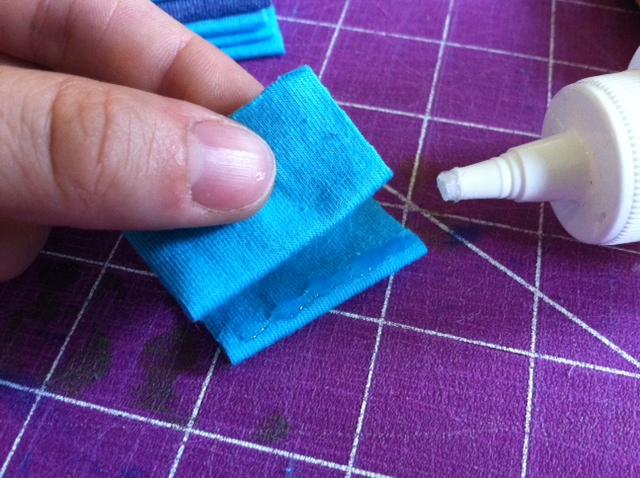
3. Lay one of the rectangles flat, wrong side up, and spread a thin line of glue slightly off-center and parallel to the short ends. Fold it in half so that the glue line retains the crease. Let the glue dry and repeat for the remaining rectangles.

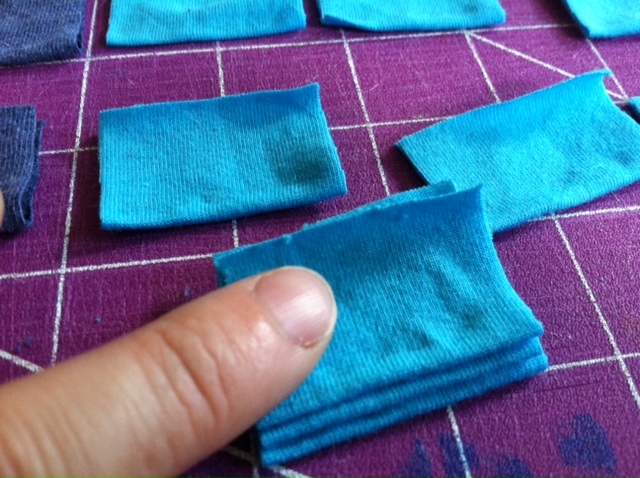
4. Squeeze a thin line of glue close to the folded edge of one of the rectangles and press another folded rectangle over it.

5. Repeat step 4 as many times as needed, to attach more rectangles together and create the necklace piece. (Arrange different colors to create a pattern!) Reserve two folded rectangles to use in step 7.

6. Let the necklace piece dry, then touch up any gaps as desired.

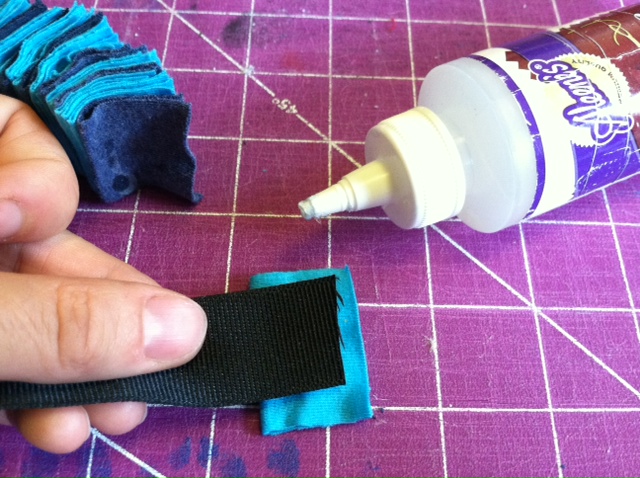
7. Spread glue along the end of a long T-shirt strip or ribbon (shown here), and center and press it along one of the spare rectangles from step 5.

8. Then add more glue to the ribbon and press it against one end of the necklace piece, aligning the T-shirt rectangles (the ribbon end should be sandwiched in between T-shirt material). Repeat on the opposite end of the necklace piece. Let dry completely. Then snip the T-shirt strip or ribbon in the middle so you have two ends for tying.

9. Tie the ends in a bow at the back of your neck.

Variations:
Experiment by making smaller rectangles for a more delicate piece (you can make a necklace this way, or, I made an accompanying bracelet using 1″ x 1 1/2″ rectangles).
Use chain in place of the fabric fastener. (I like the idea of an all-white necklace piece with a gold tone chain.)
Try wearing it as a headpiece! (My sister’s boyfriend tied the necklace around his head
as a joke, bonnet-style, but with the right messy up-do, it could be quite the statement piece.)
Play with color: Make the red-white-blue version mentioned above, use the color scheme from your favorite sports team to wear to the next game, or craft a rainbow to brighten your day!

Tune in later this week to see the second necklace I made using the scraps left over from this one–super easy, super fast, and also no-sew (no-glue, even!).

[ 6 Comments | Posted on June 26th, 2012 ]

T-shirt Spiral Statement Earrings

Ages ago, I promised variations on my Softie Spiral Headband made from T-shirt coils. Well, at long last, here’s one take — a pair of colorful, bold, statement earrings. As a DIY project, they’re a nice alternative to the headband (if you’re too impatient or too short on time to make all the coils required for the bigger project!).

Materials:
-T-shirt scraps in different colors (T-shirt hems with the stitching cut off are perfect!)
-Fabric scissors
Aleene’s Fabric Fusion or similar fabric adhesive
-Ruler
-1 pair earring posts and backs
Aleene’s Jewel-It Embellishing Glue or similar jewelry adhesive

Make It:
Simply follow the instructions for making a T-shirt coil in the spiral headband tutorial. Make three pairs of same-sized and like-colored coils. (In this example, that means: two matching blue coils, two matching gold coils, and two matching pail yellow coils.)

To make sure that the two blue coils end up the same size, start by cutting the T-shirt strips to the same length. The top coil in the earring should be the smallest, with each coil getting gradually larger as you move down the length of the earring (the yellow one is about 1 3/8″ in diameter, the gold one is about 1 1/2″, and the blue one is about 1 3/4″).

Use the Fabric Fusion to glue the coils in a row, rotating the coils so that the ends of the T-shirt strips get “buried” in the seam. Then glue an earring post to each of the small coils (close to the edge, at the top of the earring, as shown) using the jewelry glue.

Allow the glue to set completely, then attach the earring backings, and you’re ready to wear or gift them!

Note: If these earrings are too big for your style (they do measure about 4.5″ long), you can make them smaller — just keep the same basic ratio between the sizes. Alternatively, you can make single coil earring studs for an even faster result!

[ 1 Comment | Posted on June 4th, 2012 ]

Rookie Turns a T-shirt into a Mod Dress!

How cute is this? Learn how to stitch up this black and white mod dress by Marlena Pope over at RookieMag! I love the styling, too — red-red lips really pop with the black and white geometry of it all.

I’m thinking color wheel opposites could be fun couplings instead of the black and white — orange and blue, maybe? or yellow and violet!

Photo via RookieMag.

[ 1 Comment | Posted on May 24th, 2012 ]

I-Love-the-’80s Fringe Fabulous T-shirts

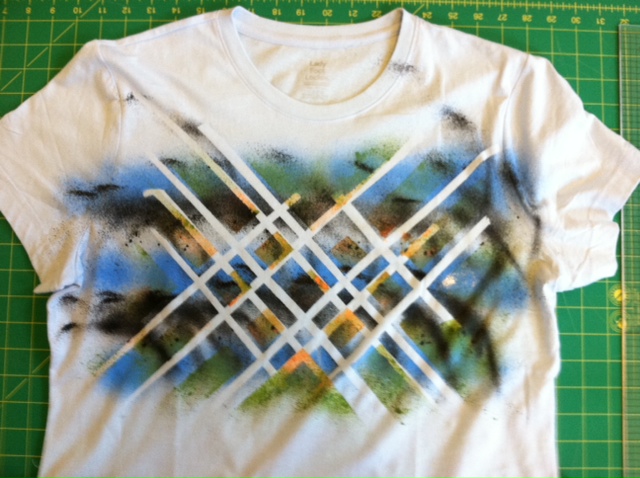
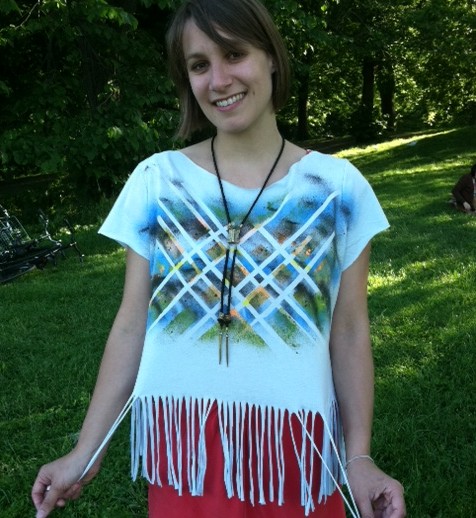
It’s springtime, which means one thing to me: T-shirt weather! It’s an exciting time here in the Land of Generation T, because as many of you know, it only gets better: After spring comes summer, which means we all get a little more scantily clad — T-shirts turn into tank tops and tube tops and ooh-la-la! So grab your scissors (to cut away some of that extra fabric, of course), crank up the color (bring on those fabric spray paints), and hop in your fabulous fashion time machine, because fringe is enjoying a bit of a renaissance this season. Last weekend, I dialed back the decades and dug into my craft stash to make some classic ’80s-inspired geometric tees.
Materials:

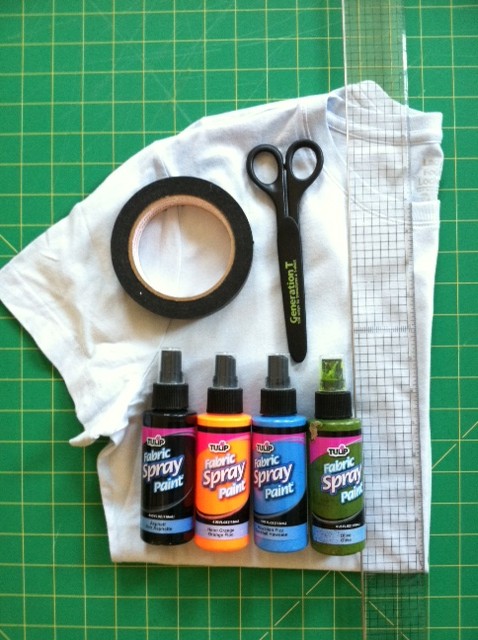
-light-colored T-shirt (I used a light blue one)
-ruler

-masking tape
fabric scissors
fabric spray paint (variety of colors)
-scrap newsprint paper

Make it:

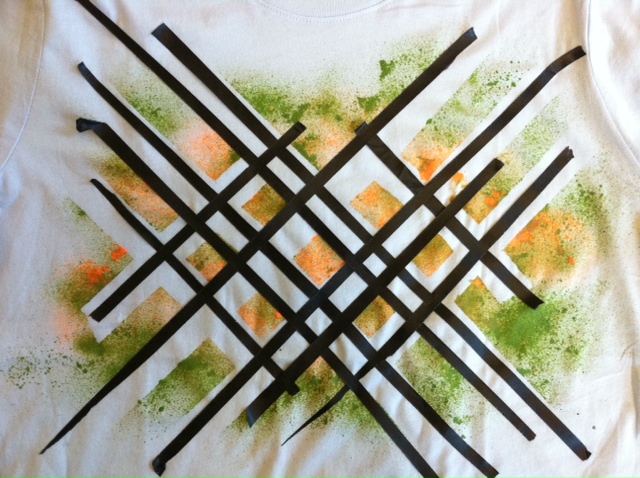
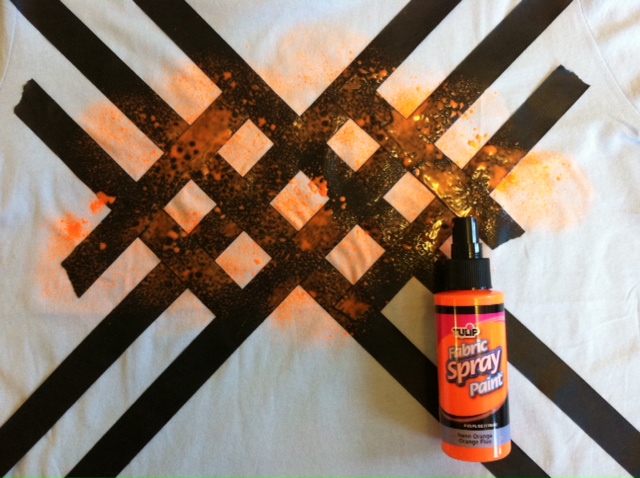
1. Lay the T-shirt flat. Use masking tape to mark a horizontal line about 8″ up from the bottom of the shirt. Find the vertical center of the shirt and apply tape to the chest-region of the T-shirt to create a crisscrossing geometric pattern.

2. Insert the newsprint paper between the layers of the T-shirt to prevent the paint from bleeding through. Then apply fabric spray paint over the taped area. Apply another color or two, then let dry.

3. Peel back the tape, and then lay down more tape (I cut the tape strips in half, thirds, and quarters to make thinner lines) across your pattern to create a modified plaid pattern. Then spray paint more color!

4. Let dry completely before peeling off the tape to reveal your design.

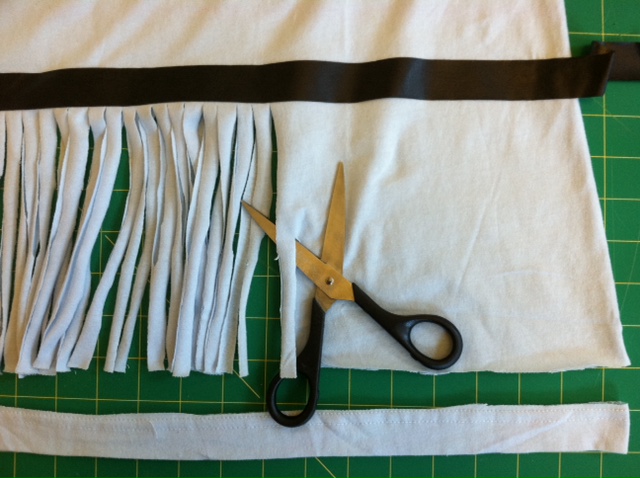
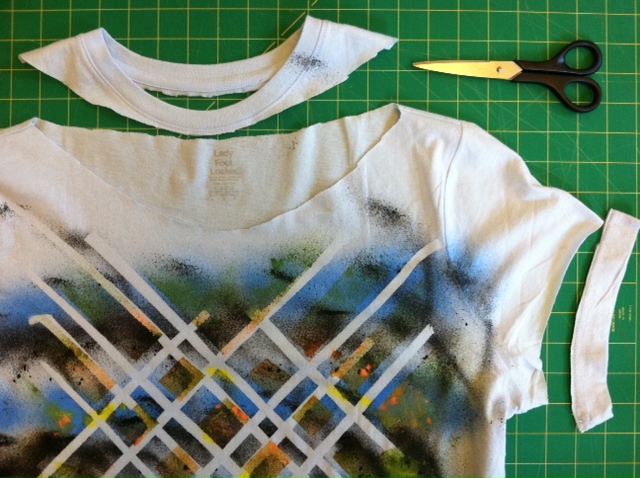
5. Cut off the bottom hem of the T-shirt, just above the stitching. Then, using the tape marker you pressed down in step 1 as your guide, cut 1/3″- to 1/2″-wide fringe from the bottom edge of the shirt.

6. Cut off the sleeve hems, just above the stitching, and cut out the neckband, just below the neckband edge in the front and the back, and about 2″ wider on the sides.
7. Gently tug on the fringe to stretch it out (the fabric edges will curl in). Try it on!

8. Grab up additional T-shirts and experiment with your paint patterns and fringe — cut it on a diagonal, in a chevron-inspired V-shape, make it long or short!

Then pack a picnic, sling your boombox over your shoulder, and turn up any of the decade’s Billboard hits!


[ 5 Comments | Posted on May 22nd, 2012 ]

NH: Live Free and DIY!

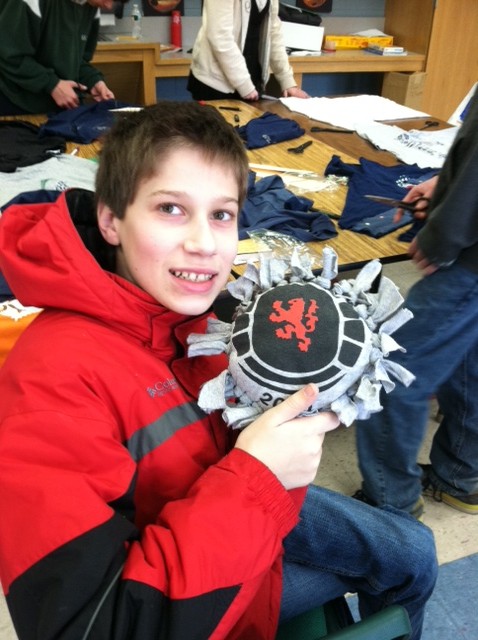
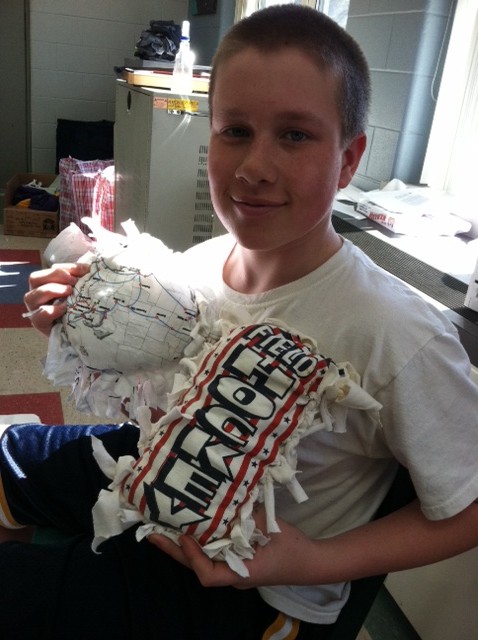
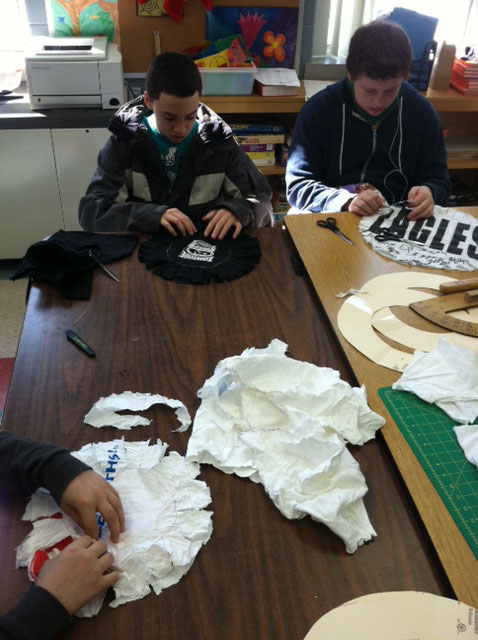
Isn’t that how the motto goes? I’m back home in NYC, but my heart is still up in New Hampshire, and it feels like my scissor hand is still twitching in my sleep after all the T-shirt refashioning we did! Altogether, the students at the Kenneth A. Brett School upcycled (new vocabulary term for many of the kids in my group!) more than 150 T-shirts over the four days. Below are some of the highlights from the last two days of my artist-in-residency! (And if you want more proof of the fun we had, check out the photos posted over at the Tamworth Arts Council blog.) I miss these kids already…
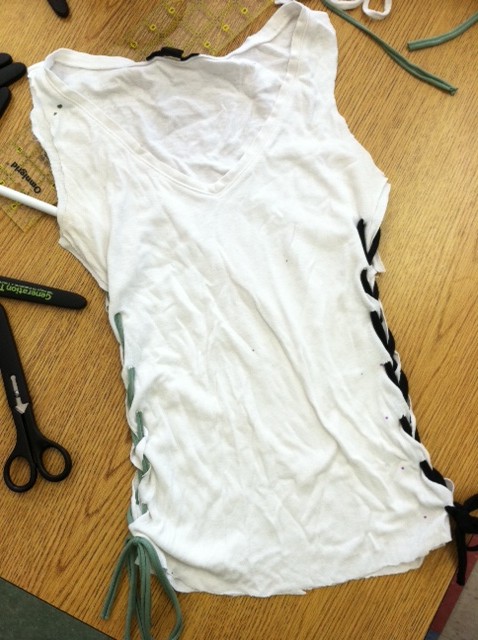
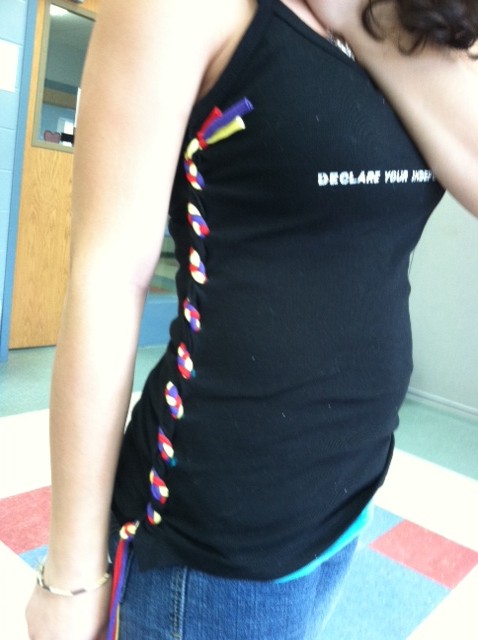
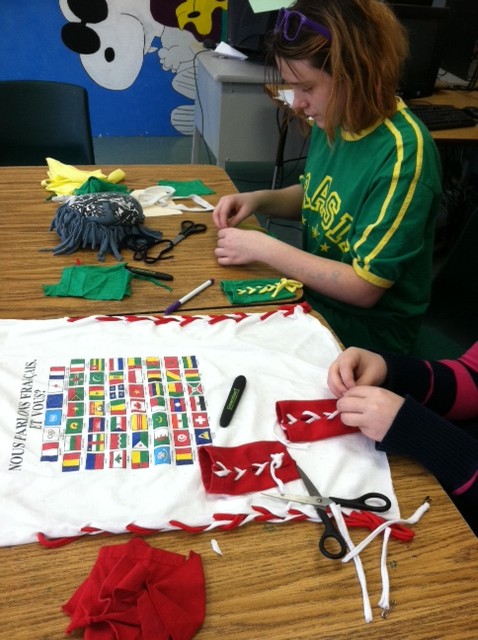
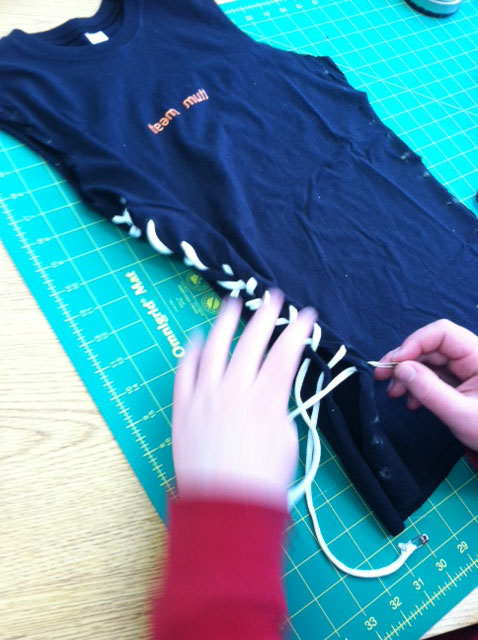
A lace-up tank top with mismatched sides (#16 in Generation T); another lace-up top with braided multi-colored stitching.
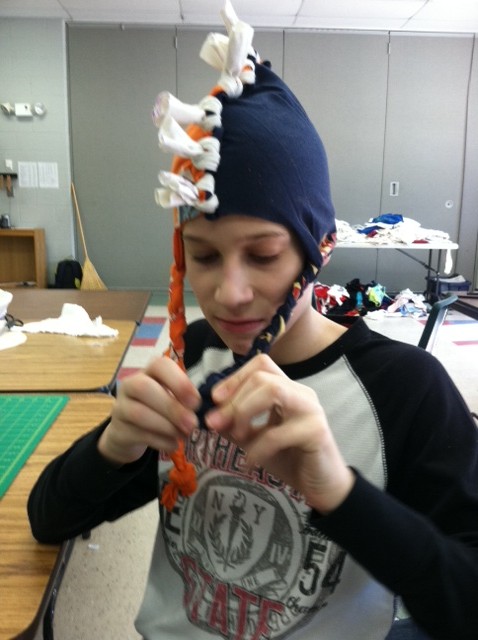
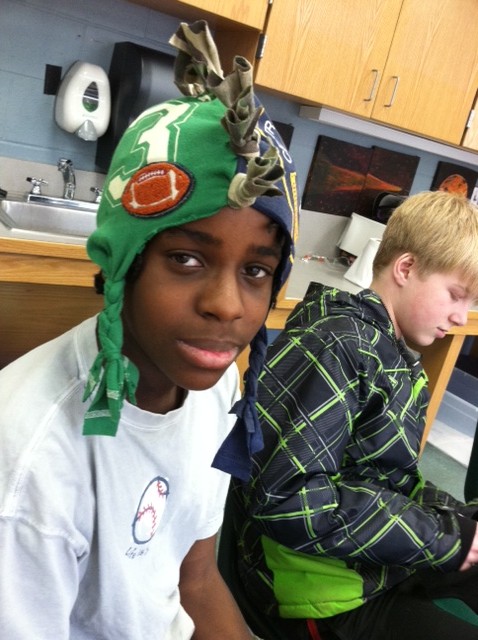
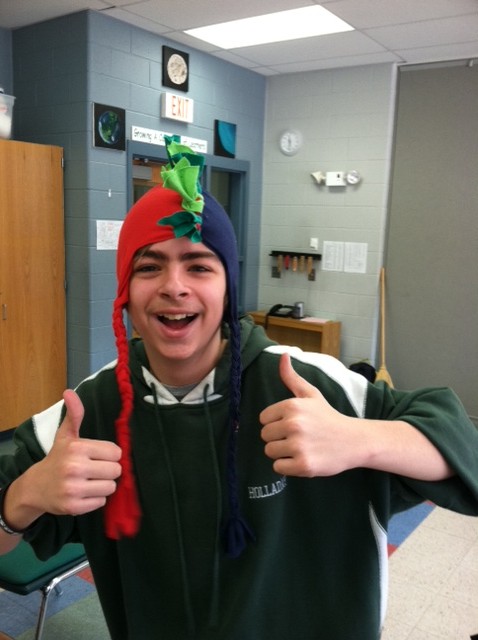
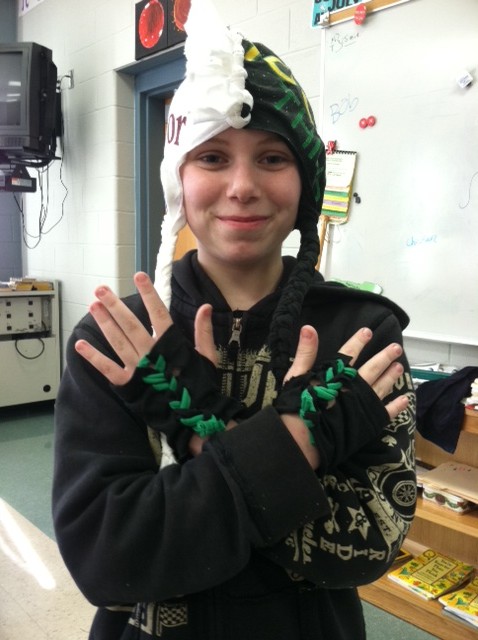
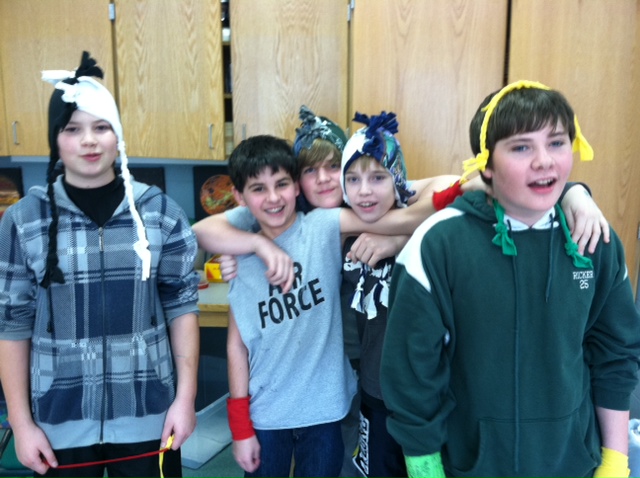
Some in-process braiding and knotting — to complete the finishing touches on two “Mohawk Mo’ Rock” no-sew hats (project #72 in Generation T: Beyond Fashion).

Two finished, fringed hats!

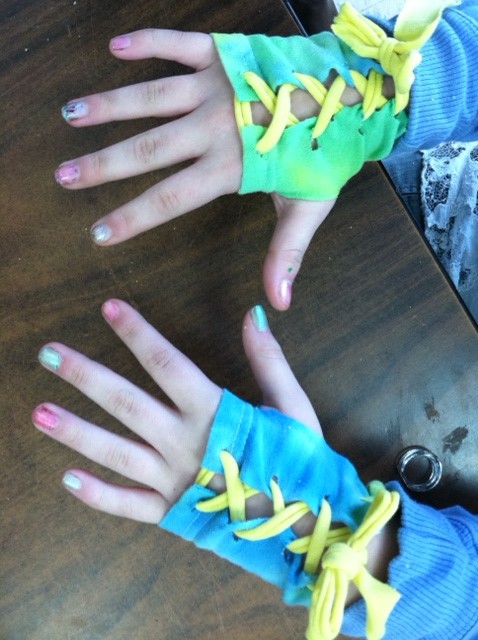
But what’s a finished hat without matching glovelets (#103 in Generation T: Beyond Fashion)? Or a pair of tie-dyed glovelets without multicolored fingernails?

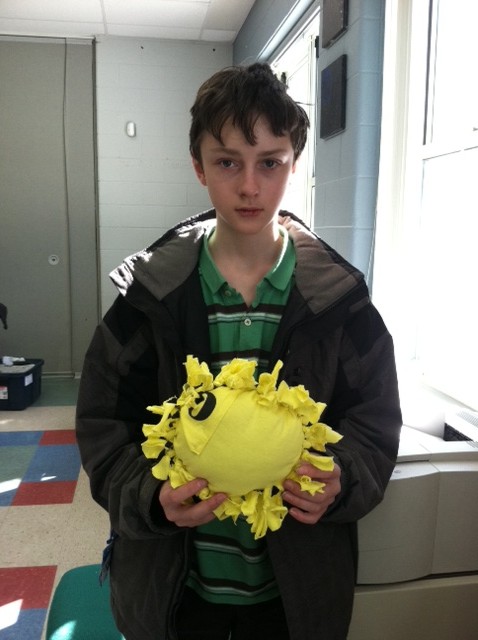
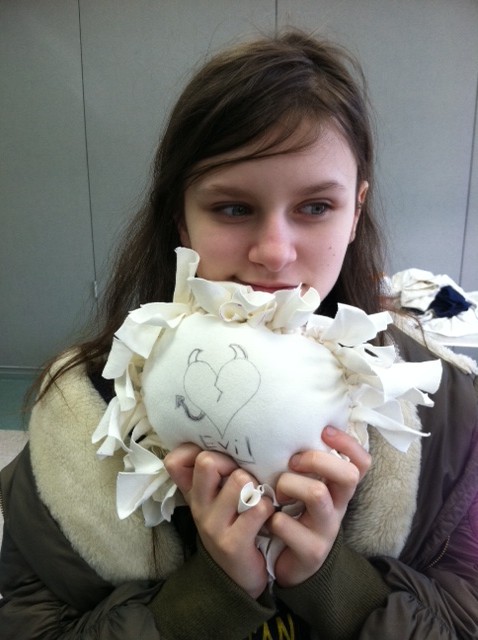
Going with the tie-dye theme, here’s a tie-dye version of Back in Action (#101 in Generation T: Beyond Fashion); plus a sunshine-filled pillow (#30 in Generation T: Beyond Fashion)!

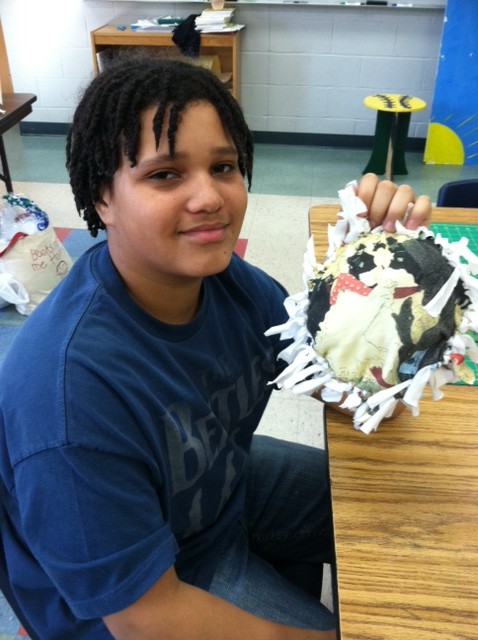
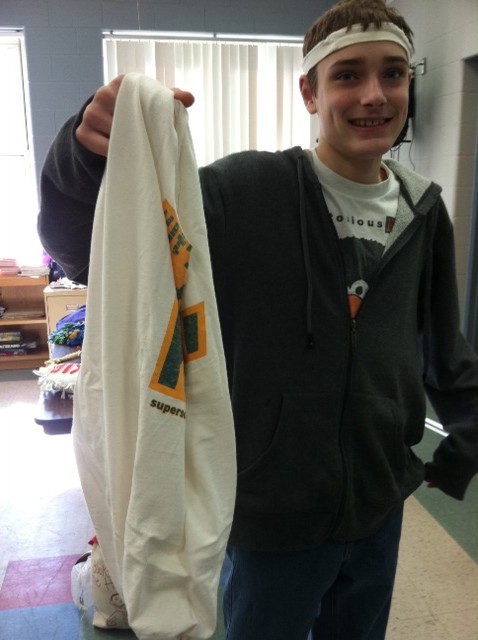
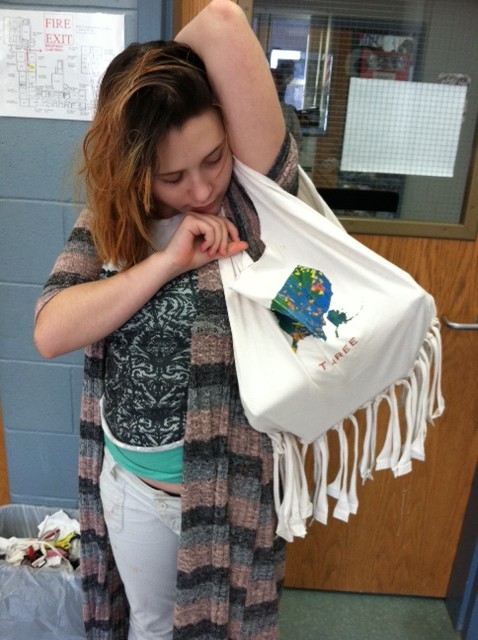
Another completed pillow; a matching totebag (for his mom to use while grocery shopping) and headband (for him).

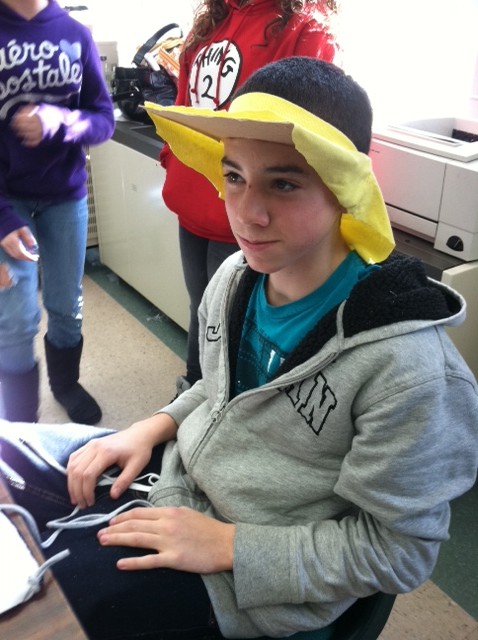
Some in-progress laced-up glovelets; an innovative visor made from the neckband of a T-shirt (with sun-shielding neck protection, of course!).

A pillow for catnapping; a no-sew tote bag–already filled with books!

DIY hats, tank tops, headbands, and wristbands…

Pillows, pillows, and more pillows!

Hats, hats, and more hats!


[ 4 Comments | Posted on March 14th, 2012 ]

Refashioning T-shirts with Students in NH

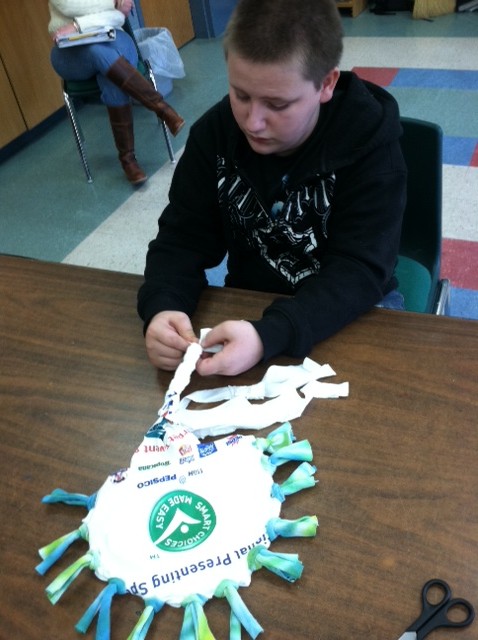
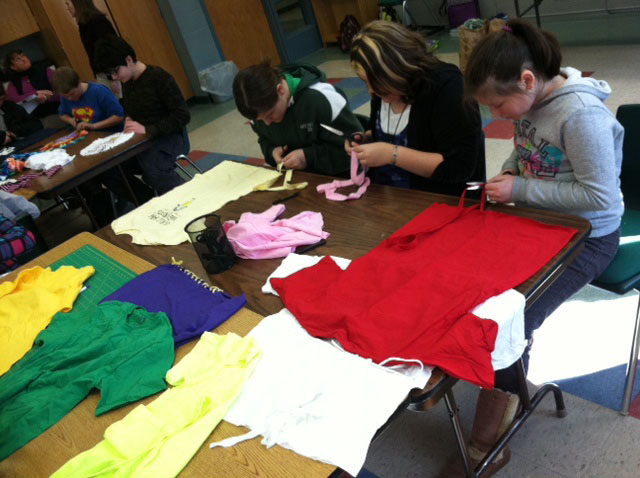
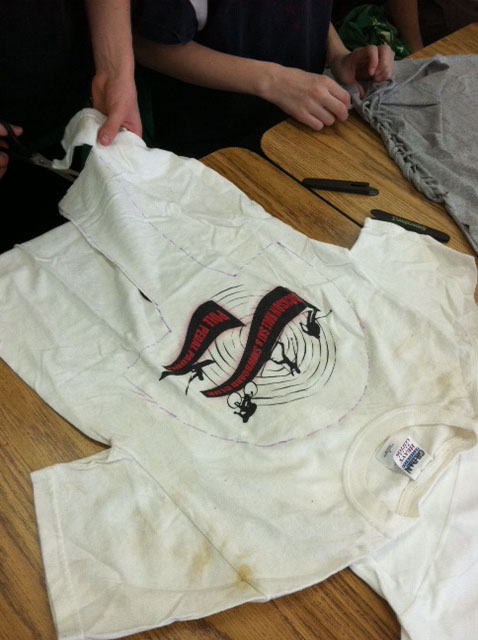
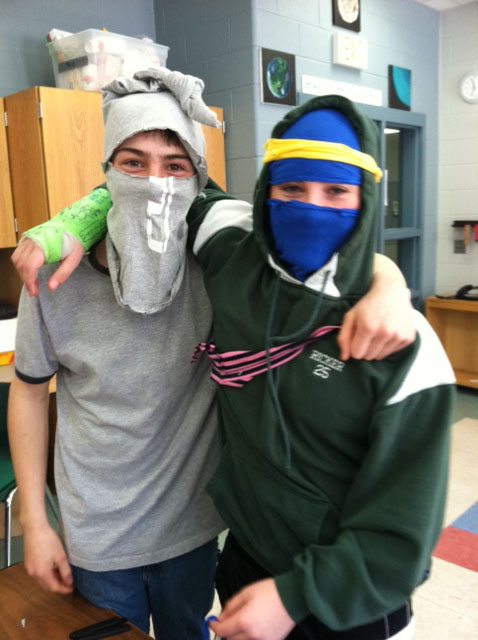
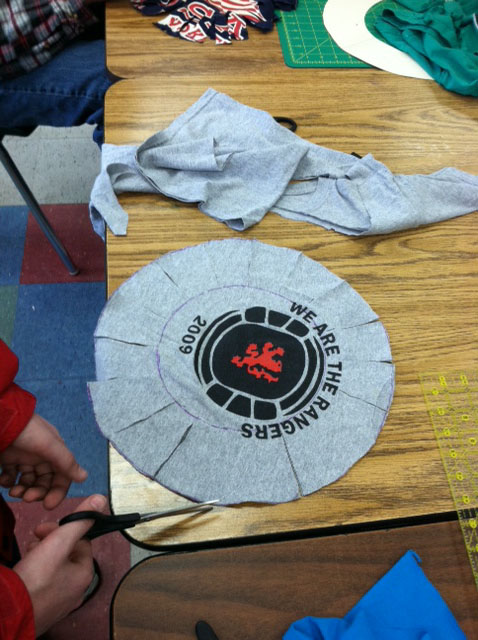
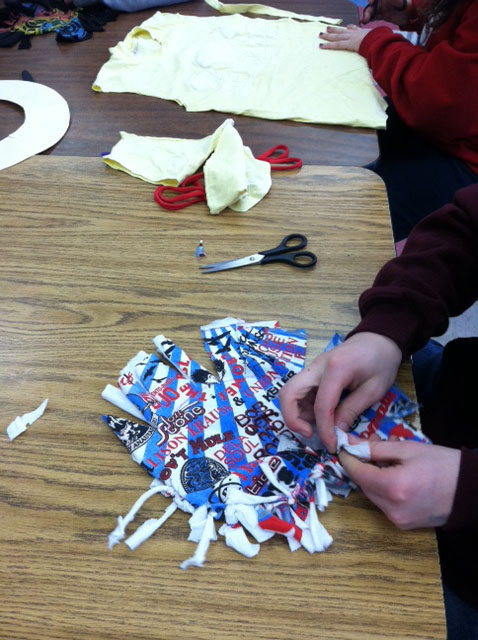
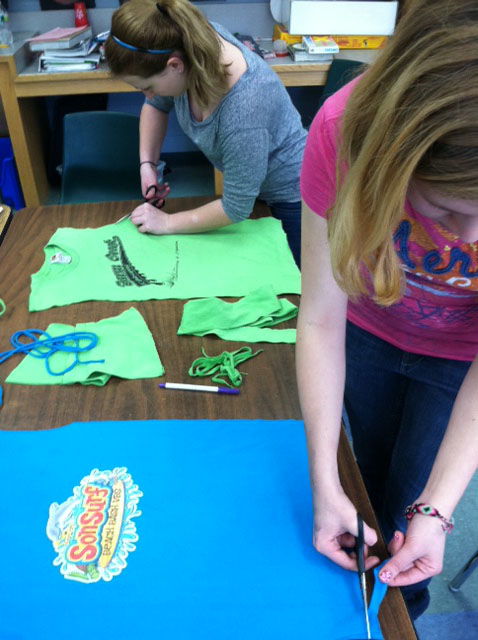
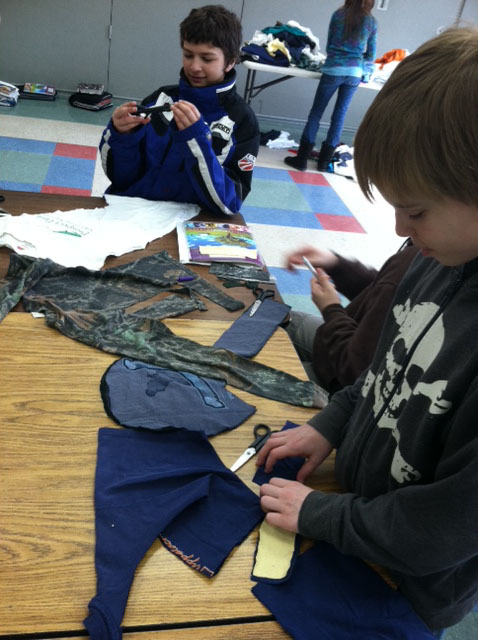
After my artist-in-residency at Holderness School last March, I was invited to take part in a program at the Kenneth A. Brett School this winter (thanks to the Art Council of Tamworth). Here are some highlights from our first two days with the 6th, 7th, and 8th graders. On Day 1, students made either a no-sew pillow (project #30 from Generation T: Beyond Fashion: 120 New Ways to Transform a T-shirt) or the Outer Lace tank top (project #16 from Generation T: 108 Ways to Transform a T-shirt). On Day 2, they chose between making a no-sew mohawk-style hat (project #72, GT:BF) or the Back in Action tee (project #101, GT:BF). And a few students were inspired to use their scraps to become ninjas! Here they are getting crafty:

Stay tuned for Days 3 and 4! More crafty times ahead…

[ 1 Comment | Posted on March 8th, 2012 ]

I Love to Create: Iron-on Sparkle Stencil T-shirts

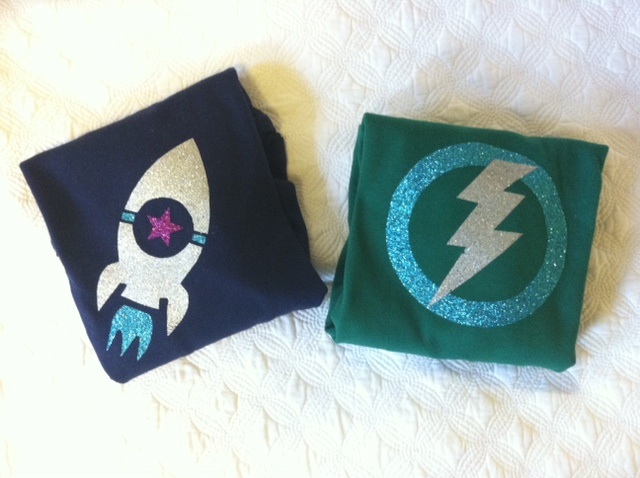
I missed posting an iLoveToCreate project last month because I got a little distracted by that rather big DIY project of my own (more projects relating to my newest muse in the coming months, but in the meantime…). I recently attended a little boy named Caleb’s 2nd birthday party and was inspired to make something — something superhero-inspired for a super little guy! And since I’m obsessed with these iron-on glitter sheets, how about some fun, sparkly T-shirts?

Oh, and also, if you happen to be attending the Craft and Hobby Association (CHA) winter conference this year, don’t forget to stop in at the iLoveToCreate Bloggers Lounge next weekend to say hello to some of your favorite craft bloggers.

In the meantime, feast your eyes on two-year-old Super Caleb!

Materials:
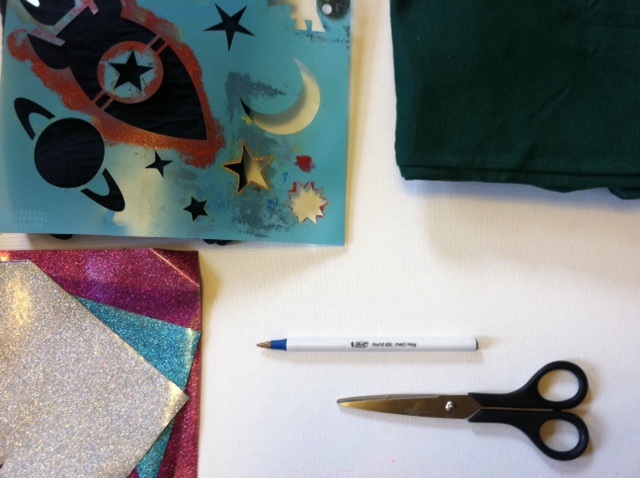
-Stencils and other household objects to trace

-Ballpoint pen

Tulip Fashion Glitter Shimmer Transfer Sheets
-All-purpose scissors
-Toddler T-shirt(s)
-Pressing cloth
-Iron

Make it:

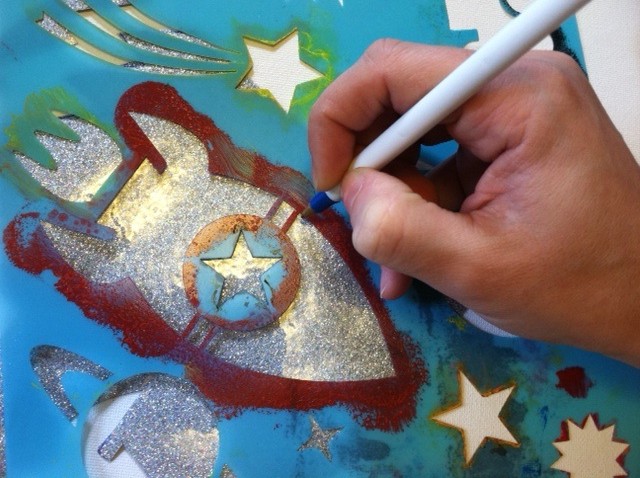
1. Select a stencil and trace the parts of it onto the desired color glitter transfer sheets. (Silver for the body of the rocket ship, purple for the star decal, blue for the stripe and the flame. Extra stars in blue!) Alternately, trace household items (like different size bowls, jars, tupperware lids, bottle caps, etc.) to create basic shapes like circles and rectangles.

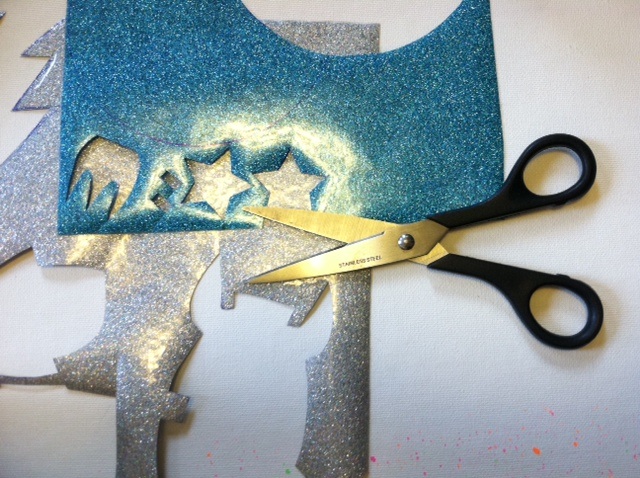
2. Cut out all of the shapes and peel off the top layer of plastic before arranging the shapes on the front of the shirt.

3. Use the warm iron and pressing cloth to press on one piece of the design at a time (so that none of the pieces shift accidentally as you’re applying them). Iron on any sleeve decorations separately so you can lay that portion of the fabric flat when you’re working on it.

4. Then fold them, wrap them, and tie a ribbon in a bow…

5. …and gift them to a cute little toddler you know!

(Caleb’s mom reports that he loves wearing them, and points often to the sleeves, identifying the “stahs.”)


[ 3 Comments | Posted on January 24th, 2012 ]

From Our Readers: Willow!

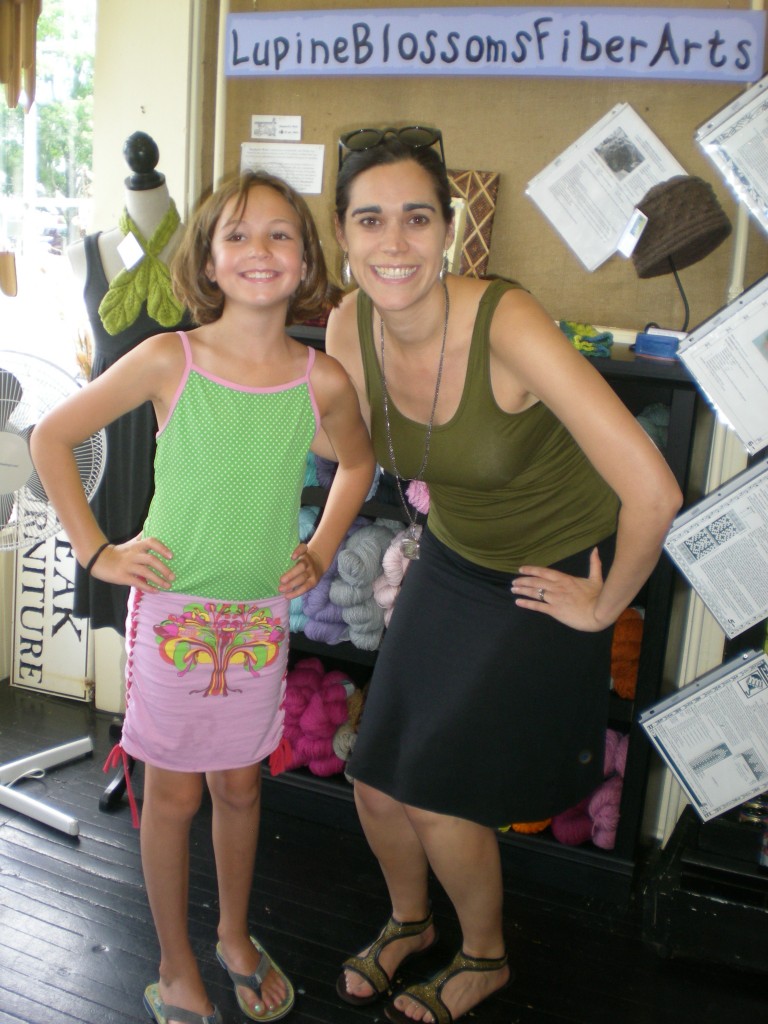
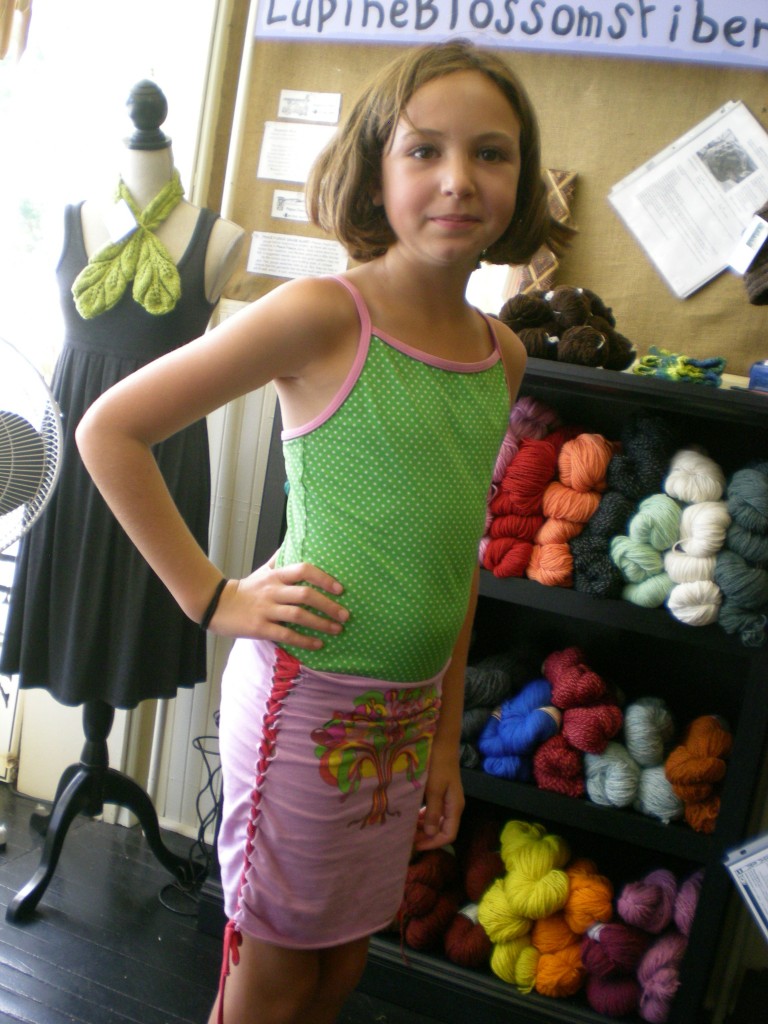
This past July, I visited a local coffee shop in my hometown in New Hampshire and bumped into a young fan named Willow, who was there with her mom, and who happened to be sporting a “Sidewinder” skirt that she made herself from Generation T: 108 Ways to Transform a T-shirt (project #52).

She did amazing work on that skirt, and she’s pretty darn cute, to  boot!

[ 1 Comment | Posted on December 29th, 2011 ]

From Our Readers: Lindsey

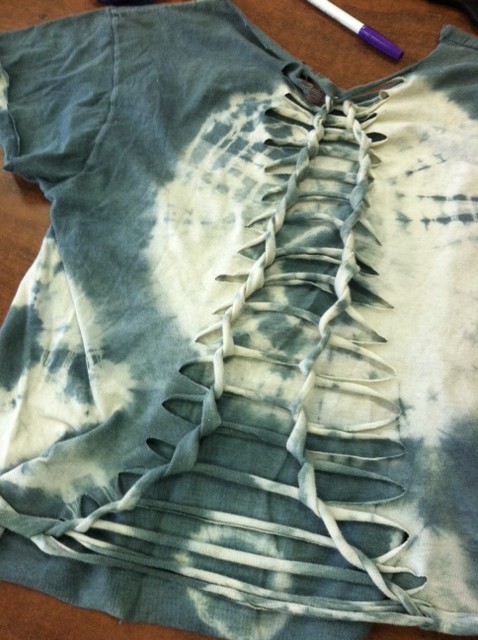
Last month, I was alerted to a DIYer named Lindsey over at Hello Hydrangea blog, who seeks out inspiration in books and across the web to make her own designs! Here, inspired by Generation T, she discovered a new T-shirt recon that she has dubbed “Dinosaur” because it reminds her of the spikes on a triceratops.

I love it because it reminds me of a dissection or x-ray vision, with a strong, colorful spine running down the back! Either way you slash it, it’s amazingly quick and easy to make — check out Lindsey’s tutorial on Hello Hydrangea here if you’d like to try your hand at it, too.

[ Comments Off on From Our Readers: Lindsey | Posted on December 19th, 2011 ]

Tee Party at The Duplex NYC!

Here are some belated highlights from the Tee Party we hosted at The Duplex in NYC in October!  I thought it might be just the thing to inspire a last-minute craft night to finish up those DIY holiday gifts (and don’t forget to download the free Generation T gift tags in the right column of the website to attach to all of your fabulous reconstructed T-shirt projects).

We made stylish no-sew scarves (and for those cracking open your books, it’s the Mane-iac scarf, page 235 in Generation T: Beyond Fashion).

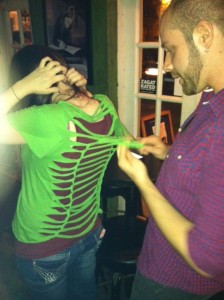
Sassy no-sew tops, too! This couple made the Back in Action tee (page 260 in Generation T: Beyond Fashion).

Then there was the Pinup Girl halter top, page 28 in Generation T: Beyond Fashion — and a mash-up of the Makes Me Wanna Collar and the Back in Action T-shirt (shown above), pages 38 and 260 in Generation T: Beyond Fashion.

A variation of the Outer Lace sleeveless top, page 56 in Generation T: 108 Ways to Transform a T-shirt (check out all the scraps re-purposed as bracelets, too). And, my good friend, host and bartender for the evening, Matthew!

So keep stockpiling your old T-shirts! Because you never know when the next Tee Party invite will arrive in your inbox…

[ Comments Off on Tee Party at The Duplex NYC! | Posted on December 16th, 2011 ]