Posts Tagged ‘crafting with kids’

How to: Tie-Dye Your Life! (via Your Wardrobe)

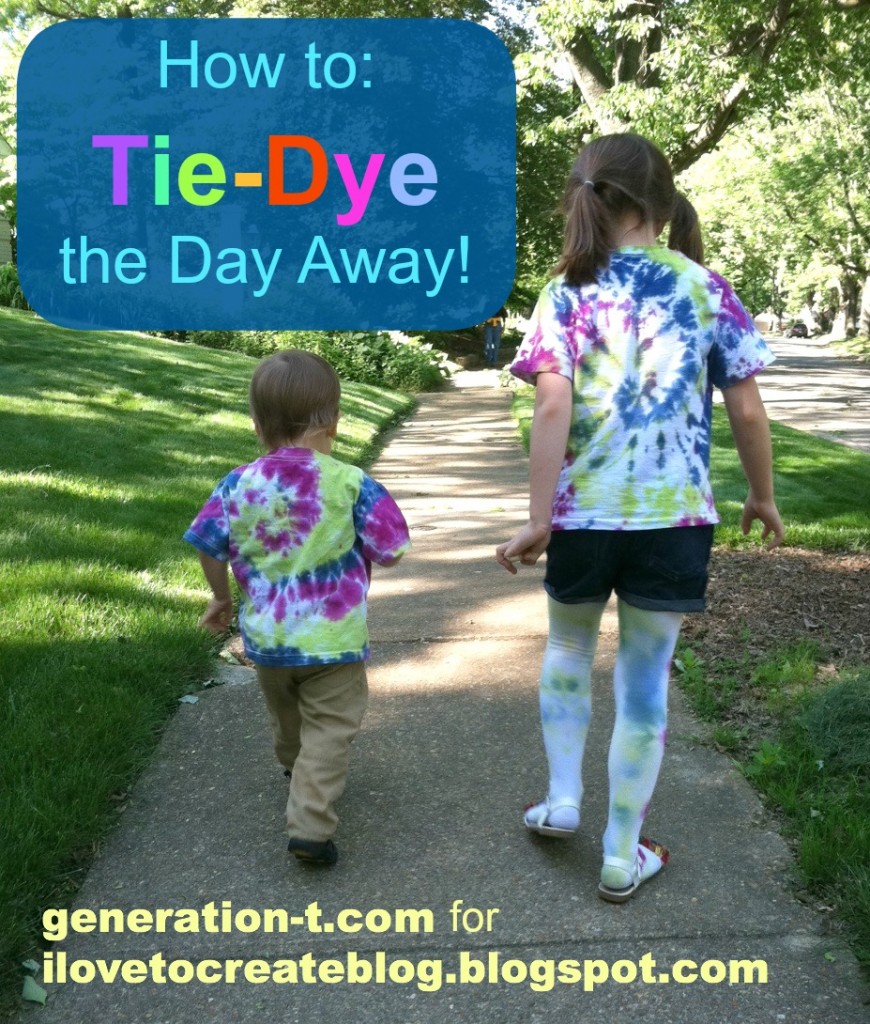
I always bring a craft project when I visit my niece, Dorothy. One time it was Embroidery Day, another it was Felt Cat Ear Day…this time it was Tie-Day Day! Our goal, which we nobly chose to accept: to tie-dye an entire wardrobe. As you can see, we got pretty darn close…

So, despite all my T-shirt proclivities, I have to confess I actually have never tie-dyed in my adult life. I don’t know what made me think that it would be so hard, but honestly, the only thing that could have made this easier was a nice picnic table outside to craft on (and that’s just me asking for a luxurious upgrade).

The takeway: Tie-dye. Is. So. Easy.

I would go so far as to say it’s foolproof! Next time you have a family reunion, skip ordering the printed T-shirts: Set up a tie-dye station for all the siblings and cousins–by morning, you’ll have a full set of T-shirts perfect for a very colorful family portrait!

Materials:
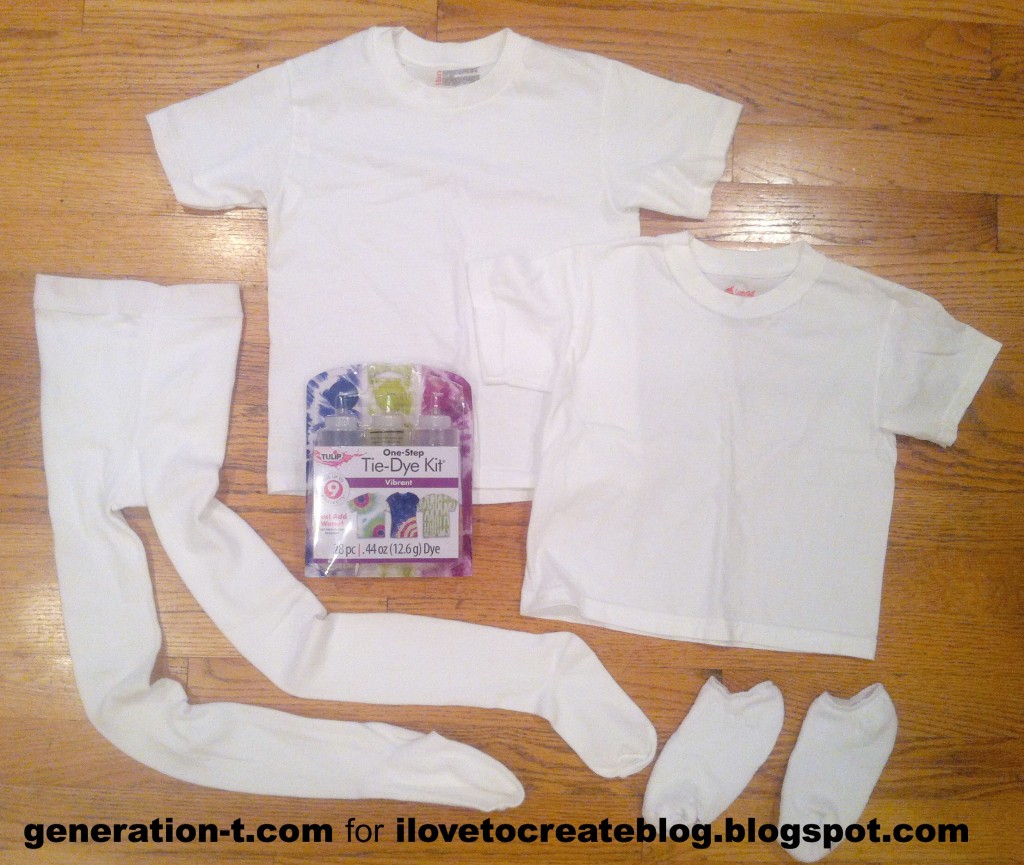
Tulip One-Step Tie-Dye Kit (color: “Vibrant” — includes rubber bands, bottles, dyes, two pairs of plastic gloves, and an instruction/inspiration sheet)
-Cotton things to dye: We picked T-shirts (in two sizes, for the two cousins), tights, and socks!
-plastic table cloth or plastic garbage bag to cover your work surface
-paper towels
-plastic cling wrap or zip-lock bags

Note: If you’re working with new T-shirts, pre-wash and dry them to make sure any shrinking that’s going to happen has happened!

Make it:
Hop on over for the how-to at the I Love to Create Blog! (Plus a cute photo-bomb by my niece.) We tie-dyed spirals onto T-shirts, sunbursts onto tights, diagonal stripes onto another T-shirt, horizontal stripes onto socks, and a bullseye design onto yet another T-shirt.

After her cousin, Niko, woke up from his nap, it was time to try on the matching Swirl design tie-dye T-shirts!

Did I mention tie-dye is also great for obscuring grass stains? An added bonus, for sure! There’s definitely more tie-dye to come this summer — and quite likely in my size this time.

[ 2 Comments | Posted on May 28th, 2013 ]

How to: Paper Bunny Ears!

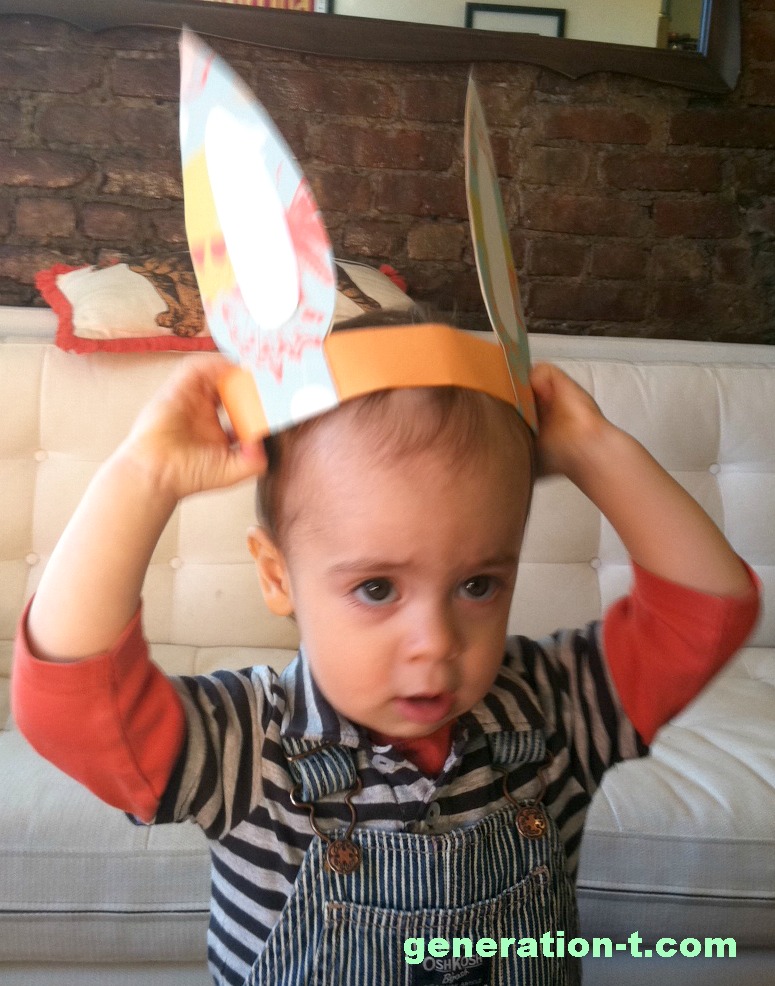
Here’s one last Easter-themed tutorial before the weekend! And this how-to is egg-free (no more glitter, dye, or shaving cream). Best of all, the adjustable band means that both little and big kids can perch these bunny ears atop their heads!

Materials:
-Colored paper (for headband)
-Decorative paper (for ear exteriors; check your wrapping paper stash!)
-White paper (for ear interiors)
-File folder (as stiffener, for perky ears!)
Tacky Dot Runner or glue stick
-Paper scissors
-Clear tape
-Pen or pencil

Make it:

Click below to follow along with the Paper Bunny Ears video tutorial I made for About.com!

And here’s additional proof that these ears are for bunny-wannabes of all ages:

Happy Easter!

[ Comments Off on How to: Paper Bunny Ears! | Posted on March 29th, 2013 ]

Crafting with the Next Generation

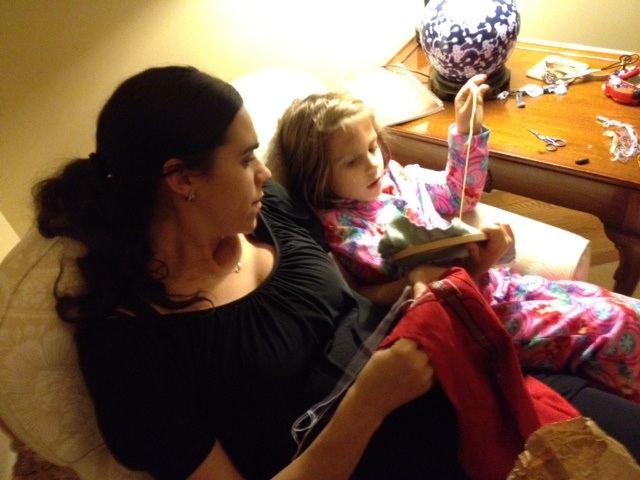
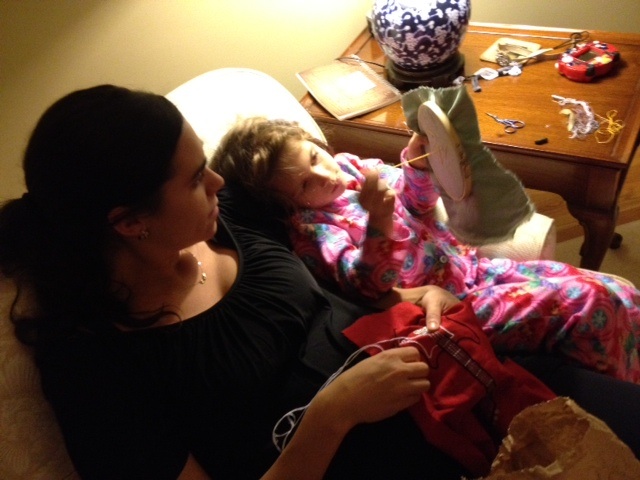
After Thanksgiving dinner with my in-laws, we all settled into the living room for some Wii karaoke and Wii dance party, and I, in my 8-months-pregnant state, settled into an armchair to work on an embroidery project I was trying to finish before the little guy arrived. It wasn’t long after I sat down that my young niece snuggled in next to me and asked, “Aunt Megan, can I do what you’re doing?” Though I wasn’t quite ready to pass my project into the hands of a 5-year-old, I did have a spare needle, plenty of floss, and was more than happy to share my hoop. (I was also rather giddy that she had taken such an interest in what I was doing!) I suggested that we ask her grandfather whether he had a fabric scrap she could work on (he used to work in the interior decorating business and always seemed to have plenty of spare yardage), and sure enough he came back from the garage having clipped a corner of textured, shiny, sea foam green upholstery fabric for her to work on.

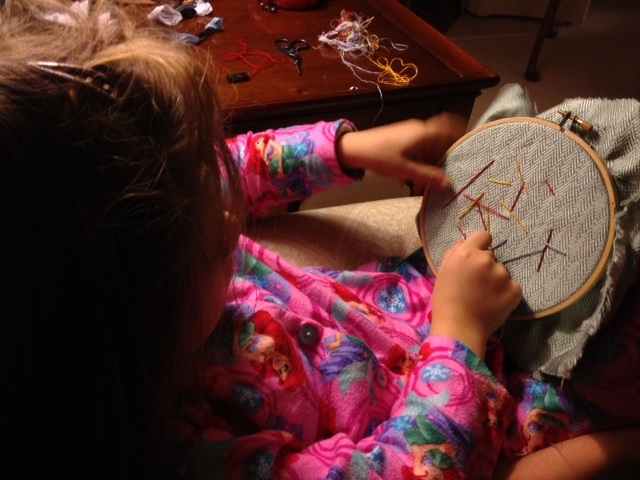
I helped her sandwich it in between the rings of the hoop, let her choose a color, and threaded the spare needle. And she started stitching…and stitching…and stitching! Long stitches and short stitches, cross stitches and straight stitches — only pausing for me to tie off an end and change the thread color under her creative direction. I asked her what she was making. “Oh! This is a mini-blanket for the baby. For him to snuggle with….” she replied. We talked about me helping her make a back to the mini-blanket and finishing the edges when she was ready.

Below, the young seamstress at work — she never once made the freshman mistake of stitching around the hoop, rather than just up and down through the fabric. (I was impressed. I don’t think I can say the same for my first embroidery experience!) The next morning, she declared herself finished with that piece of fabric, handed it off for me to take home to Brooklyn to finish, and started work on a black and white gingham pattern which allowed her to practice making short, even stitches by following the pattern on the fabric.

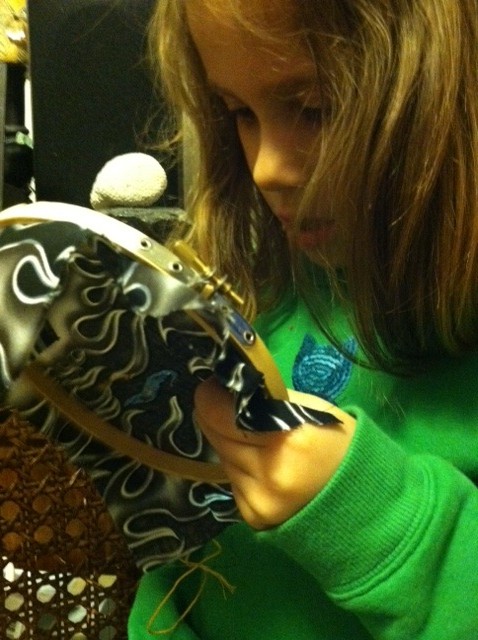
Fast forward to the day after Christmas — the little guy had arrived, and my niece was in New York to meet her new baby cousin. She asked if we could sew again. I reminded her that we needed to choose a back panel for the mini-blanket! So we sat down with my fabric stash in the Generation T workroom and flipped through scraps until she spotted the black and white flame fabricĀ  — I had purchased it several years ago in Portland, Oregon (to make a quilted throw pillow for Mr. T — back before he was Mr. T) while I was on book tour for Generation T. I also used it as the backing fabric for the electric bass, so there’s definitely a theme! We cut a swatch, threaded a needle, and she began tracing the flames with embroidery floss.

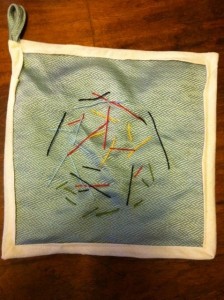
When she left, I embroidered her initials on her work, pinned the pieces together and used some scrap muslin to edge the mini-blanket. I also added the loop, which yes I recognize makes it look a little like a potholder, but also allows me to tether it to the stroller!

And no complaints from this little guy about his new handmade mini-blankie! He loves to snuggle with it and grip the edges tightly.

I can’t wait until the next project my niece and I make together! And here’s to the next generation of DIYers — I can’t wait till this little guy is gripping some scissors in his little hands, too!

[ 8 Comments | Posted on January 30th, 2012 ]